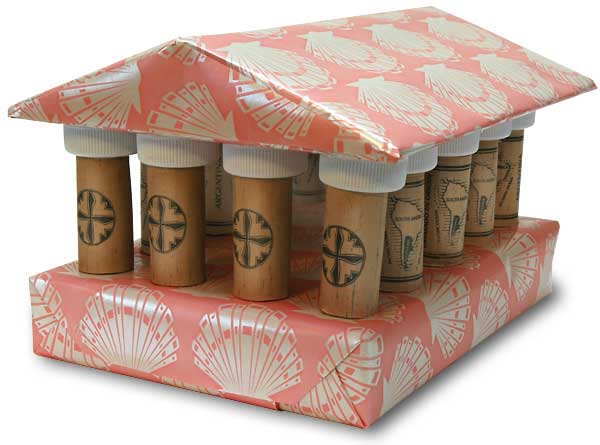
Doric Cork-and-Cap Temple Wrap

Cork and Cap Temple

One night while I was washing the dishes (and recycling plastics), my mind was wandering.  I suddenly saw columns made with corks, and capitals on those columns made with milk-carton-caps.

This wrap is what I saw: a Doric temple in recycled materials. I wrapped a flat box using some used wrapping paper, pink with shells. I glued the corks onto the wrap. I glued the white milk-carton tops onto the corks.

Next, I had to construct the triangular roof. I cut pieces of plain cardboard, gluing the triangular pediments on the end of the roof and a base underneath. I wrapped this roof and glued it onto the columns.
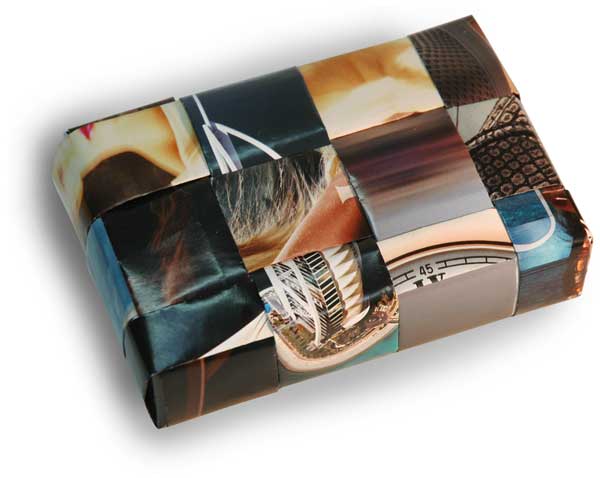
Magazine-page Woven Band-wrap

band-weave-104Wrapping with bands is a great way to take advantage of our print-rich environment. I take magazine pages and cut them into long  strips, 2″-5″ wide. Fold the two long edges over. This gives both the edges and the whole band a softened and rounded look, a pillow effect.
I glue or tape the bands on the backside and wrap them around. In this case I also chose to weave them. The procedure consists of gluing bands along one short and one long edge of the box. The weave begins at the only corner where these glued bands meet. Alternating between short side and long side, you wrap the bands around and affix them to the back, weaving the bands as you go.

For as tutorial on making the bands, go to this page in the Wrap Art Gallery.

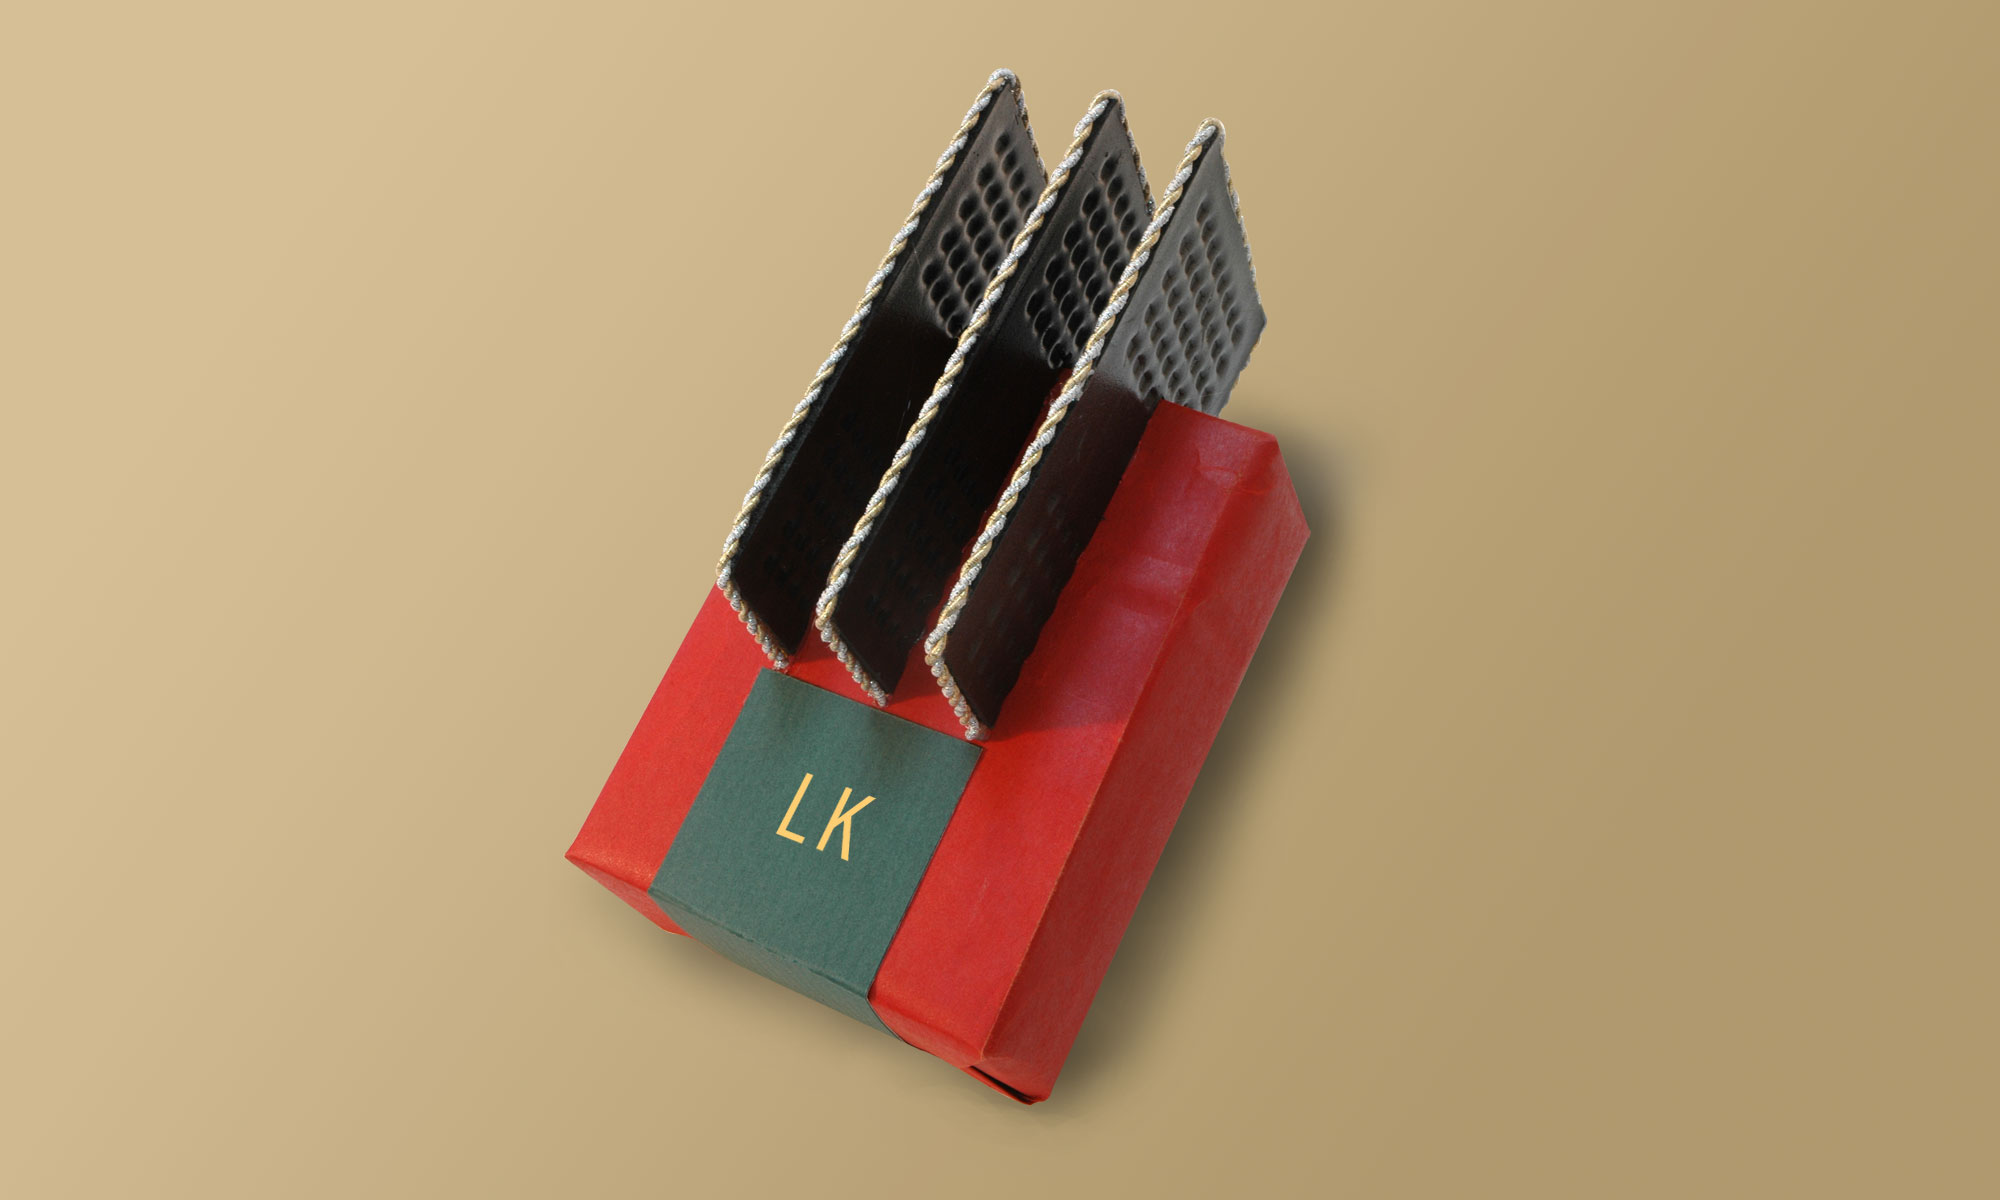
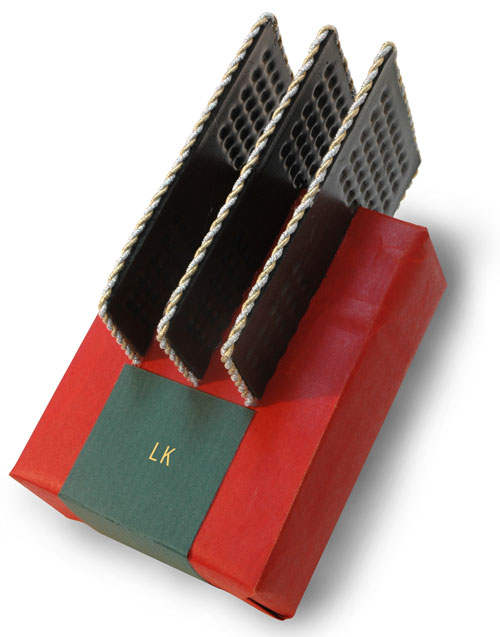
Meat-Tray Fins on Red Bag Wrap

black-fin

I confess to a fondness for the plastics that pass through our kitchen. The foam used to package things from the meat counter are light, shiny and easy to cut. After making some stews with our new crock pot I sidetracked some trays into my wrap bin. As I continued washing the dishes I could begin to see fins emerging from a wrap.

I wrapped the present in red paper from a shopping bag. I cut and glued the fins. I put little dabs of hot glue on the fins and attached some recycled gold-foil-and-white wrapping cord to add an element of sparkle from the traditional wrap aesthetic. Last of all, I cut, fitted and glued the dark green rectangle to complete the wrap and make a frame for recipient’s initials.

I have been enjoying taking a more sculptural approach to wrapping. It opens the door for new uses of throw-away materials. And it is lots of fun.

Recycled-bottle Lilly Wrap

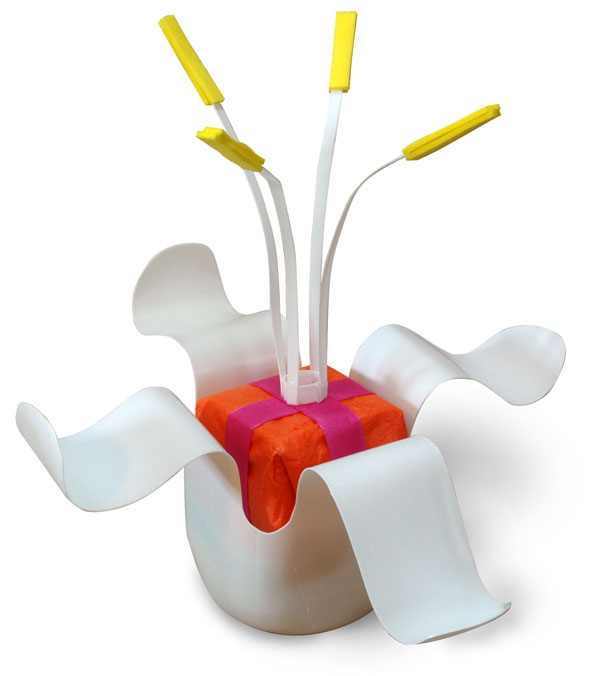
lilly-39I took a kefir bottle and cut off the printed wrap. Underneath it was a pure white bottle. I cut off the top area and then took scissors and cut down along the corners and back up again, four times. This made the four petals. I trimmed their tops to round them out. Working the petals with my fingers I was able to give them soft curves.
I wrapped the gift in orange tissue and placed it inside the lilly. Then I took the scraps cut from the four corners, and made the pistil stems. I made a small ring to glue them to and added yellow foam to the ends. It was necessary to add some ribbon around the gift in order to make the pistils’ ring stable on top of the gift. A few pieces of scrap foam made the orange gift more secure in its white lilly holder.

Tube Wrap Recycling

tube-227

When you have a tube to wrap, you are given an excellent opportunity to use up the small scraps of wrapping paper you have saved. Not only do you get the benefits of this recycling, you also get a speedy wrap. Start anywhere. Add contrasting pieces of paper; fold the edges and let those edges overlap the previous piece. Add ribbons, too. I added a circle of paper over the many folds that close the top. A bow on the top finishes the top.

Bottle-cap Star

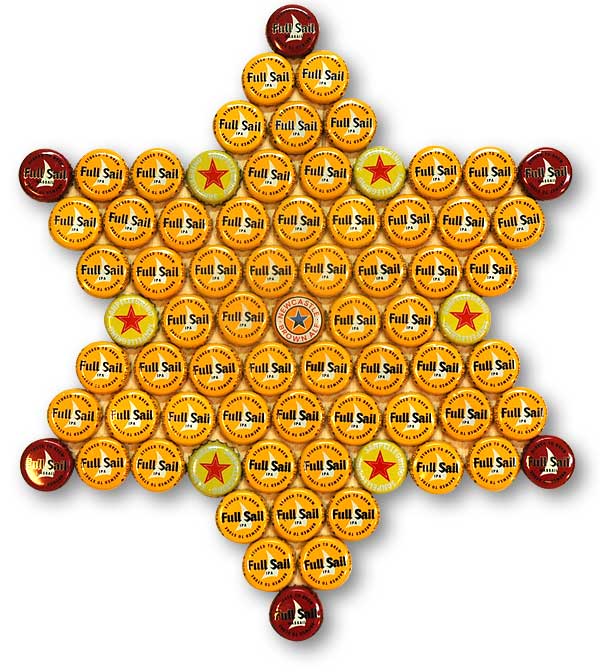
botcap-star-186

I made this star as a gift for my brother Michael. I save my bottle caps grouped by kind in separate containers. This allows me to design  with them easily. Bottle caps are circles; thus they tile on a hex grid. I make a paper drawing first, using a 30-60-90 triangle to create the hexagonal forms.

I have made bottle-cap medallions that I applied to the kitchen cabinets of our cabin. Click here to take a peek at them.

Ribbon Wrap with Pearls

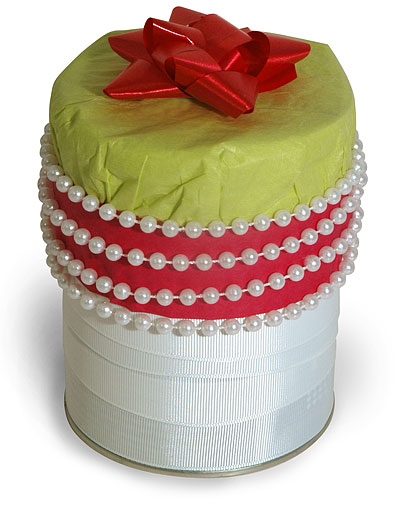
cylinder-214When I’m running out of wrap time, I reach for ribbon and tissue. In this case I wrapped a tin of coffee with a large white ribbon, which covered the entire tin. I capped it with a piece lime-green tissue. The third layer is a piece of red paper folded into a “ribbon.” The folding gives this quasi-ribbon a satisfying dimension and a softened edge.
Then I added the string of molded plastic pearls, using occasional very-tiny dabs of hot glue to keep it in position. I finished it with a red pre-fab bow.

This simple banded design has a  variety of textures. The result is very pleasing, especially considering that it took very little time and no planning. I just started and kept adding until the wrap declared its completion.

Wrap Art Under the Tree

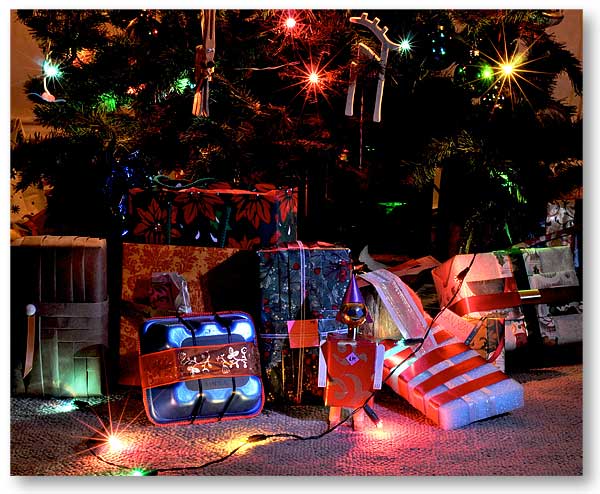
under-the-tree-09

This photo was taken by Canyon Boak in 2008. It shows a variety of wrap art, including, from the left, a brown-paper folded-band weave, a foam blueberry-box wrap, a robot wrap, a coconut-half on foam with ribbon wrap, and a somewhat traditional looking cross-ribbon wrap using folded recycled-paper for the big “ribbons” under the real ribbons.

You can see some of these wraps by clicking this link.

Wrap Synergy

robotLegs-197

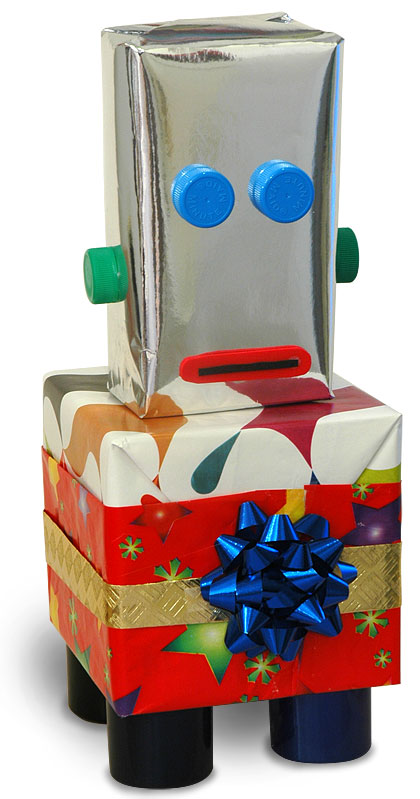
I have already posted the two separate wraps you see in this image (December 25 and 30, 2009). When these two wraps went under the tree, I suddenly saw that they were meant for each other. So, without the need for any additional fastening technologies, they rested one atop the other until Christmas morning, when they went their separate ways.

It is perhaps not so surprising that they would go together, a head and some legs. But I was pleasantly surprised at this amusing synergy arising from this year’s theme of animal wraps.

Simulating a Common Christmas Toy

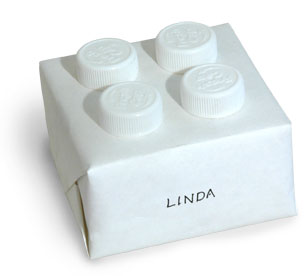
lego-212This is a quick wrap if you have been saving your carton-caps from milk or juice cartons. Wrap the gift in plain white paper. Glue on four caps. Now you have a scaled-up imitation of one very common piece of a common building-block toy.

I have saved up some green, blue and orange caps; next I must find the matching paper colors so that I can simulate more kinds of bricks.