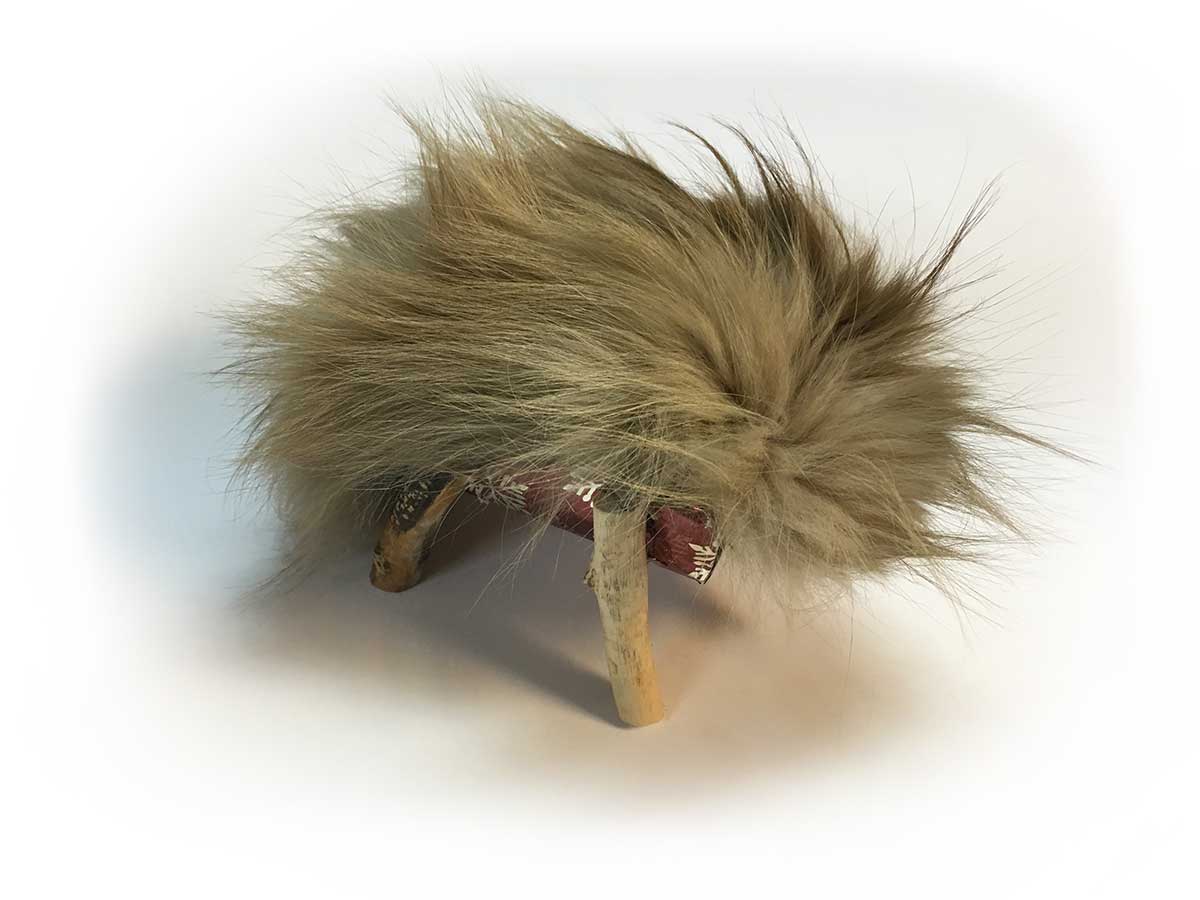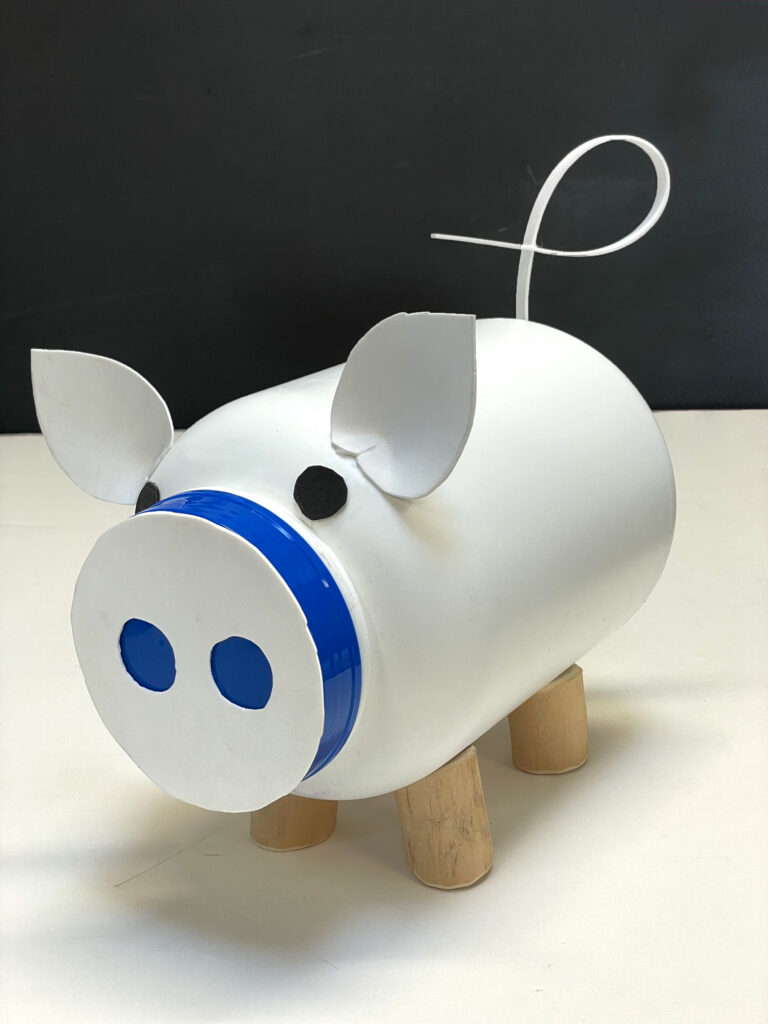
I had been thinking about this wrap in early November. I did not even know who would receive it let alone what gift would be placed in it. But I would imagine a pig whenever I laid the white plastic jug it on its side.
The first task was the hardest. I made four legs from a piece of a thin aspen that beavers had chewed down. I cut them with a saw and shaped them. Hot-glue attaches them to the white jug. Next came the snout. I used my circle cutter on white craft foam. I then referred to a test drawing and cut the two nostrils into the foam circle. I glued this onto the blue cap of the jar.
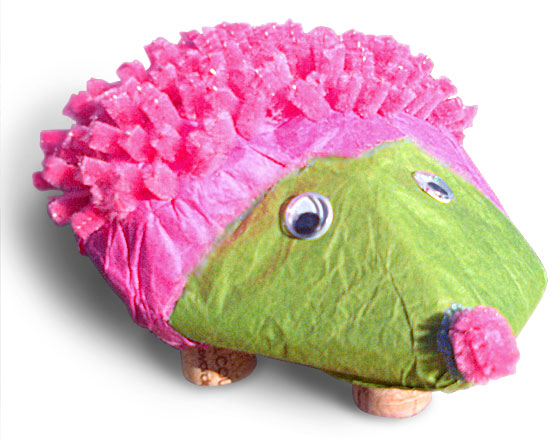
Next I made ears, using paper test models first to get the shape right. The bottom of the ears is a folded rectangle with a triangular cut out. That cut out permits an entire ear to curve ever so slightly as the two sides of the triangular cut-out meet during glueing. That bend-and-join makes the ears softly rounded and it also keeps the ear standing up. The eyes were simple: dots of black craft foam.
Last of all was the pig’s tail. I looked up pig images and found out that a single curl with one overlap was all most pigs had in their tails. No need for cork-screw spirals. A dot of glue held the curving tail in place as it crosses itself once. A tiny triangle of white foam placed where the tail attaches to the pig made the tail offset at an angle, offering good views from many viewpoints.
A few days before Christmas I thought of the gift that would agree with this novel scrap wrap. I had seen it on a shelf in my studio. It was an old beer bottle with a labels that I had designed a long time age for my geologist brother’s home brew: “Mud Lager.” The name plays off the oil drilling job of the person who logs drilling mud for its information: mud logger. The slogan: “When you’re having a blowout, don’t forget the mud logger.”
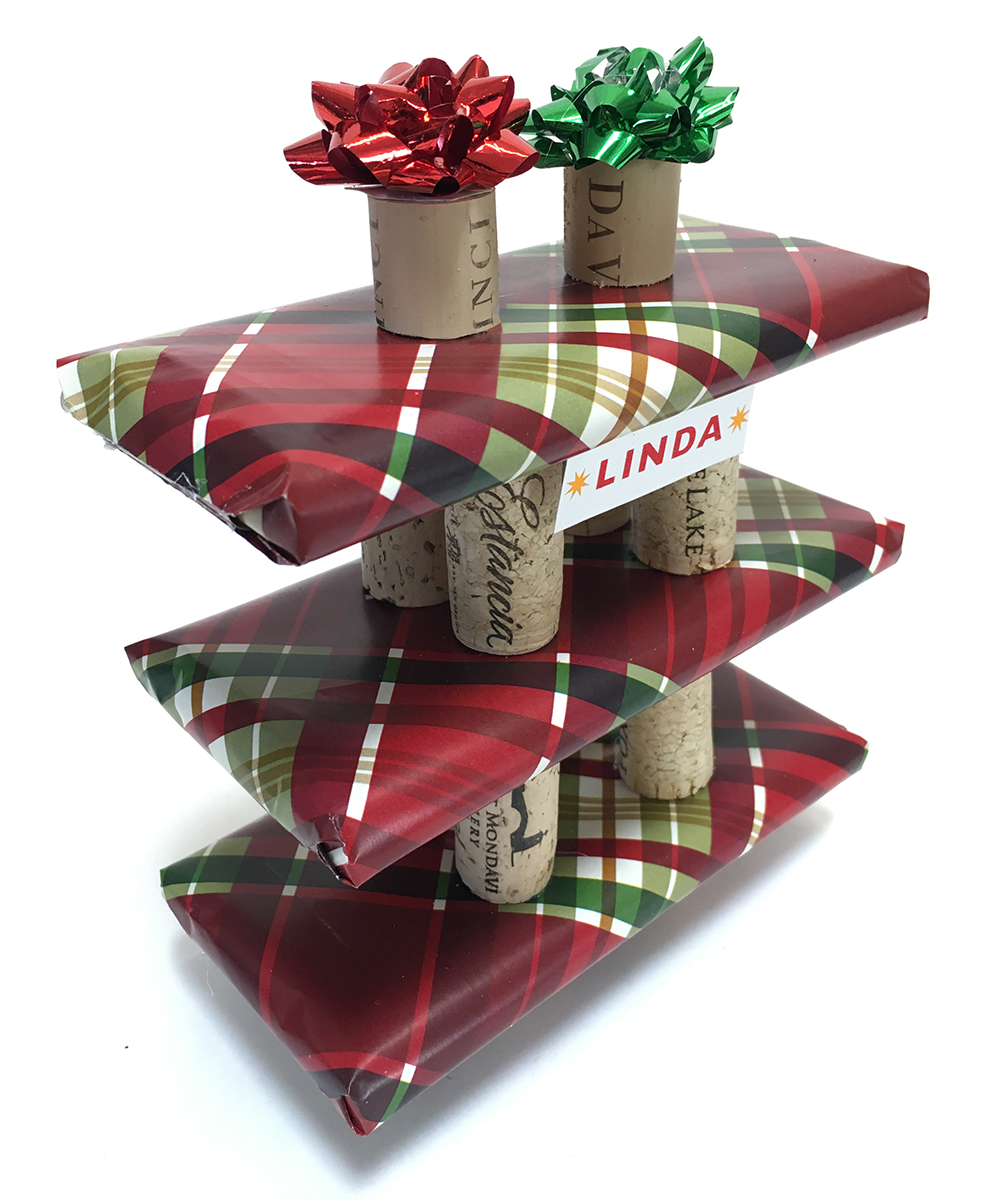
This wrap has the benefit of a screw-on cap. It can thus be used for a variety of occasions long after the gift has been given.