Triangles

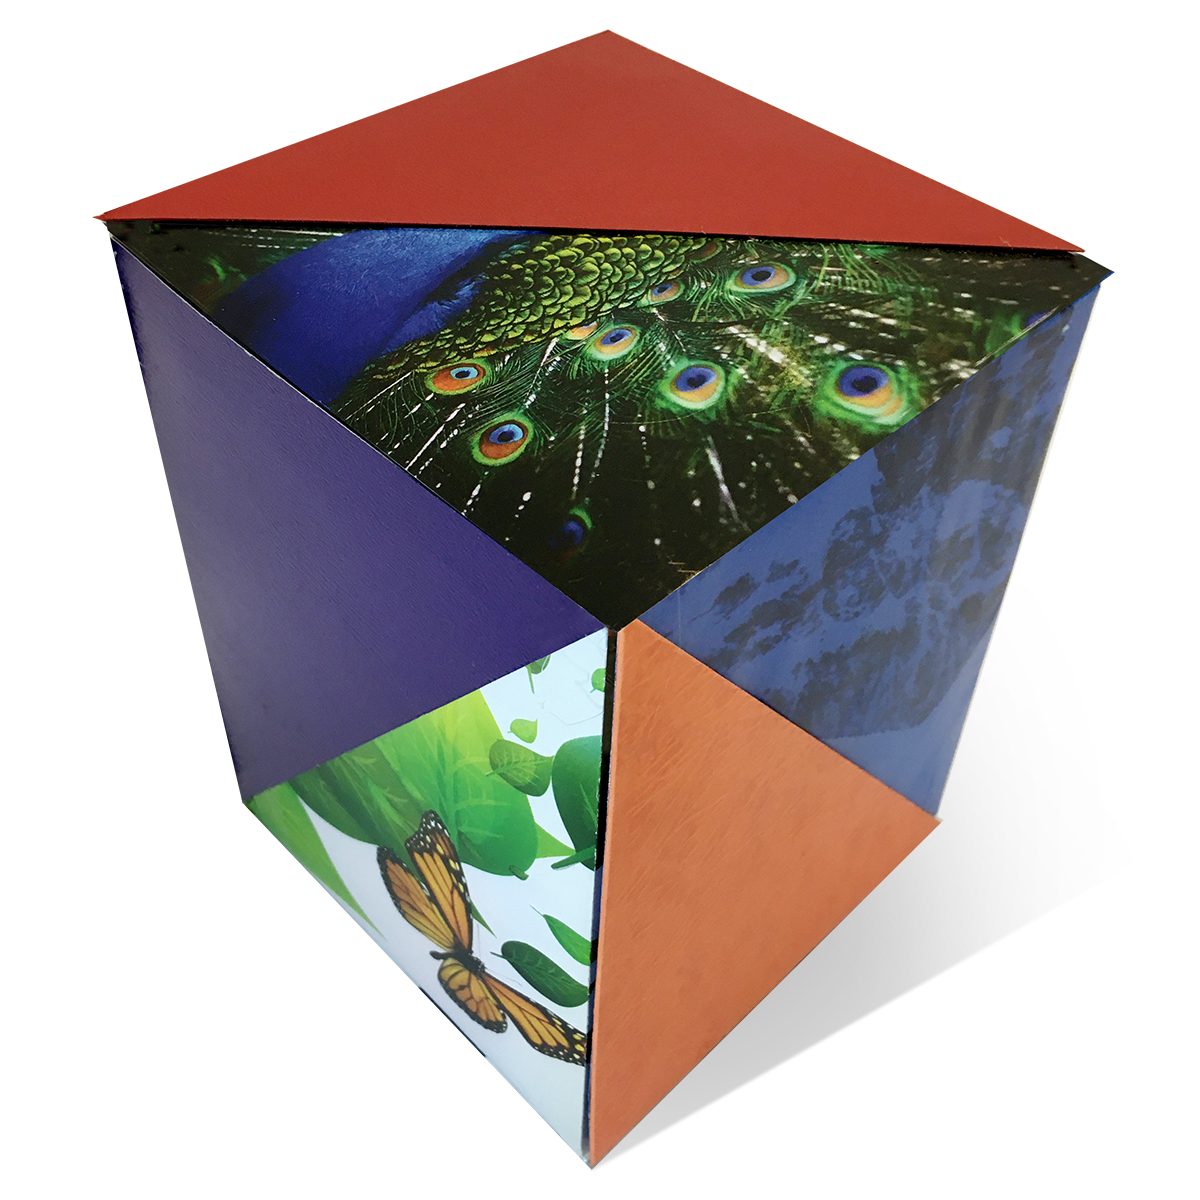
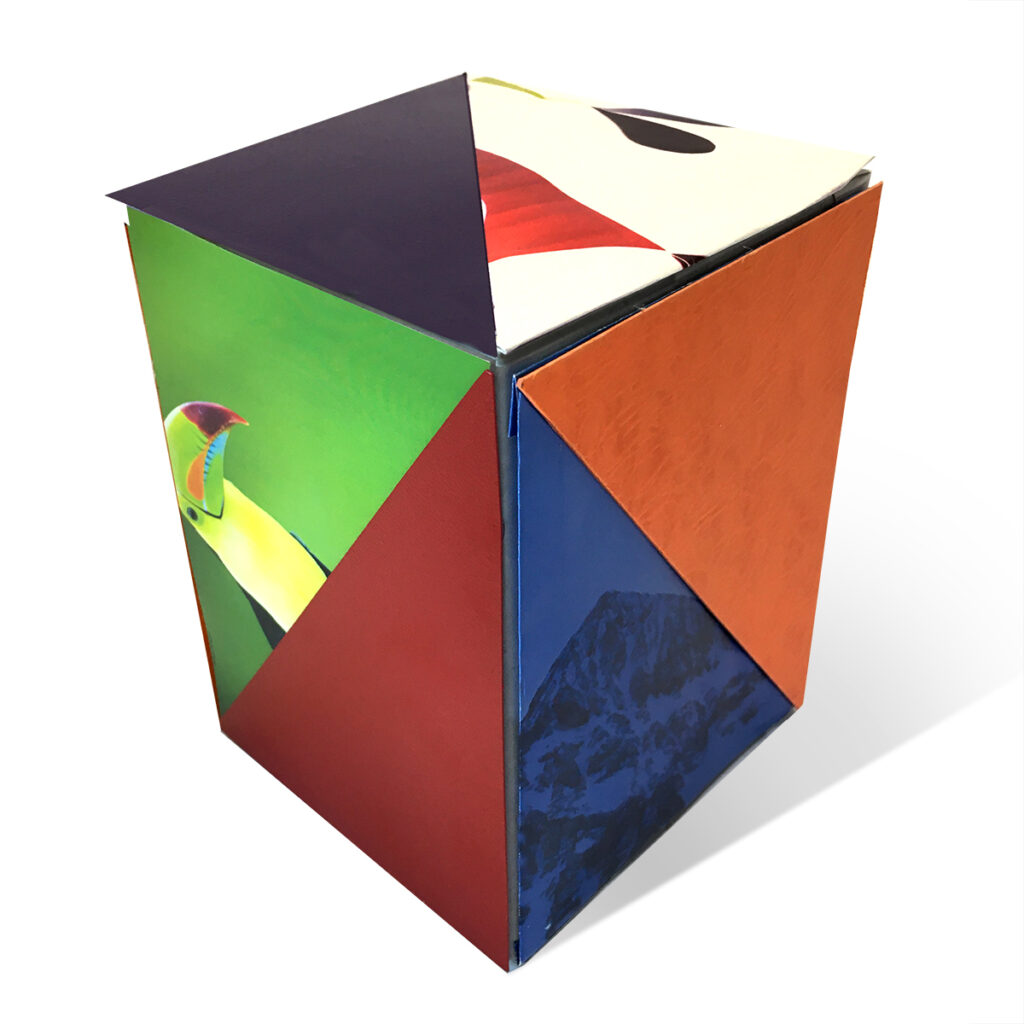
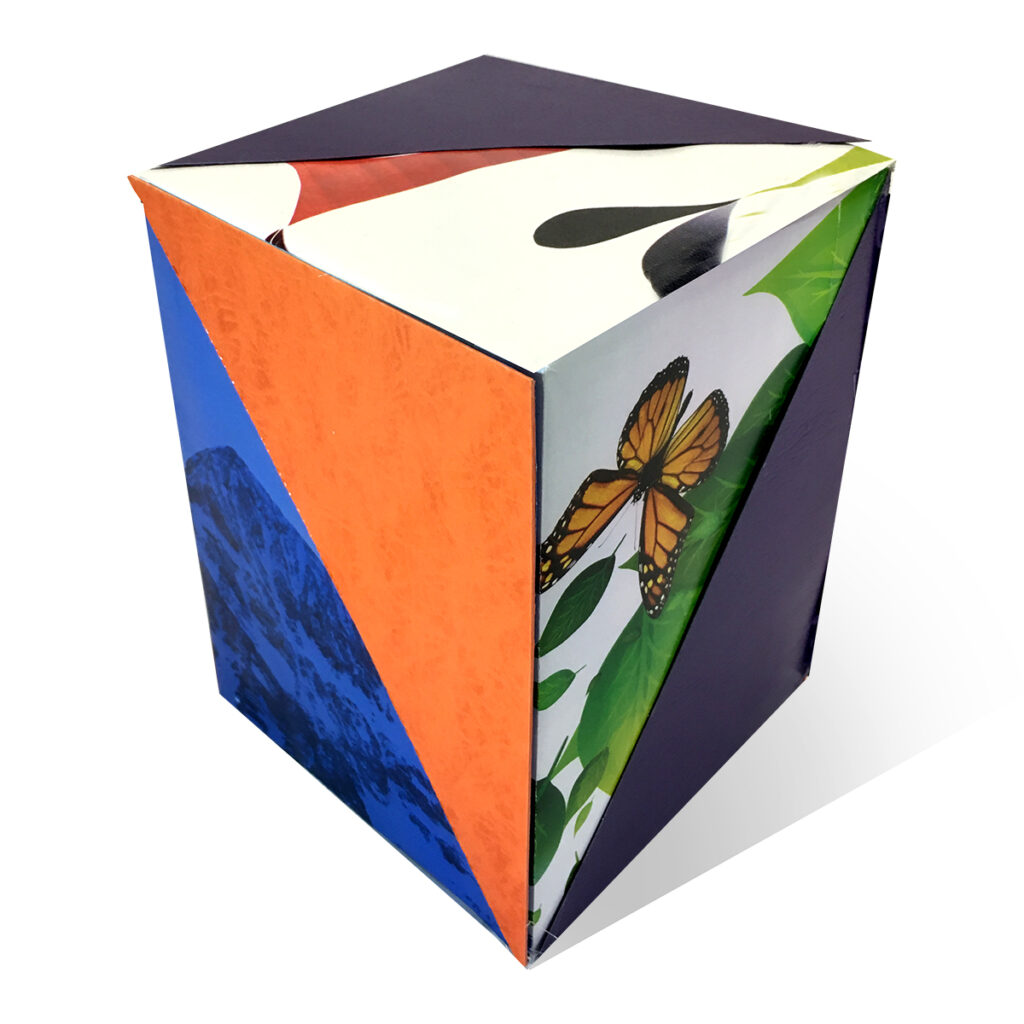
This is an example of accretive wrapping. It starts with a “base coat” of plain paper, applied in the traditional way: a single piece of paper wrapped, with two folded ends.. The first layer of accretion consists of six separates rectangles of imagery taken from magazines and marketing literature.. I cut them out to fit the six sides of the gift box, gluing or double-taping them onto the base wrap. Then I cut and fitted six triangles of stiff paper from printer’s paper samples. These are all glued on the image layer. The wrap can rest on any of the six sides. All views of this wrap are good.

Magazine Wrap

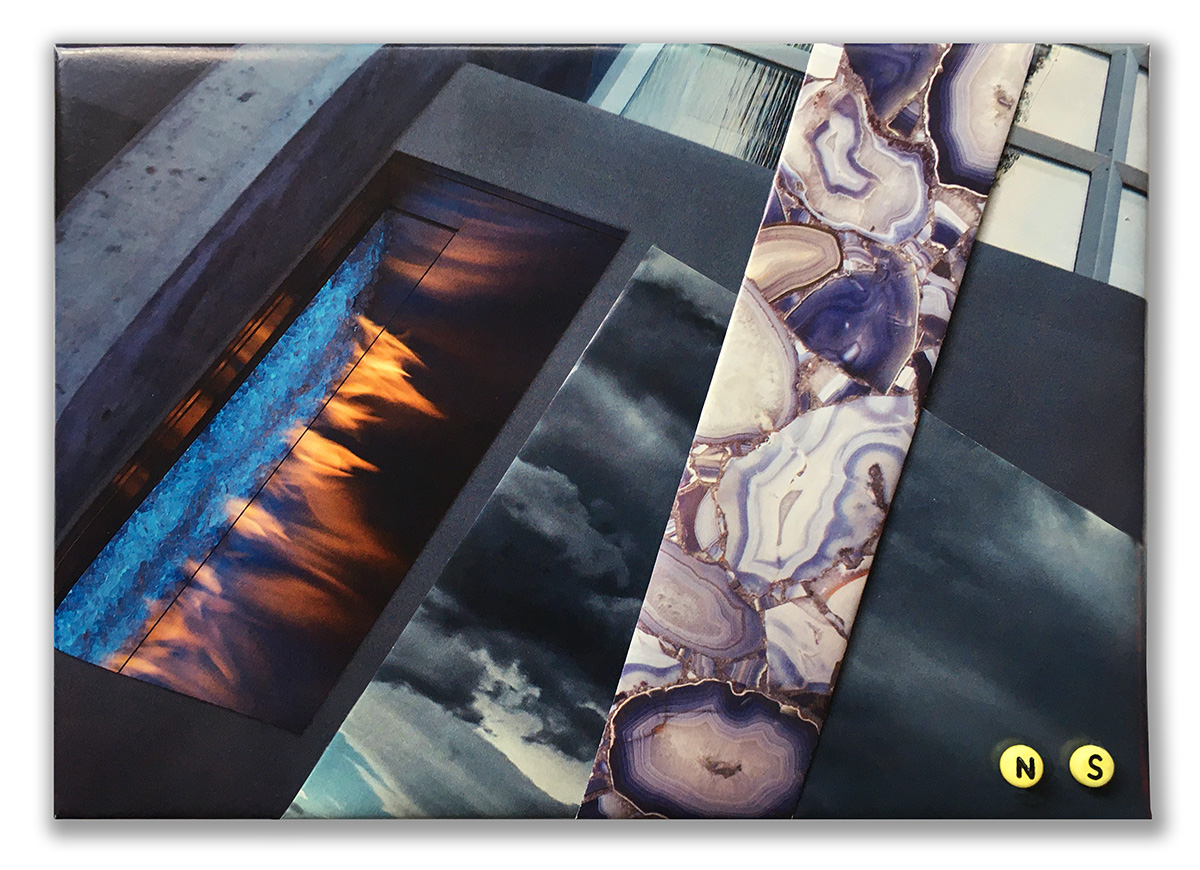
This wrap did not even have a box. I put a gift of notecards between two pieces of corrugated board. Two pieces of tape made them a unit. Then I picked up a magazine that had lots of ads with large photos with tasty textures. I placed the first piece at an angle and proceeded to wrap it, folding the ends and gluing the foldovers onto the back. I then selected another page from the magazine. I positioned it in various ways until I knew what I wanted. I folded the two edges that would be visible on the front of the wrap, and then began gluing the piece into place. Next I took a strip with imagery of marble and folded its edges, making a traditional wrapping band. I positioned it and glued one end. Snugged the other end tight and glued it. I then took, from a jar of alphabet beads, the initials “N” and “S” of the recipient’s name. I glued them on, using a nail to hold the hot glue, and place it on the wrap. I then added the two beads. It is a moody wrap, with a rich materiality conveyed by the continuous tones of the photographs.

Knife Wrap

knife wrap

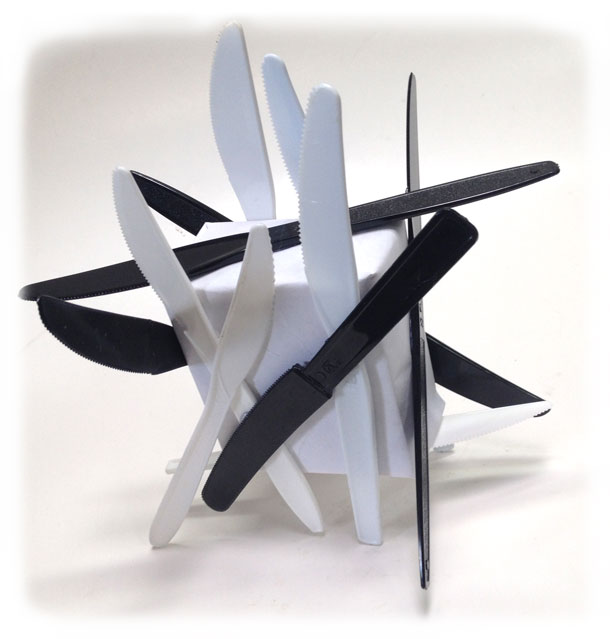
While cleaning the kitchen one day, I consolidated an excess of plastic knives, spoons and forks. The beauty of multiples forced me to save them in plastic bags. The knife bag went into my wrap warehouse.

On Christmas day my son was attending to his last-minute wraps, and I volunteered to wrap one of his smallest presents.

I gave it a white-paper wrap and then began gluing plastic knives onto the box. I looked upon them as lines or strokes, and began creating a constructivist composition of angles. I had planned, and still do plan, to glue on a lot more of them. But we ran out of time and so this was my wrap. The dense-pack knife wrap awaits some future opportunity. In the meantime, the relatively sparse application of knives works quite well, and perhaps better honors its derivation in Russian artists.

Foam Folly

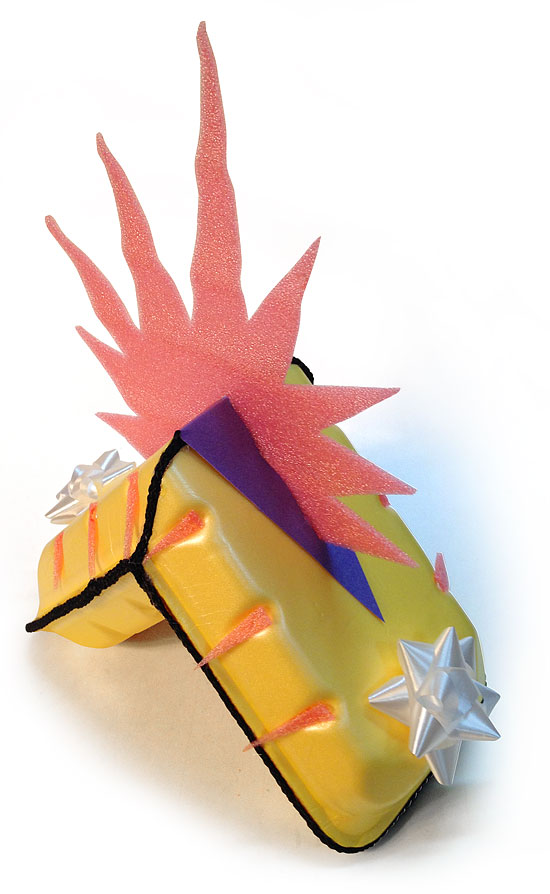
yellow meat tray foam wrap

Continuing my fascination with packaging trash, and the malleable materials of the meat market, I offer your here yet another yellow-foam wrap. This time I decided follow another fancy of mine: disrupting the form with a 45 degree angle.

I drew lines on the two foam trays, then joined pairs from the four fragments with hot glue, to make two containers with 45 degree open faces. A bit of trimming was required to make them fit. Then I inserted the gift in one side, protecting it with some paper packing, and glued the two halves together.

The trays have words embossed in the middle of their now very-visible undersides. I thought a triangular form would make a useful addition to the design and would cover the words. I cut the long diamond shape from purple paper, folded it on the short axis, and glued it onto the foam box.

Next I glued black woven bag-handle cords along all the glue seams of the yellow box. And I added the two white bows, making risible reference to the traditions of quotidien wrapping.

But I could see it was not done yet. I thought it needed a crest or crown. I grabbed a piece or coral-colored packing foam and a scrap of white paper. I drew, cut and fit the sun-burst form in scrap paper, then traced it and cut it out of the foam. I glued it in place.

The little indentations that occur along the edge of the foam trays now called out for adornment. I cut little triangles of the coral foam scrap, and glued them in place. At last I had it, an exhuberantly odd wrap, ready for the parliament of packages under the tree.

Ribbon Wrap on Shopping Bag

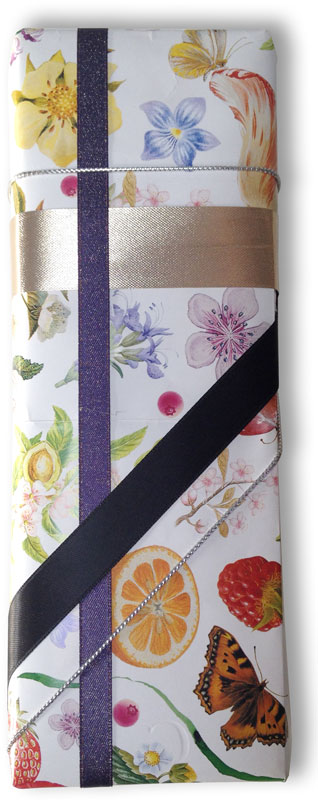
One can start with a traditional form, and then add a slight variation which gives new visual snap. My base paper here is the shopping bag which took the gift home. I am using the inside of the bag’s paper, with images of fruits and flowers. I then proceeded to improvise with ribbon, using contrast of thick and thin ribbon, as well as contrast of light and dark, shiny and matte. I started with traditional ninety-degree ribbon placement. Then I began to look for the variation that would take the wrap a step past normal. I tried many ribbons placed at various places, but all at a forty five degree angle relative to the wraps edges. Finally I tried the black. Happy, I added another strip of silver cord adjacent to the black ribbon and then I was done. This was an easy wrap.

Yule Module

Yule Module

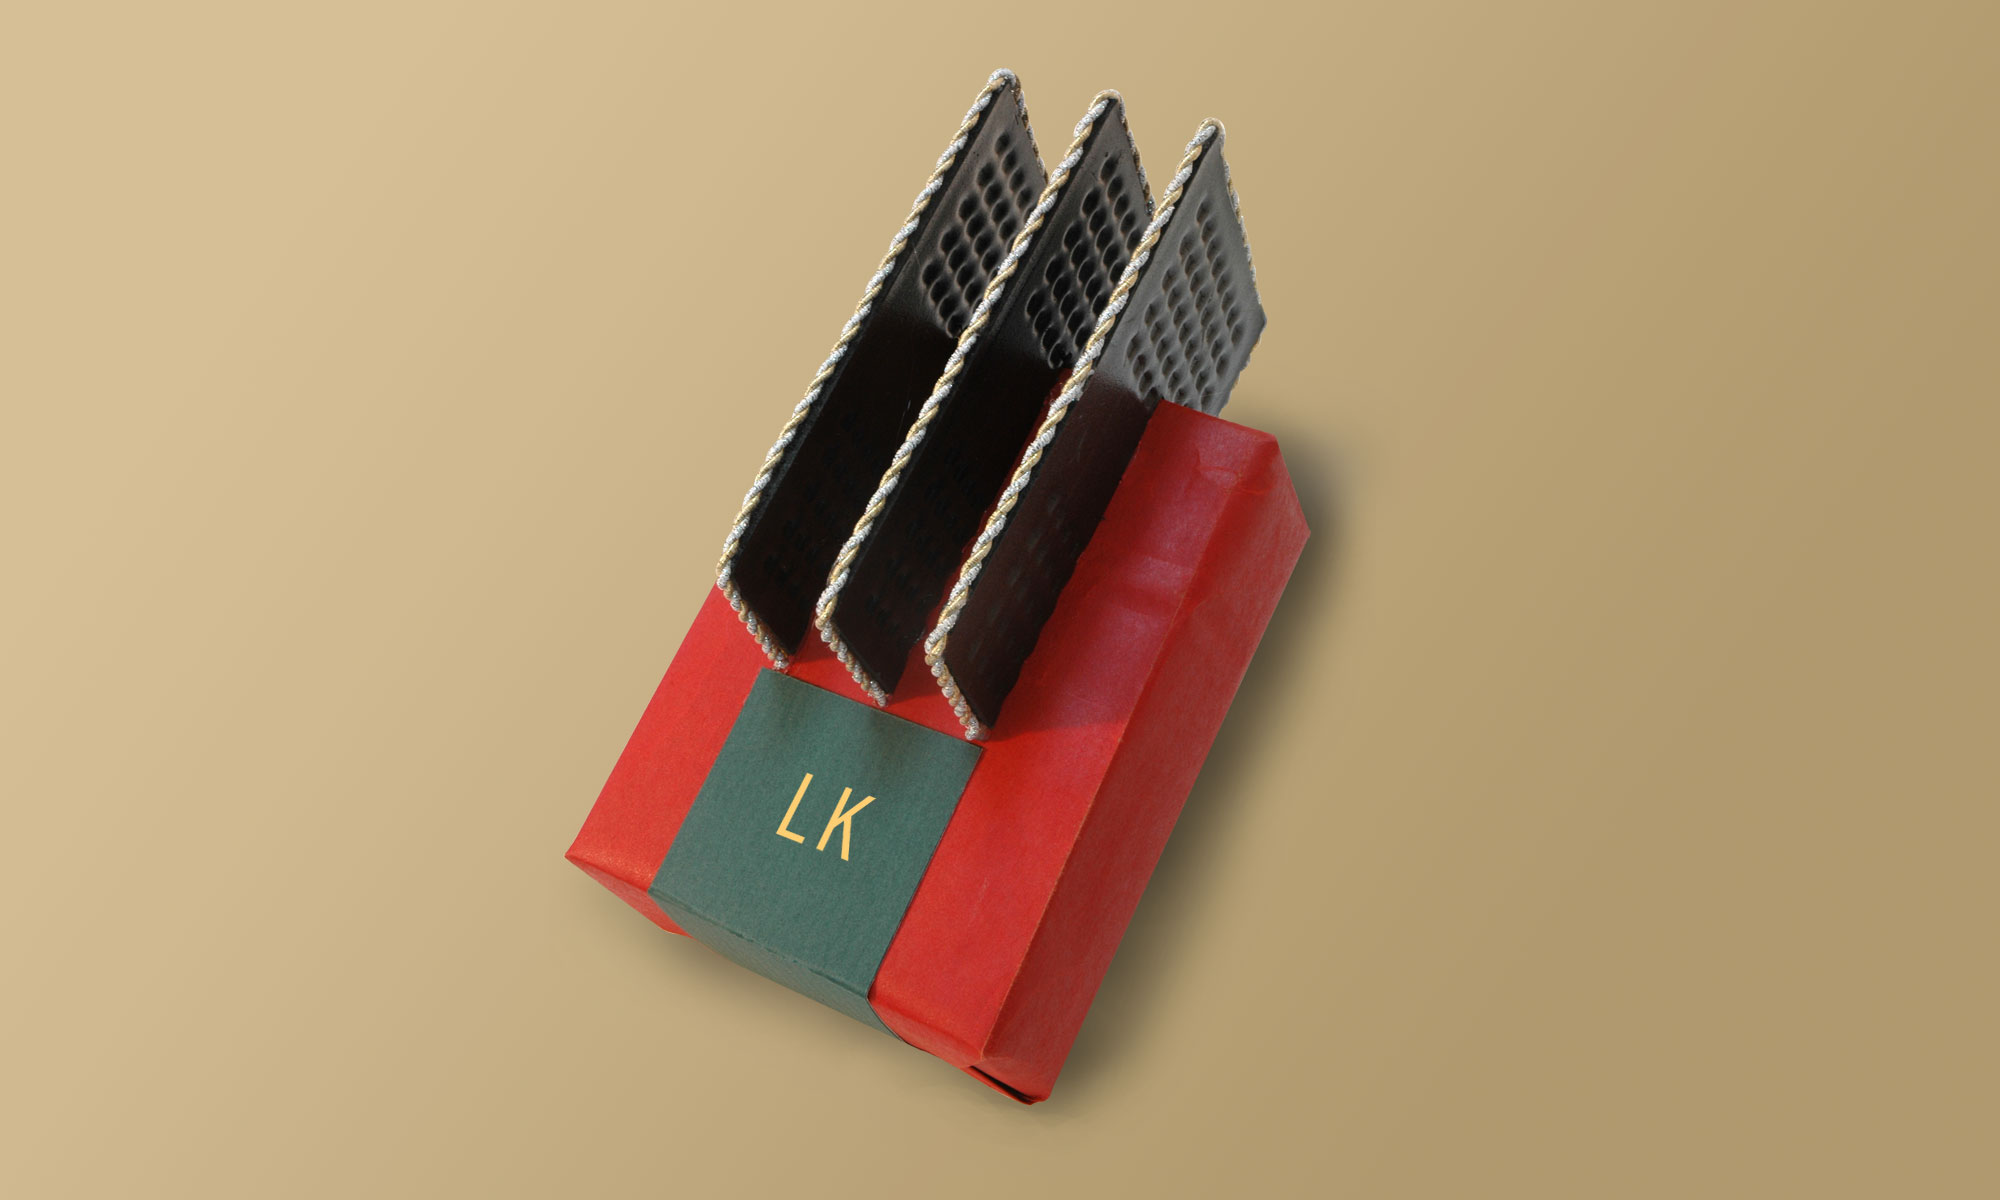
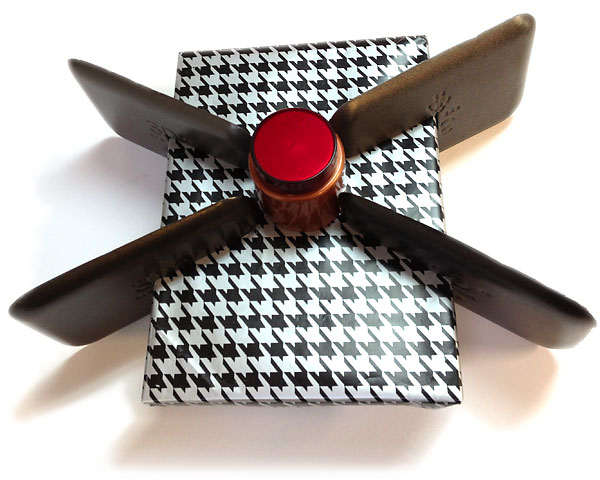
The idea for this wrap came to me just after awaking. I was thinking about slabs of black foam from meat-packing trays. They are easy to cut, thick enough to hold a lot of hot glue, and thus make good sculpture components to a wrap. I’ve used them before (Meat-Tray Fins on Red Bag Wrap).  This time the idea was to cut a slot into the slabs so that they made not only strange fins, but also legs to elevate the package.

Later in the day I wrapped the gift in a large piece of recycled wrapping paper. It’s silver & black houndstooth pattern had a mechnical quality and colors fully compatible with my industrial materials.

Cutting the foam trays involved a bit of guesswork. The trays are small enough that any attempt to make perfectly flat fins would produce relatively small pieces. So I decided to keep at least part of the trays’ rounded shoulders. I inserted my matte knife parallel the trays’ bottom plane, and carefully sliced with a reciprocating motion all the way around the tray. It worked pretty well giving me four round-cornered slabs which had gently-curving faces, resembling the back of an iPad, on one side of the slab.

I made a paper template in the shape of the slabs and then drew and tested the shape of the slot that would allow the fins to be slipped onto the package. It worked very well. Now I could play around with the placement of the fins. I had imagined at first that they would be aligned in parallel as in my first fin wrap. But I became intrigued when I discovered the stability conferred by a symmetrical X configuration.

Before gluing the fins I continued exploratory play looking for something that would sit in the small empty space at the center of the X. My favorite among various objects was an old standby of my recycling materials: a copper metallic plastic lid from an aerosol deodorant.

I used a drafting triangle to regulate the gluing process. Fat strips of hot glue attached the fins to the bottom side of the wrap. Holding the wrap carefully on my knees, I then added glue on the wrap-top backside of the fins. (This wrap is inherently stagey, having an inherent audience-vs-backstage assymetry.) I glued a cross-brace onto the deodorant lid, and then glued it to the center of the wrap.

I was not yet sure if I had a finished wrap. Poking around the bins I found a red lid from a cosmetic jar and glued it to the top of the copper-colored lid. That was it. The wrap was complete. It evoked a strong sense of abstract function. But what, exactly? It was the recipient of the gift who thought it looked like a space module. The wrap sits elevated off  floor, table or planet. It has a metallic palette. The curious cupola at its center is of ambiguous scale and purpose. Perhaps it is a big emergency button whose compression would set off a celebration.
45-degree Wrap

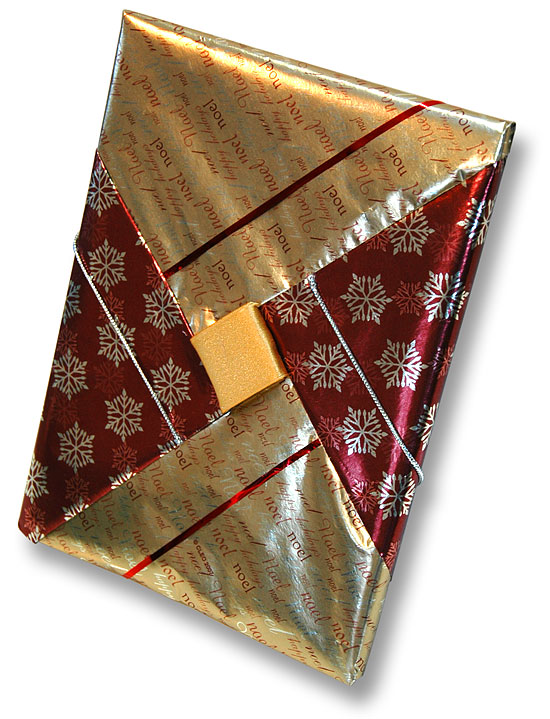
Foil paper is a joy to wrap. It folds so effortlessly. I made four panels using two kinds of holiday paper, one a light gold with words, and the other a darker red with snow flakes: contrast of color, plus contrast of symbols (image vs. alphanumeric). I wrapped under the edges of the paper, creating puffy effects similar to the wrapping bands I often use.

Before applying the panels, I made a small golden square by cutting a piece of foam and gluing on a strip of ribbon. I placed this in the center of the gift box at a 45 degree angle. This is the seed crystal of the wrap.

Next I began hot-gluing on the four panels. Once again, I ignore what happens on the backside; I just get the back wraps flat, however messy.

Then I chose two kinds of ribbon: silver to go on the red, and red to go on the gold. I glued them by their ends. They are positioned one unit (defined by the central square’s widh) away from the central square.

This is not the easiest or quickest wrap. It does allow you maximize favorites scraps you have saved. And the ribbon technique could be used to expand the design even further than I have gone here.