O Holo Wrap

We had received a Christmas food gift from my brother & his wife. A green plastic tray held all the goodies in place in little pockets of vacuum molded soap. Playing with the intriguing topology of this object I discovered that it could be folded in thirds king a triangular column.

When I had the chance to turn into wrap art I tied it and hot-glued it closed, joining the outer edges of the three panels. I made triangular paper inserts out of stiff paper that fit into the top and bottom of the plastic box. I placed the gift inside and padded it with two foam scraps to preclude any motion motion of the gift.
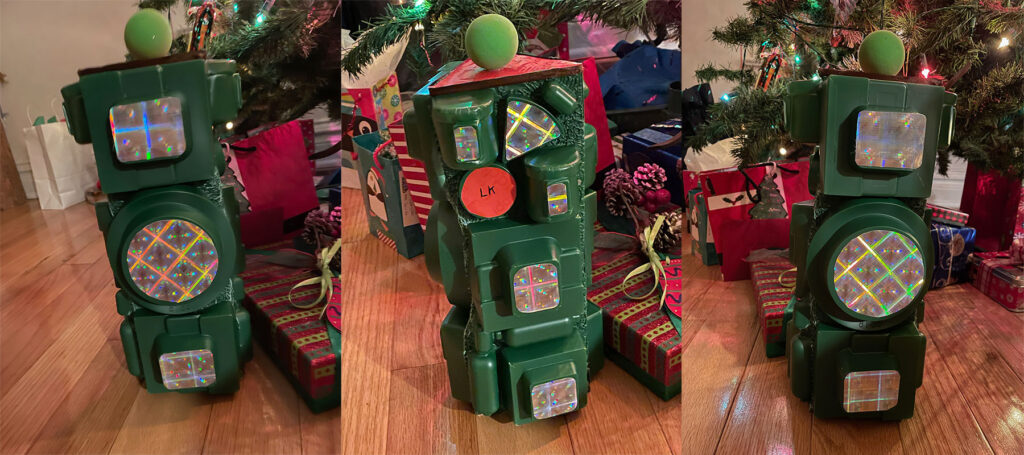
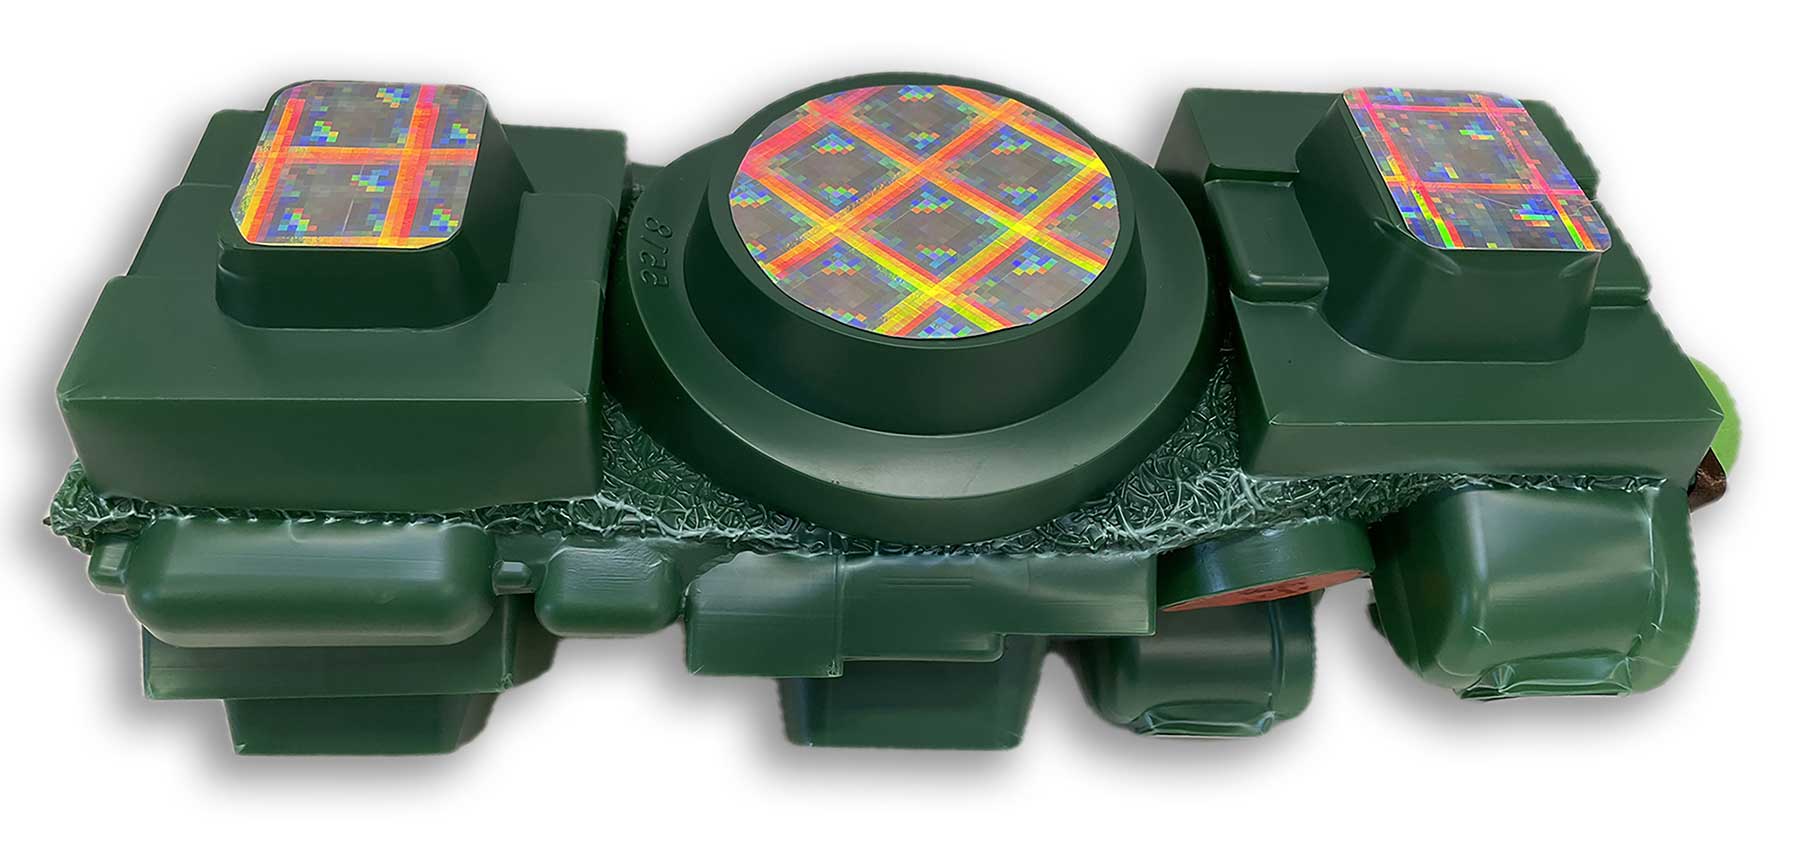
Now it was time to consider what to put on all the various flat platforms that arose from the three sides of the plastic form. I visited the ribbon closet and found a square cardboard envelope which had a holographic surface in a gridded pattern. When one views this materials from different angles, spectrum color shifts occur in the little squares of the paper’s pattern. There is almost constant animation. I began cutting squares, and triangles of this paper, fitting them on the various protrusions populating the green triangle-tube. Where cookies, chocolate, sausage, and cheese once lay in waiting, the container now popped out with these small dynamic color generators. To the eye they simulate little digital screens.

CLICK HERE FOR A VIDEO OF HOLO WRAP

I finished the wrap with a colored paper triangle on top, a brown ribbon around its border, and an all-purpose green ball on top.
Ziggurwrap

ziggurwrap

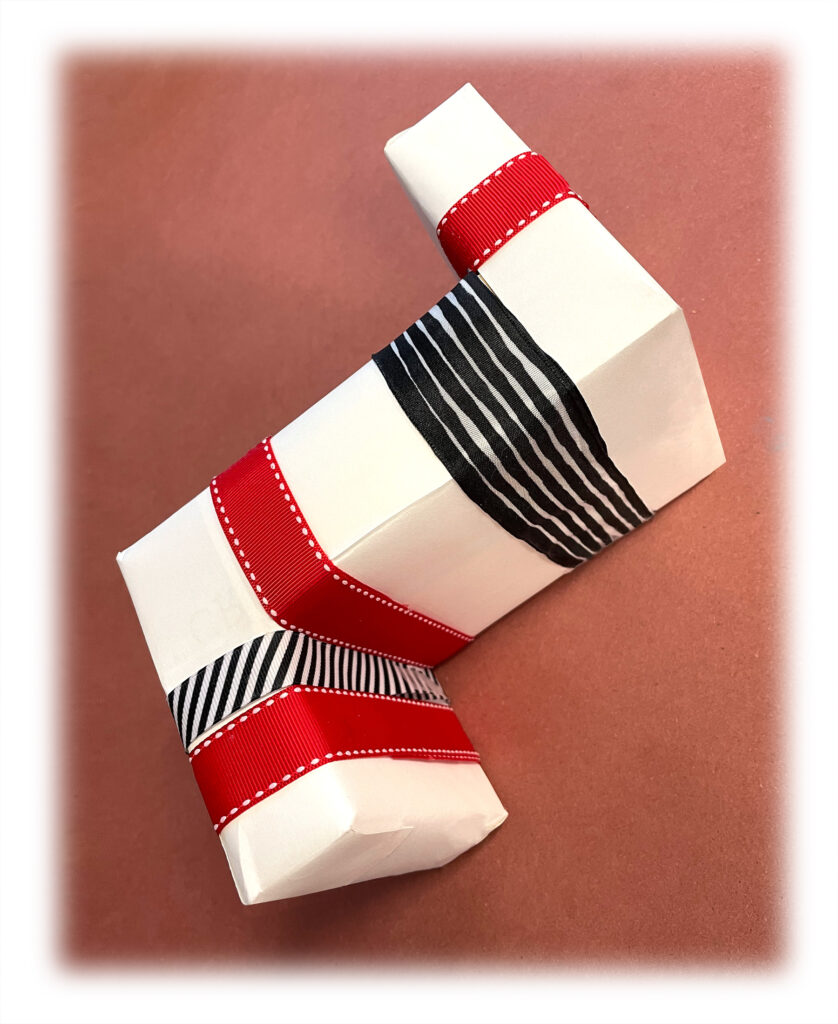
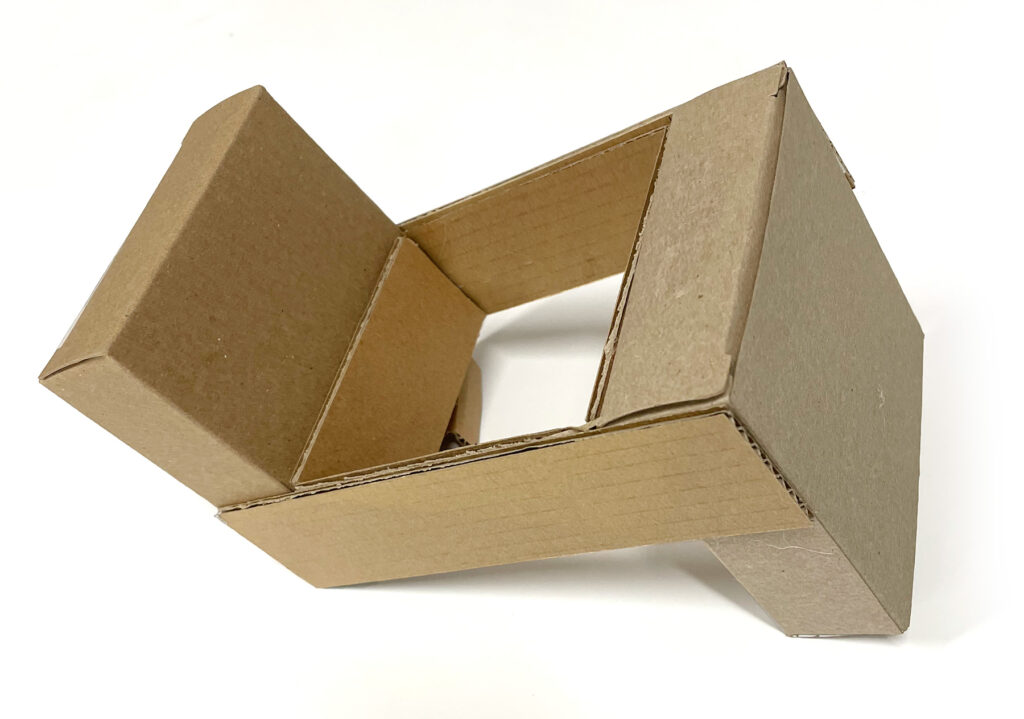
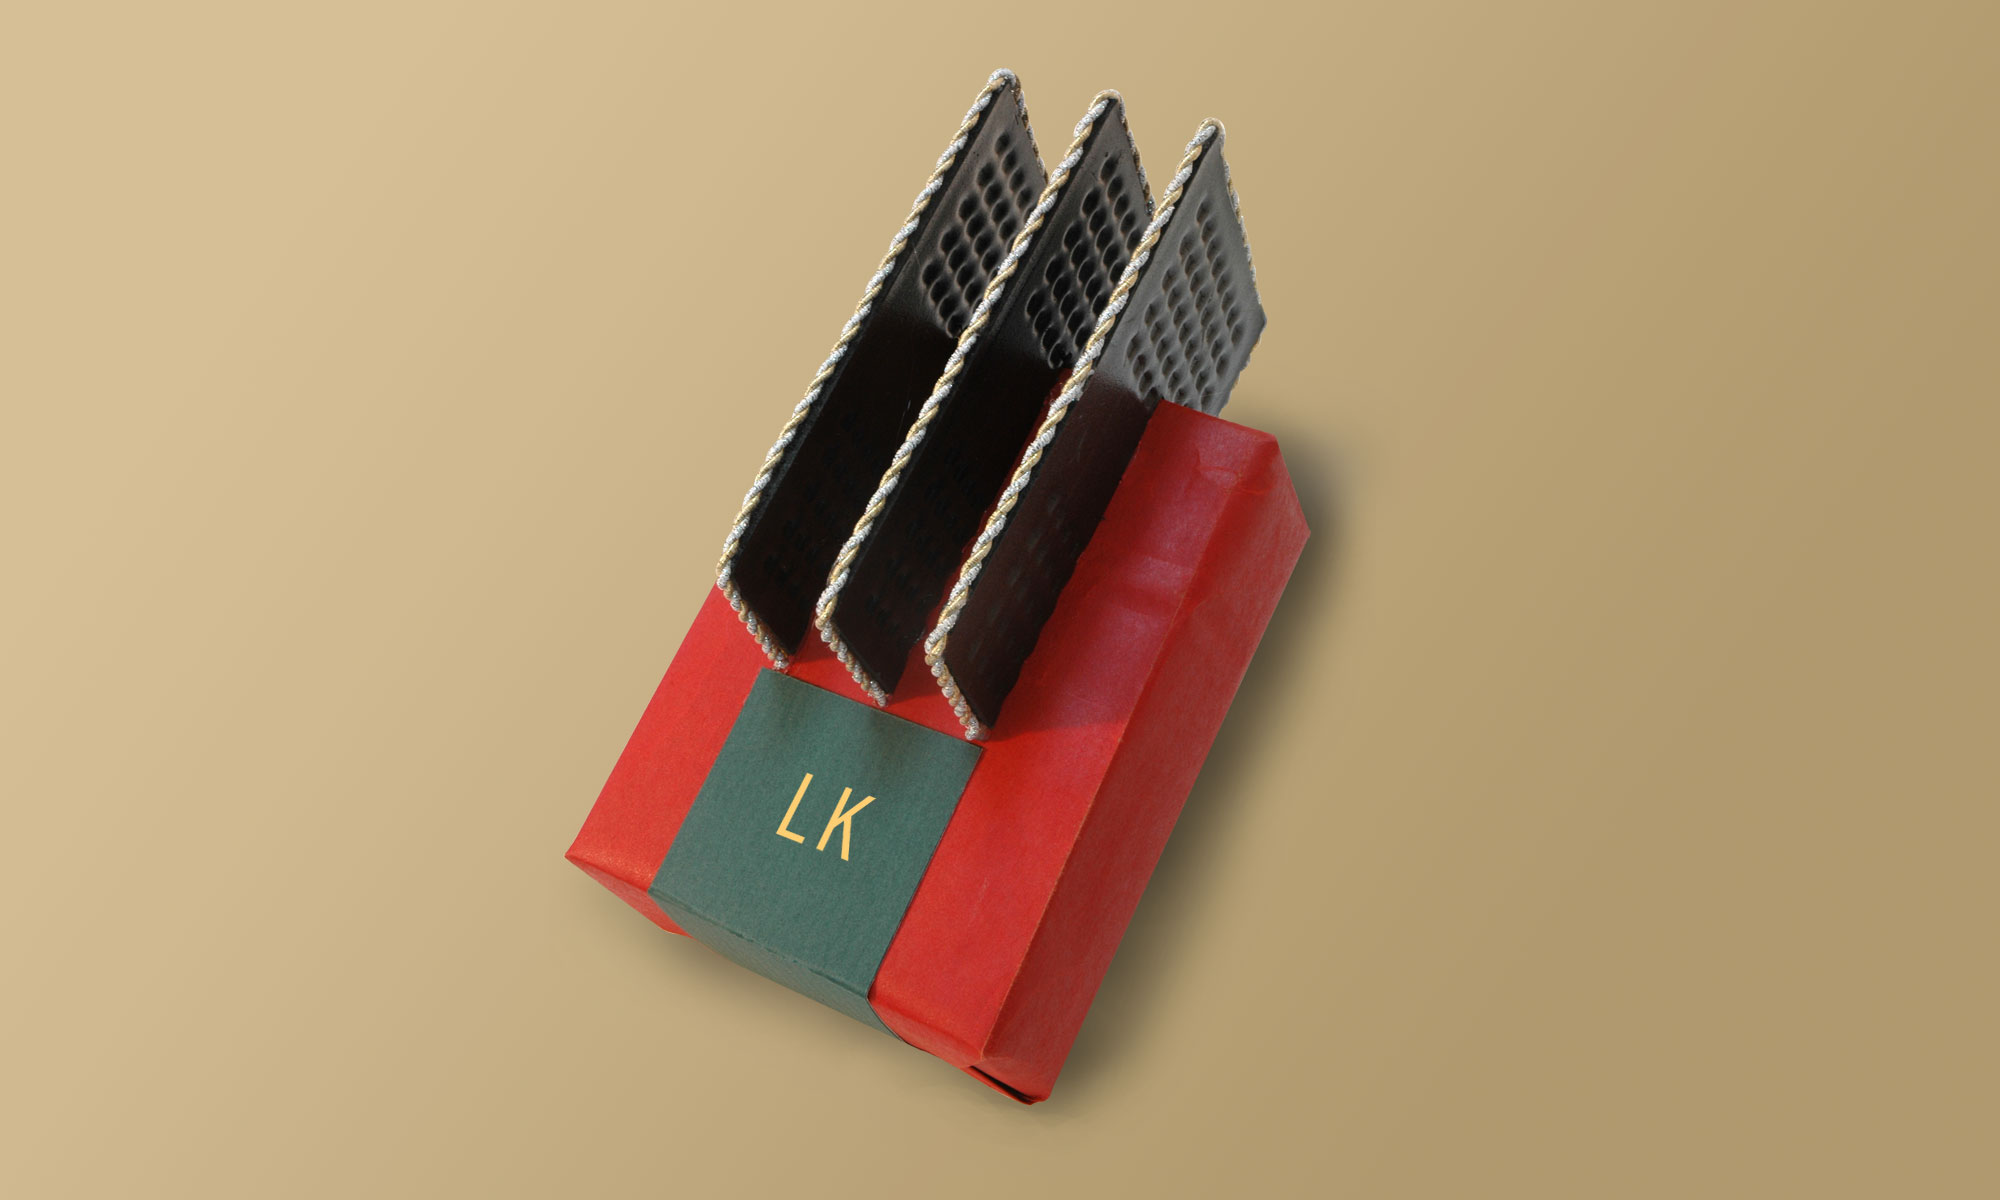
I had two small boxes, about the same size as the he gift I wanted to wrap. They suggested to me the idea of making an irregular shaped “giftbox.” I set about to make a special skeleton out of the two boxes, linking them with beams of corrugated board, The gift fits right inside the space between the two boxes and their beams.

Extra pieces of board made the gift fit snug in order to make the task of wrapping this odd shape a bit easier.. Admittedly the task of wrapping this conglomeration in white paper was not that easy. I knew that there was no easy way to wrap this zig zag box with a single piece of paper. So I collaged it with numerous pieces of scrap 8.5″X11″ stationery. I used both thin tape and a bit of hot glue. Finally I had a solid white wrapped zigzag. I added three red ribbons one kind of red ribbon, and two pieces, of varying pattern black and white ribbon. I made the label out of small gray and very flat beach beach pebble. I inscribed the name with a marker.

Old Leaf

wrap art with autumn leaves

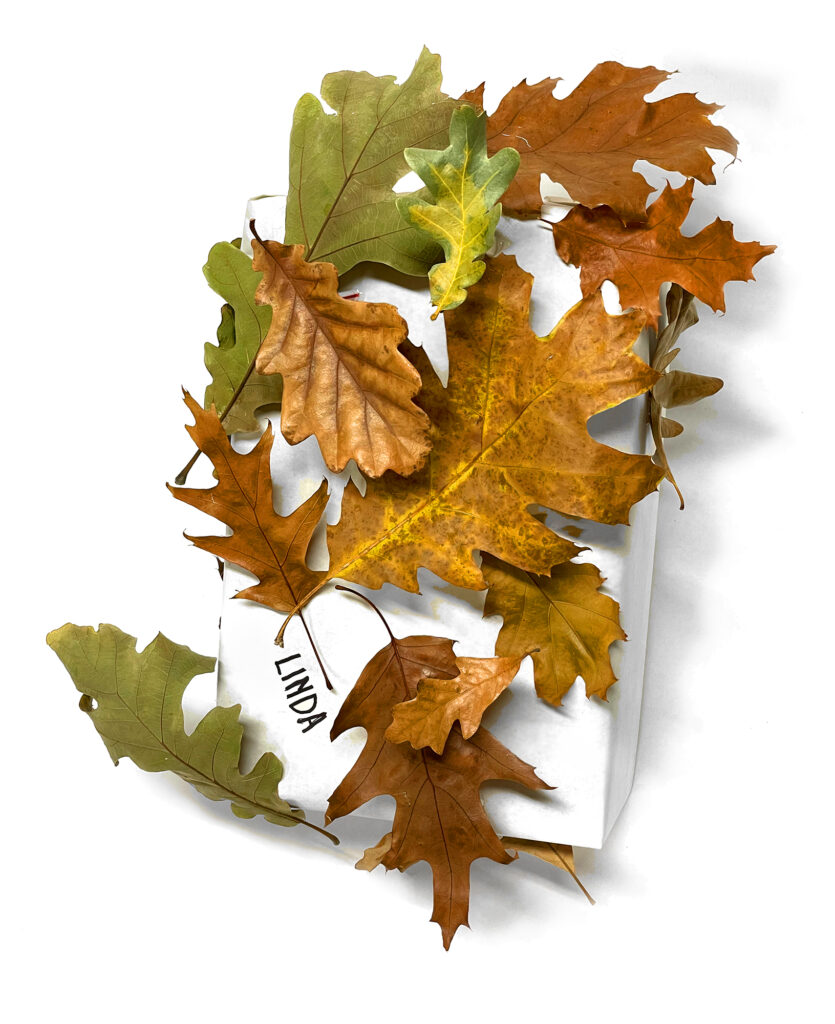
I love the dried leaves that carpet the autumn pathways. I began preparing for this wrap a while ago. And I added new leaves right up to the day I made this wrap. I have used large green leaves in the past. They can be shaped to the package. But what would allow me to use brittle dried leaves. I decided that I would try foam stilts to lift them free of the underlying wrapped box. I cut short pieces of white foam and hot-glued them onto individual leaves. When they cooled and were stable I trimmed the bottoms to make them stable and free-standing with three legs. Then I glued them onto the white-wrapped gift box. I added some that had only two legs, raising them higher that the initial batch of leaves so that the collage had a feeling of being airborne. Eventually there were enough to call it a finished composition.

Triangles

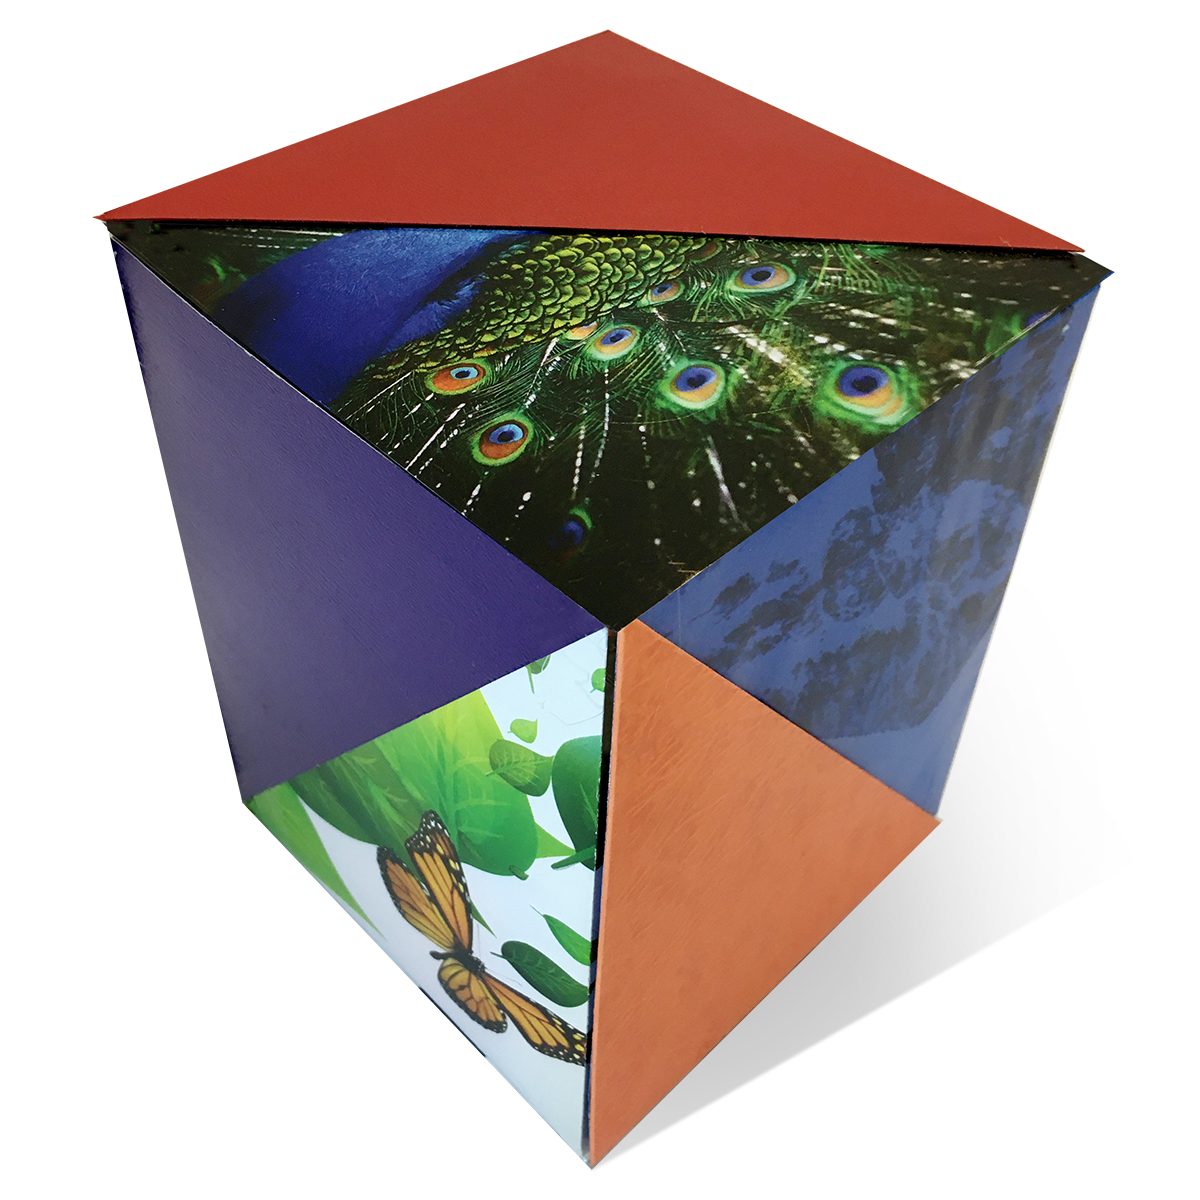
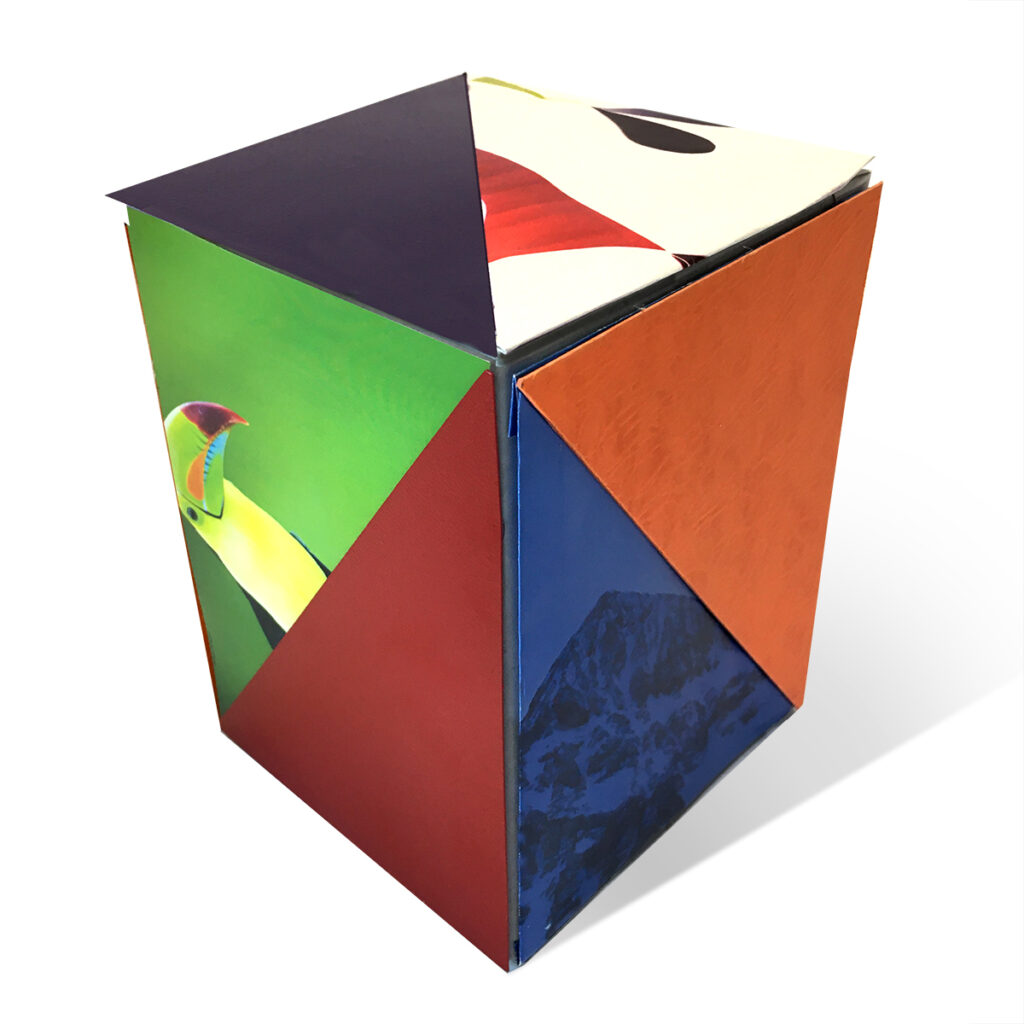
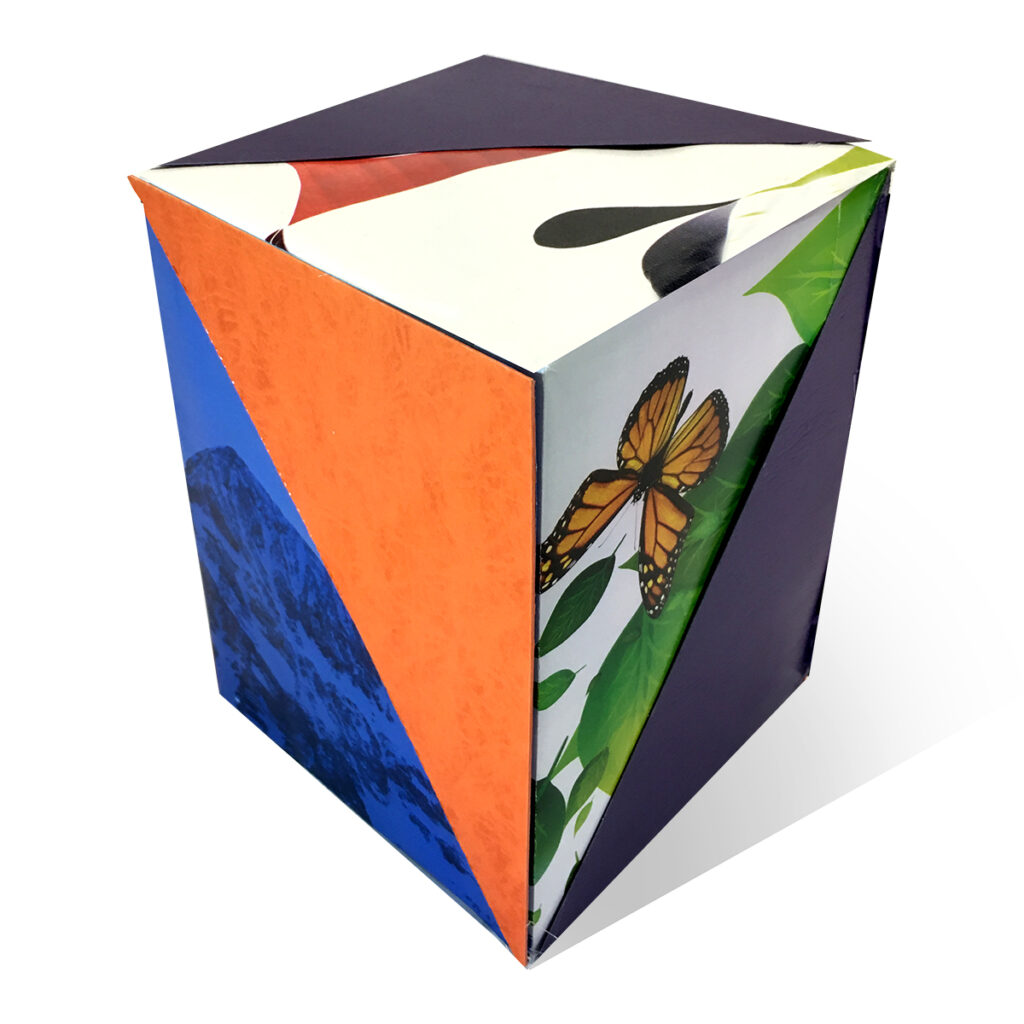
This is an example of accretive wrapping. It starts with a “base coat” of plain paper, applied in the traditional way: a single piece of paper wrapped, with two folded ends.. The first layer of accretion consists of six separates rectangles of imagery taken from magazines and marketing literature.. I cut them out to fit the six sides of the gift box, gluing or double-taping them onto the base wrap. Then I cut and fitted six triangles of stiff paper from printer’s paper samples. These are all glued on the image layer. The wrap can rest on any of the six sides. All views of this wrap are good.

Tri Tubular Wrap

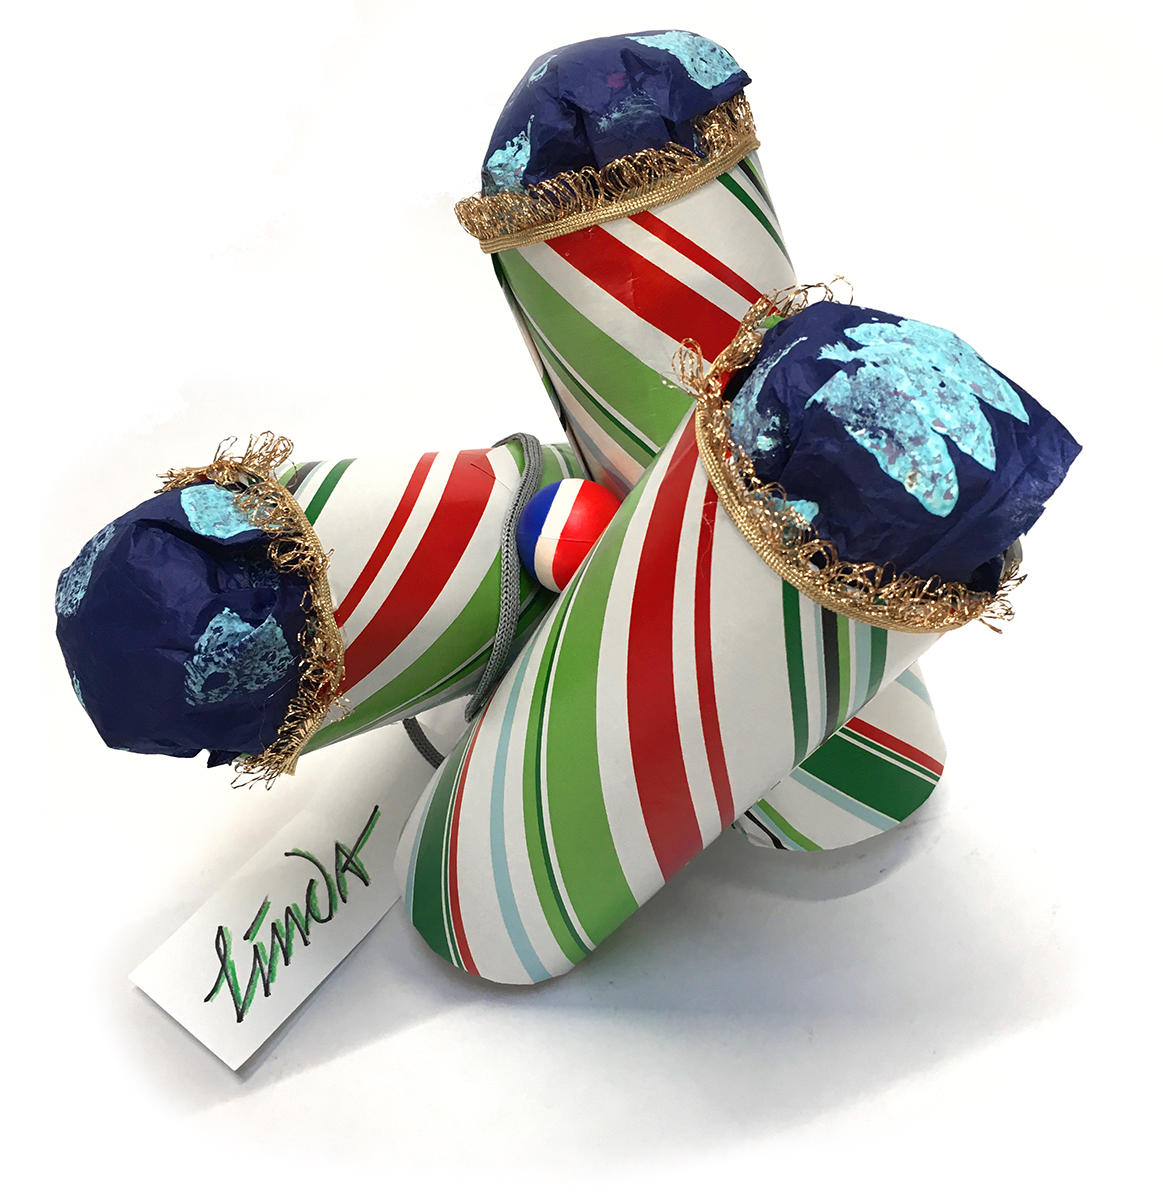
The gift had three parts. In the middle of the night I had the idea of conjoining three boxes. In the light of day it became three tubes. The engineering was challenging. Since the three tubes were to be covered with wrapping paper scraps, I had to figure how to join them without relying on the flimsy wrapping-paper skin as a structural gluing surface. So I drilled holes in the sides of the tubes. I hot-glued six 1″ dowels into the holes. Then I wrapped the three tubes with striped wrapping paper scraps, and then completed the task of gluing three tubes together using their various dowel pegs and holes. It was not easy, and I do not recommend trying this wrapping strategy with angled cylinders. But it did finally come together. I plugged the lower ends with cardboard cross beams and inserted the three gifts into the upper opening of the tubes. I stuffed those upper ends with blue tissue, and added the gold ribbon trim, to give that completing note of wrapping tradition to this non-traditional wrap. When placed amongst wrapped gift boxes it has it own peculiar presence.

Twig Bower

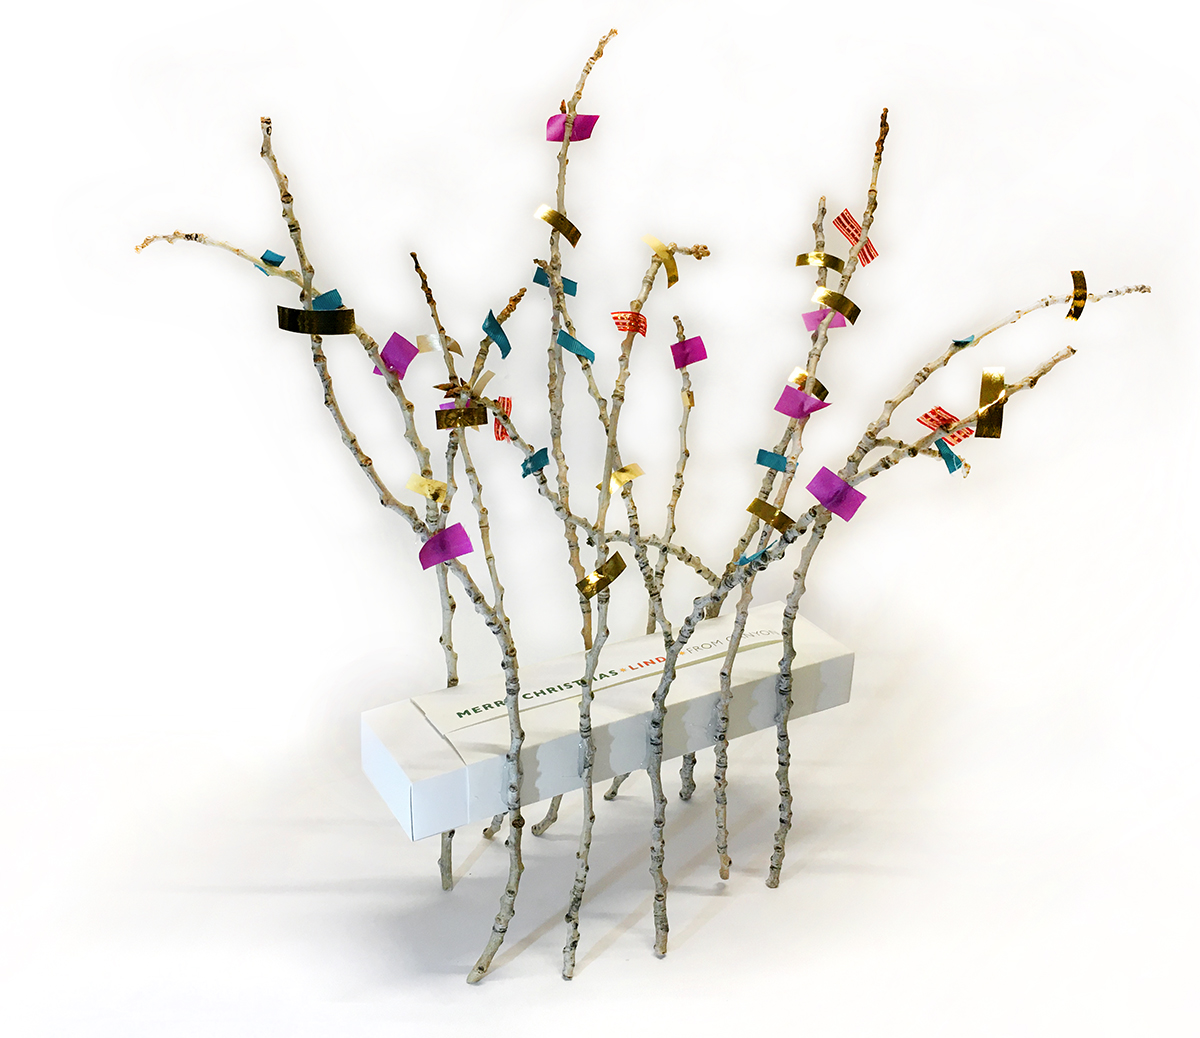
I collected a handful of twigs that had fallen off their trees during a recent icy snowstorm. My intention was to replace two damaged twigs on an old pine-log reindeer christmas sculpture. But two other twigs from our backyard proved better. When it came time for the first wrap of the season, I thought these twigs might make a fine “bow” when bundled together with ribbon and place cross-wise on the long white box of the gift.

But that idea proved wrong in execution. The bundle of twigs never looked elegant. The twigs were awkward with each other. When I paused to ponder new design vectors the twigs piped up with “legs,” a wonderful but often overlooked wrap tactic.

I then made a wrapper for the box, using the white bag in which the gift’s source store had made the delivery to me. The wrapper covered only nlne of the gift’s eleven inches length and used no glue or tape on the gift’s box. That meant that the box could be slid out of the wrapper quickly and effortlessly, with no ripping or tearing.

I divided the sides of the box-and-wrapper into sixths, marking the five spots that separated those sixths. I began hot gluing the legs onto the box. Once they had cooled, I trimmed them to a common length from the bottom of the box. I could then stand up the whole rig, stand back and judge the result.

I felt it could use some color. So I cut up ribbon fragments —purple, teal, red, and gold— to become abstract leaves. I glued them on, examining both sides as I went.

For the label, I made a strip of typography, printed it out, and cut it into a ribbon. I folded the ends and tucked them into the ends of the white wrapper.

Magazine Wrap

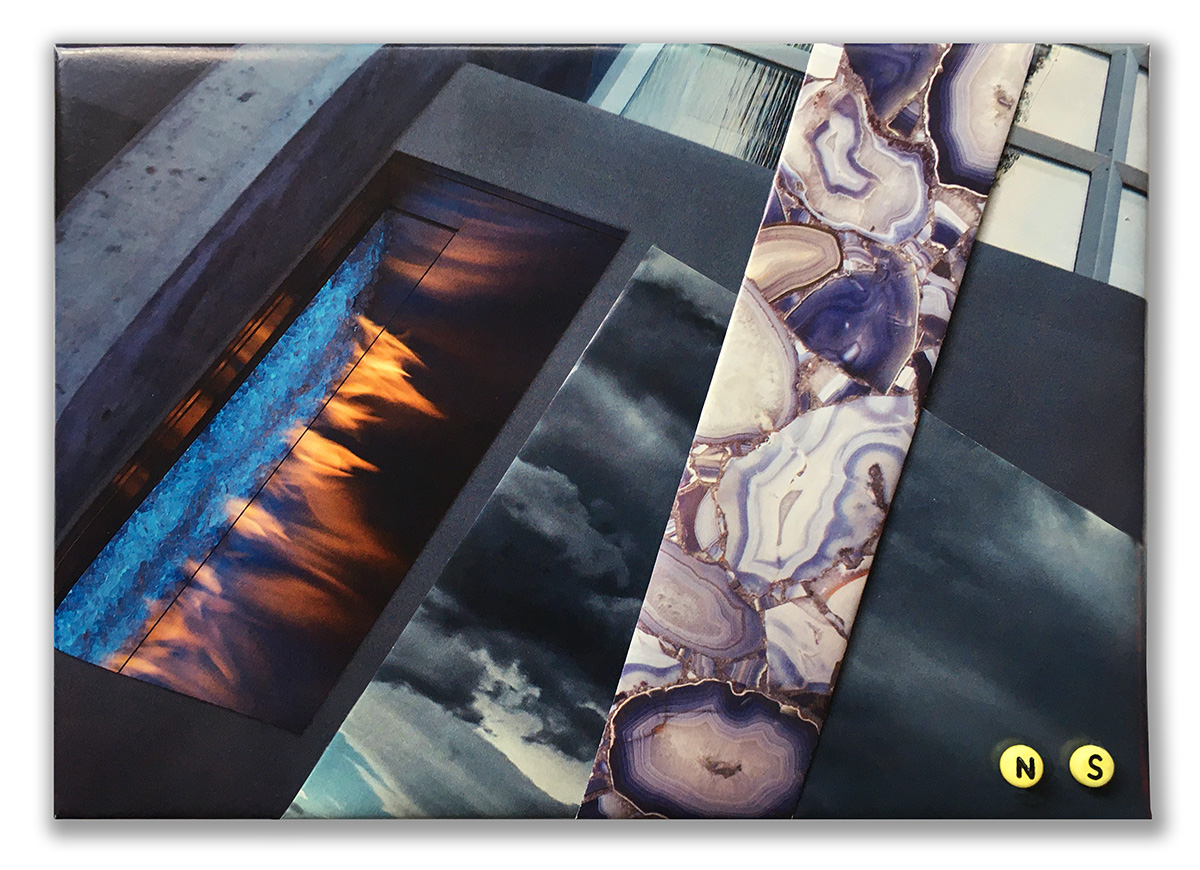
This wrap did not even have a box. I put a gift of notecards between two pieces of corrugated board. Two pieces of tape made them a unit. Then I picked up a magazine that had lots of ads with large photos with tasty textures. I placed the first piece at an angle and proceeded to wrap it, folding the ends and gluing the foldovers onto the back. I then selected another page from the magazine. I positioned it in various ways until I knew what I wanted. I folded the two edges that would be visible on the front of the wrap, and then began gluing the piece into place. Next I took a strip with imagery of marble and folded its edges, making a traditional wrapping band. I positioned it and glued one end. Snugged the other end tight and glued it. I then took, from a jar of alphabet beads, the initials “N” and “S” of the recipient’s name. I glued them on, using a nail to hold the hot glue, and place it on the wrap. I then added the two beads. It is a moody wrap, with a rich materiality conveyed by the continuous tones of the photographs.

2square Mag Collage

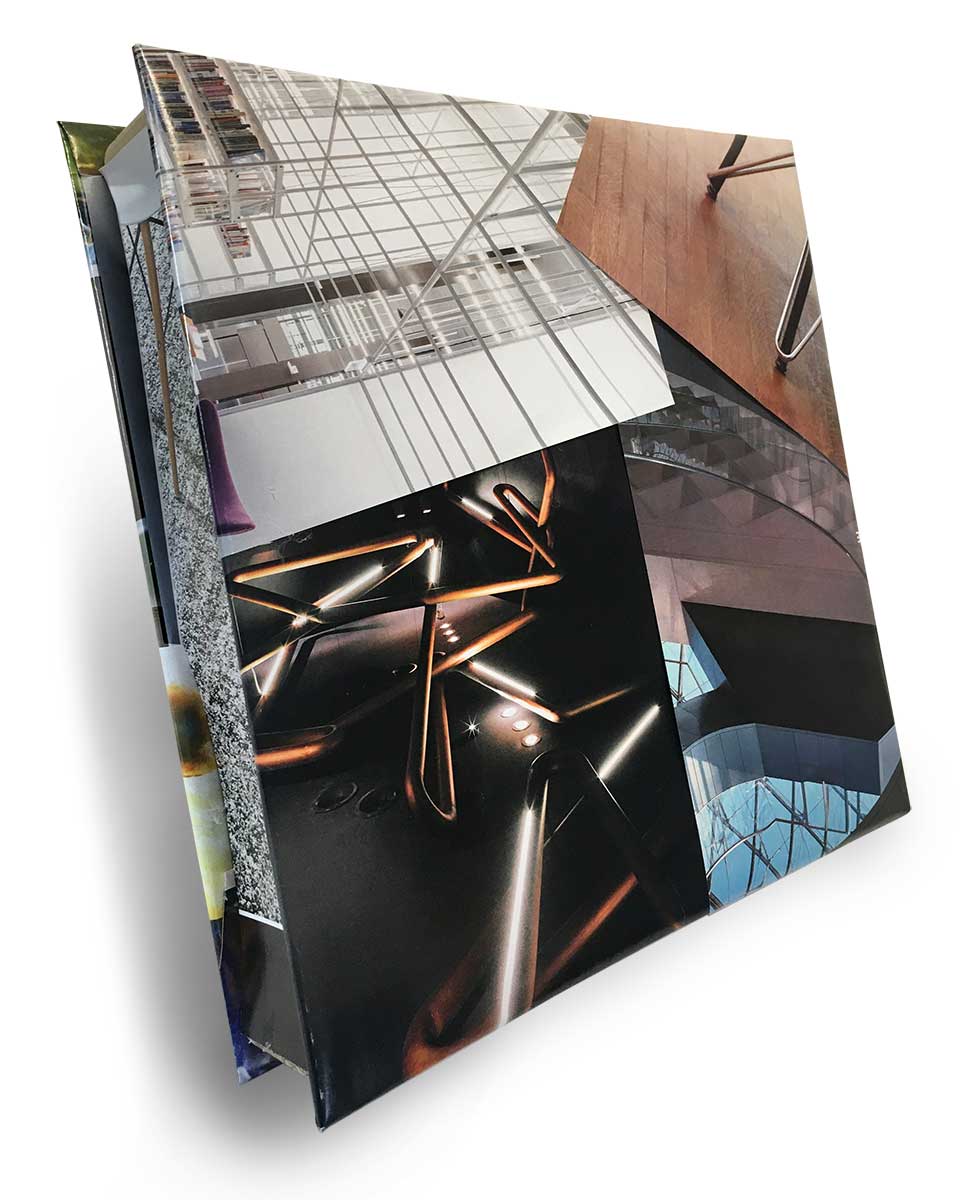
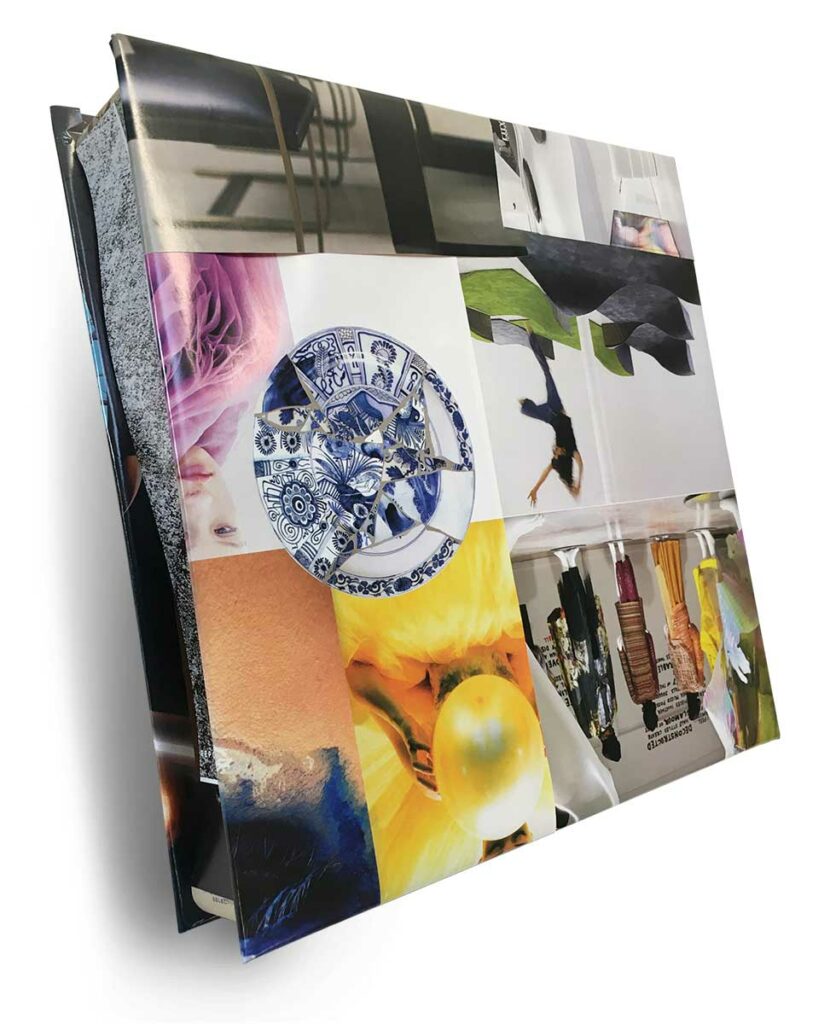
I decided it would be quicker to pack this gift between two squares of corrugated cardboard, than to cut out a custom box. My plan uses corks as pillars to create the space for the gift after creating the two square collages. I covered the two squares with paper from a large design magazine whose ads and special features provided a variety of engaging textures. I used my hot glue sparingly and assembled the collages speedily, wrapping the around the edges of the squares.

I used seven corks to separate the squares. Where the eighth cork would have gone along the middle of one side, I left open space, to ease the retrieval of the gift. To keep the gift from rattling around inside and ripping open the paper walls I planned to glue around the edges of the wrap, I hung the gift inside using three lightly-glue corks, placed strategically in the interior. Then I closed up the wrap with four pieces of cover stock pages, cut to the height of the corks. They are glued to the corner corks. One corner has a “pull open here” sticker placed to guide the recipient in un-wrapping.

It looks like a large picture book, except that there is no spine.

Stripes

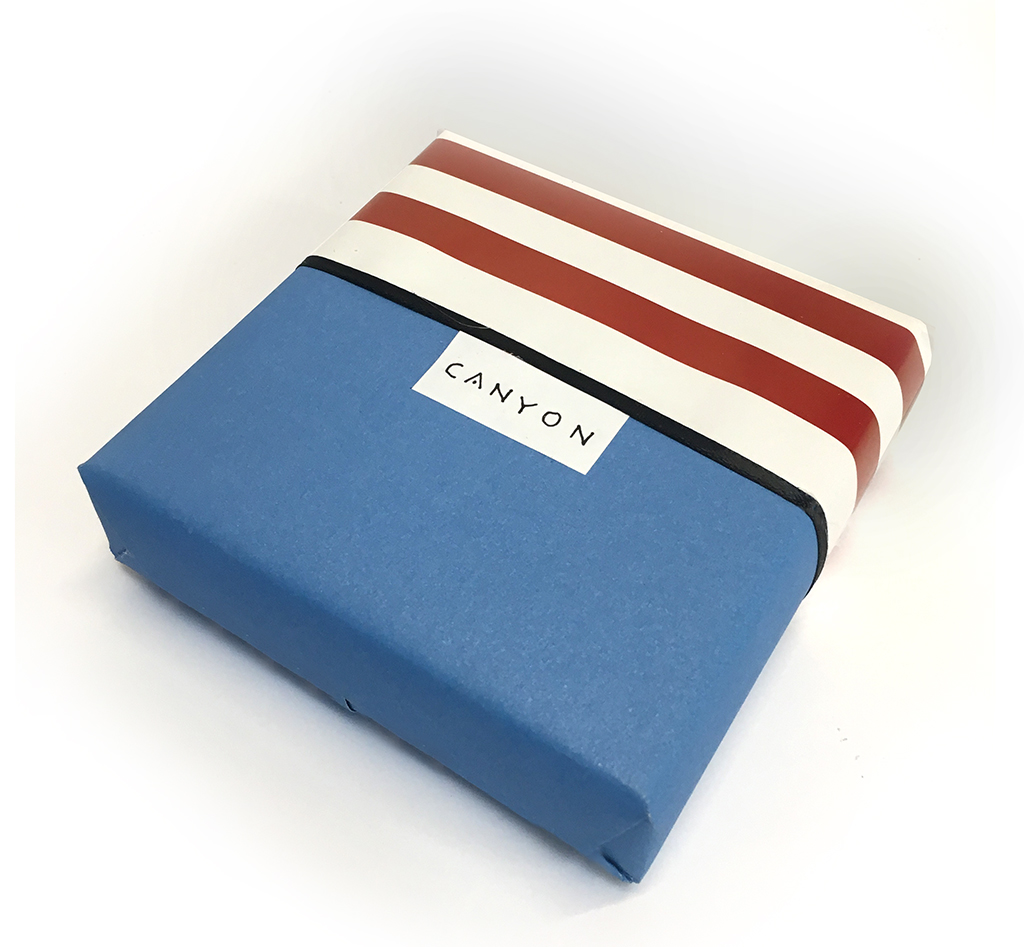
This is a classic two-piece wrap. I used a remaining piece of blue Pantone paper on the bottom. Then I reached for a packet of printed American flags that somehow made it into my paper drawer. I chose to use only the stripes, which still left the wrap with a strong hint of flag. I covered the join with a bit of skinny black ribbon. A mini label completes the task.

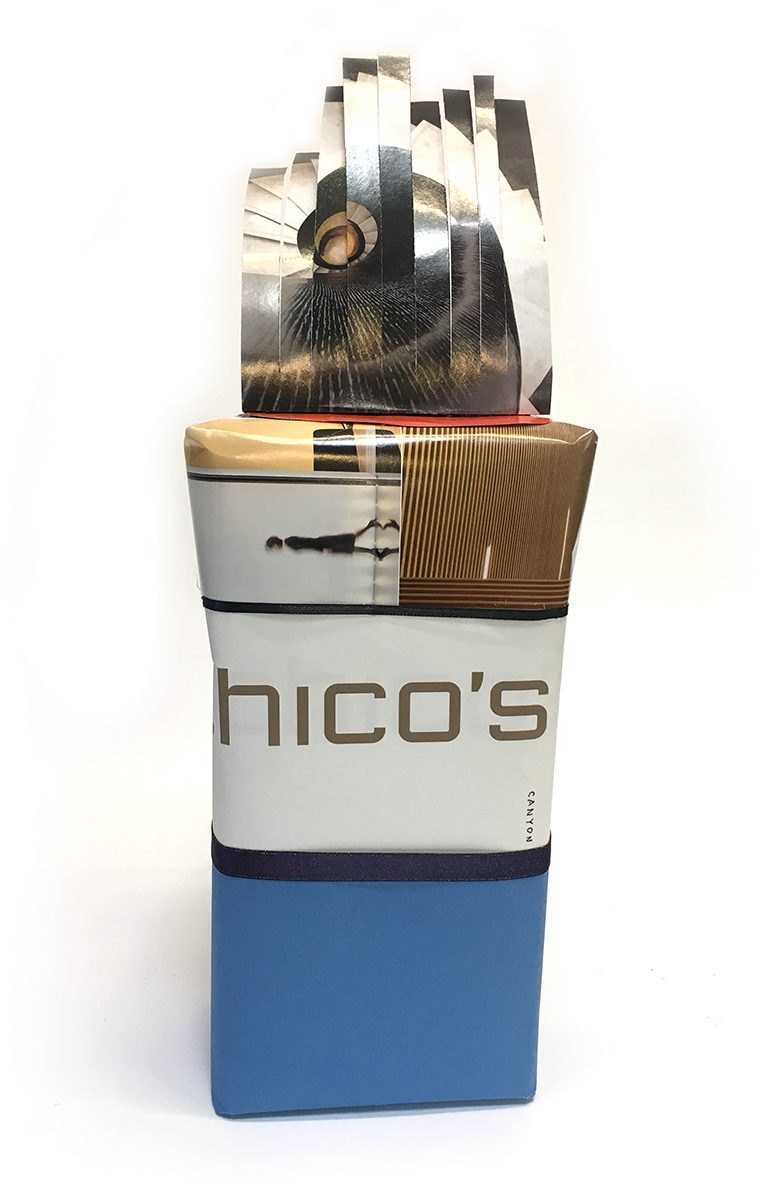
Shopping Bag with Comb Bow

For the first step wrapping this medium sized gift, I cut down a white shopping bag and wrapped the entire box in it, using hot glue to secure the thick paper of the bag. I put a secondary blue wrap on the bottom, a piece of old Pantone paper. I then took a page from my magazine of the moment, an image with rectangular forms, a person, abstract photo detail and color complementary to the blue. I did not cover up the shopping bag’s branding, because the typography lends the whole composition a poster-like quality. Also the gift’s brand diverges completely from the this bag’s. Wrap Humor. To finish it off I took another magazine scrap and cut slices partway through it. I folded the uncut edge and glued it on top of the wrap. Carefully I shaped the teeth of this comb into gentle curves. The interplay of the rectilinear scrap & scissor-cuts with the curves of the actual spiral imagery in the photo & the shaping of the comb’s teeth adds a bow-like quality and completes the wrap.