O Holo Wrap

We had received a Christmas food gift from my brother & his wife. A green plastic tray held all the goodies in place in little pockets of vacuum molded soap. Playing with the intriguing topology of this object I discovered that it could be folded in thirds king a triangular column.

When I had the chance to turn into wrap art I tied it and hot-glued it closed, joining the outer edges of the three panels. I made triangular paper inserts out of stiff paper that fit into the top and bottom of the plastic box. I placed the gift inside and padded it with two foam scraps to preclude any motion motion of the gift.
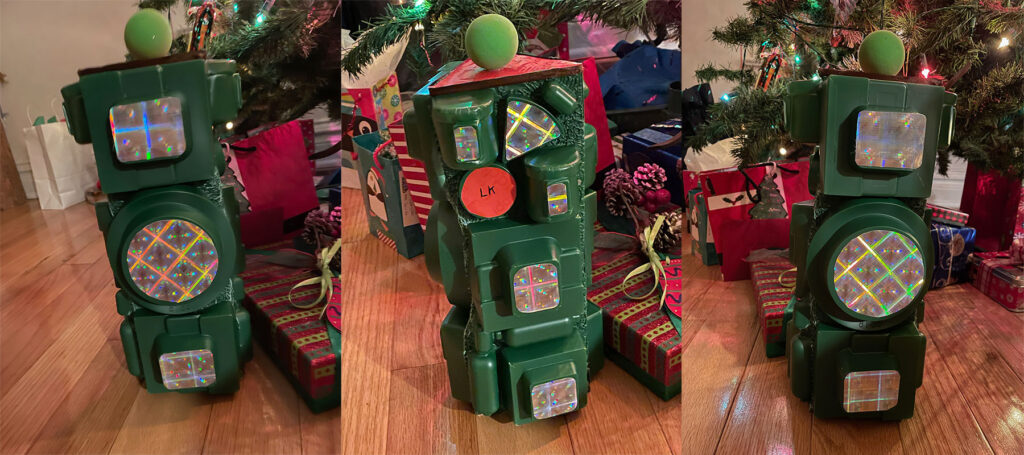
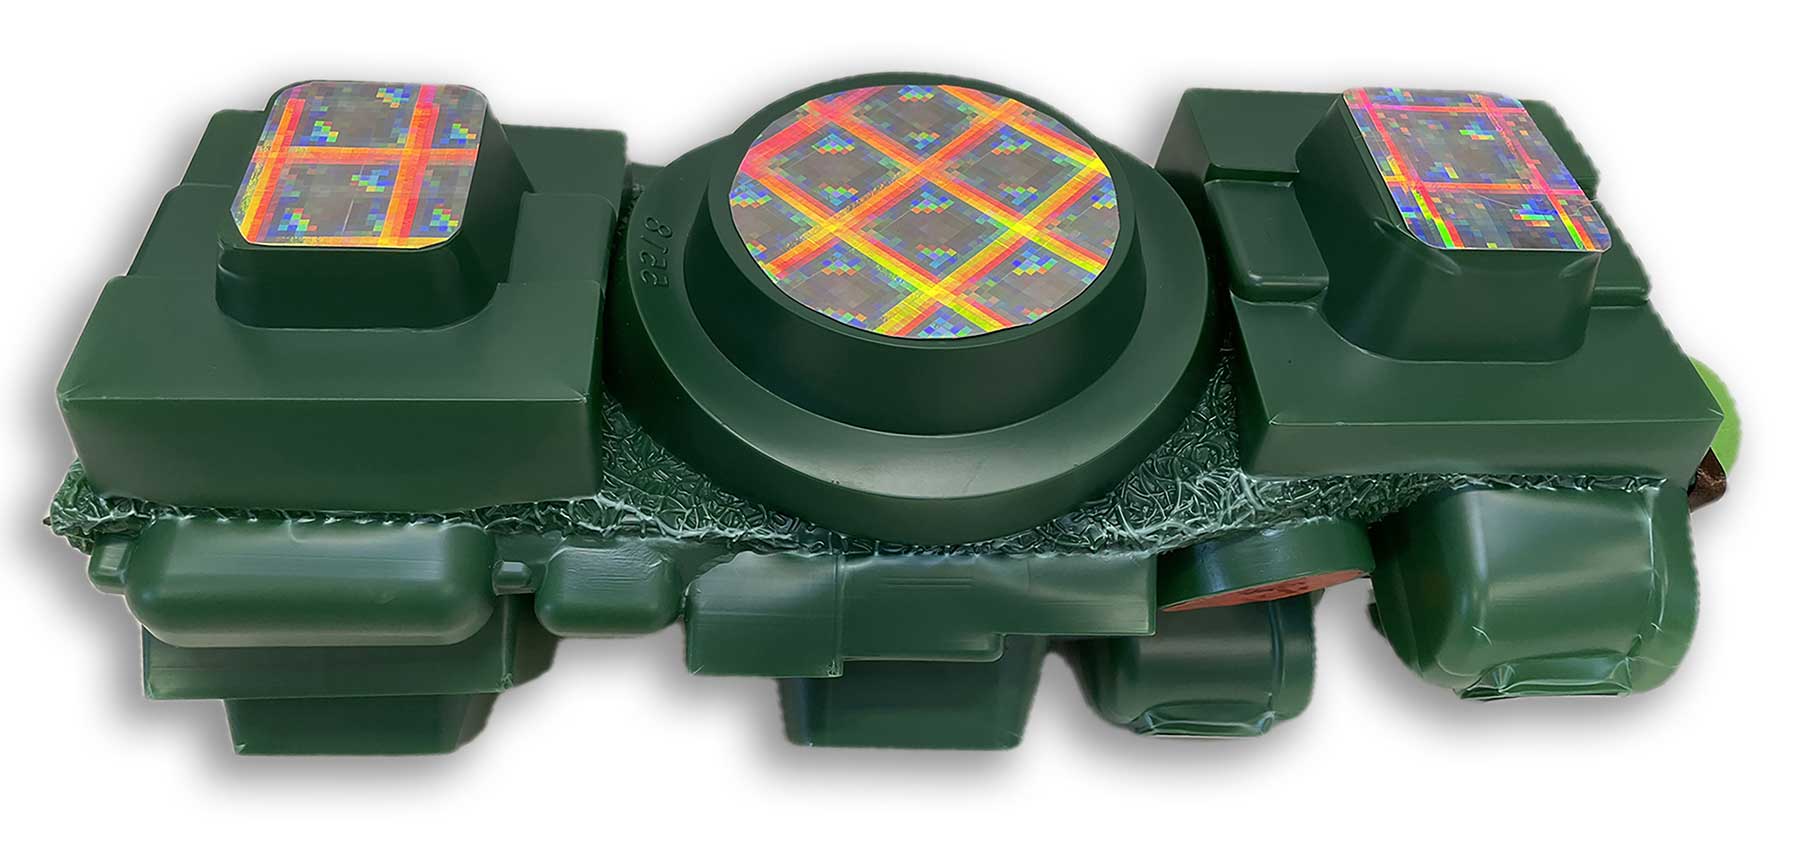
Now it was time to consider what to put on all the various flat platforms that arose from the three sides of the plastic form. I visited the ribbon closet and found a square cardboard envelope which had a holographic surface in a gridded pattern. When one views this materials from different angles, spectrum color shifts occur in the little squares of the paper’s pattern. There is almost constant animation. I began cutting squares, and triangles of this paper, fitting them on the various protrusions populating the green triangle-tube. Where cookies, chocolate, sausage, and cheese once lay in waiting, the container now popped out with these small dynamic color generators. To the eye they simulate little digital screens.

CLICK HERE FOR A VIDEO OF HOLO WRAP

I finished the wrap with a colored paper triangle on top, a brown ribbon around its border, and an all-purpose green ball on top.
Trashformation

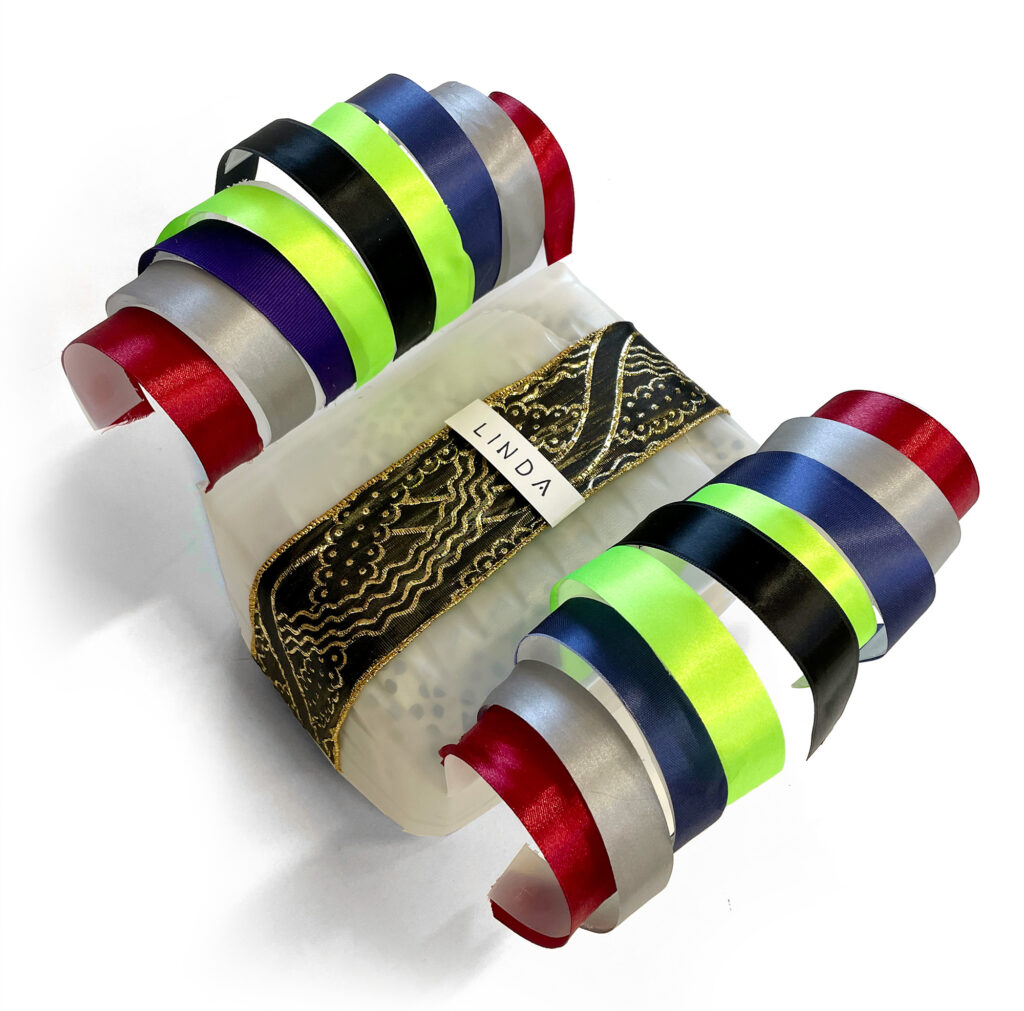
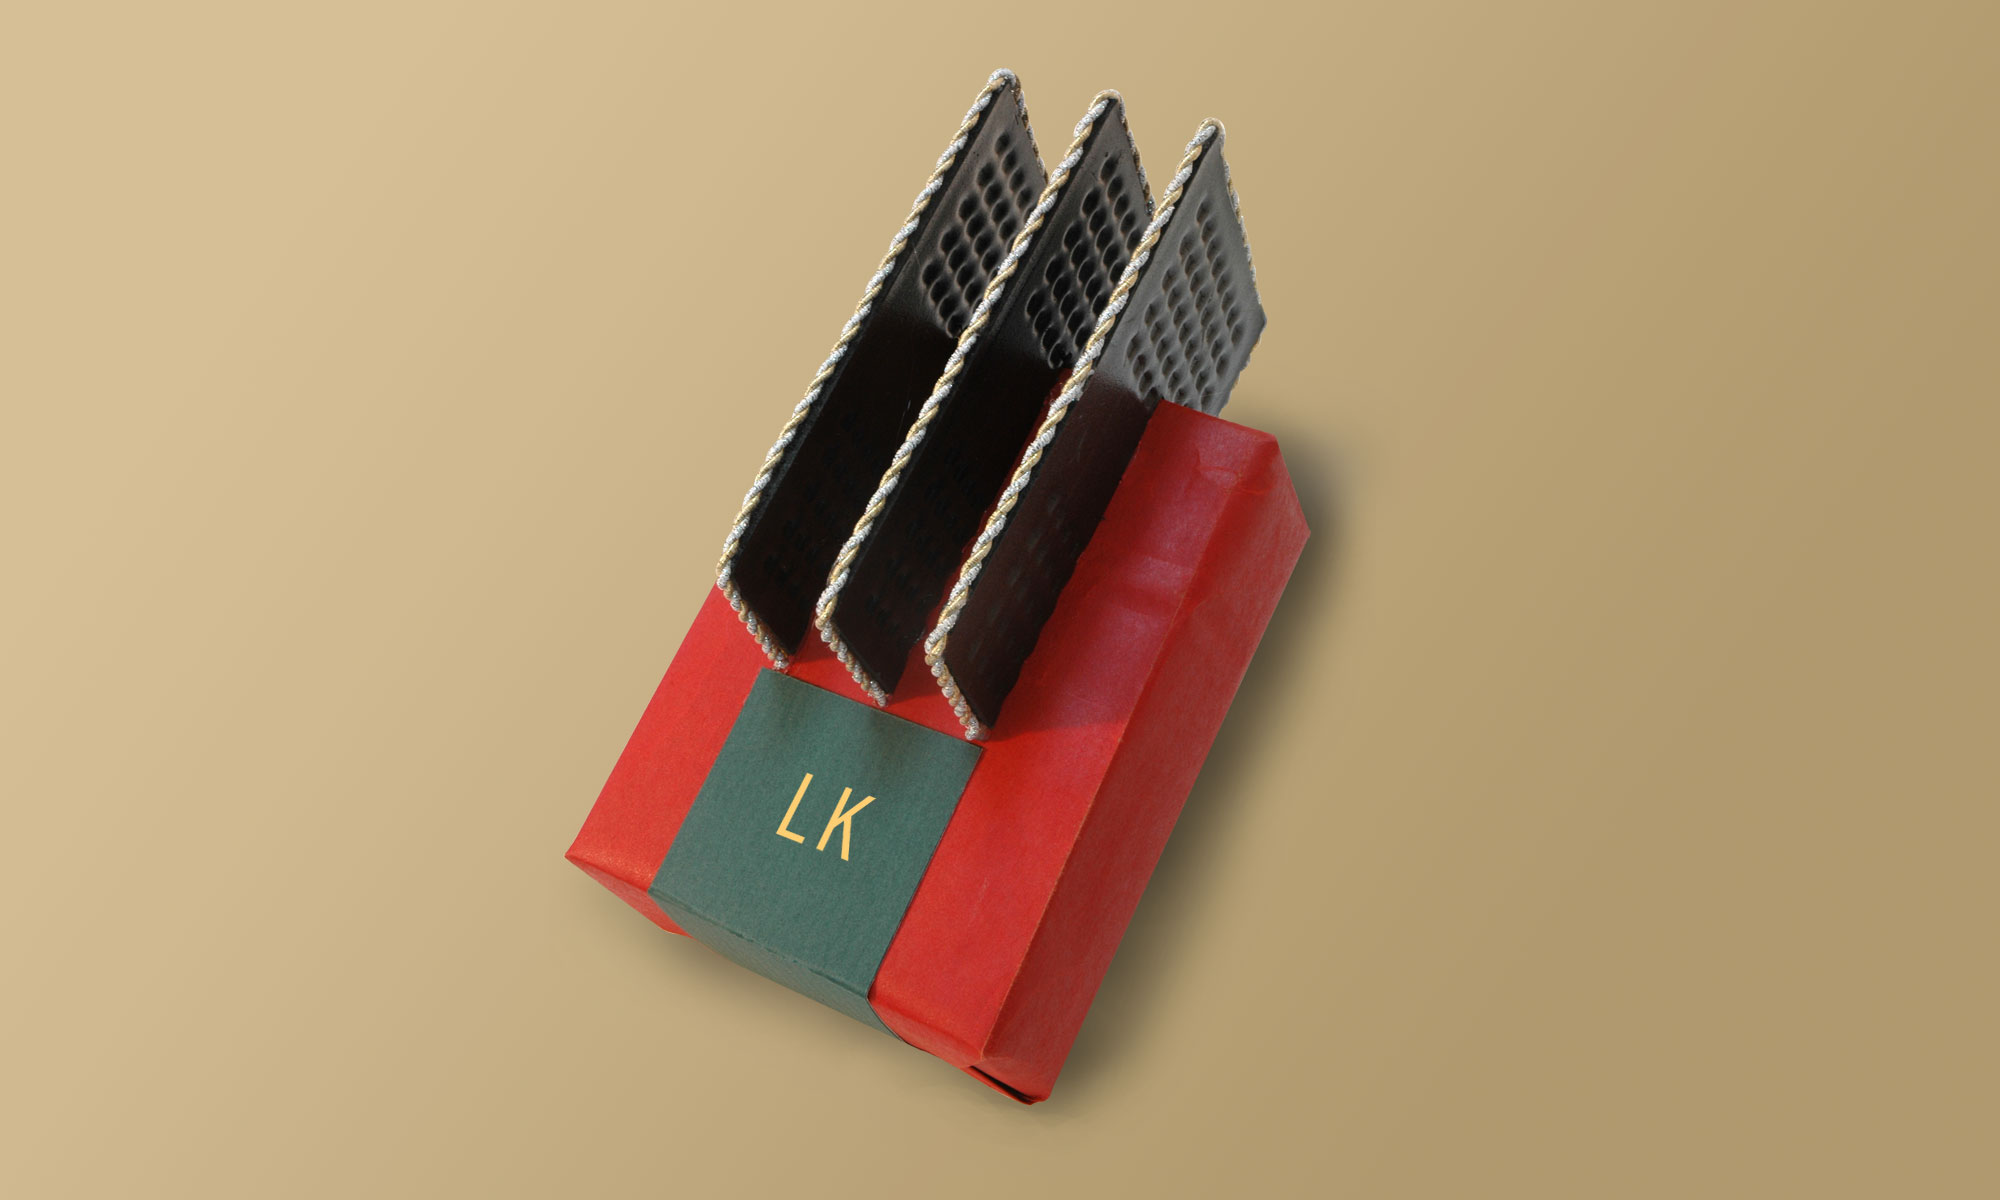
I began with an 8.5 lb. kitty litter jug and a desire to cut it into a gift box with projecting arms. I cut off the top. Then I cut down along the four vertical corners, stopping when I got to a point I considered the top of the gift box that I was building; that was about four inches from the bottom. At this point I had a gift box with two wide walls and two thinner walls. The walls rose straight up from the box and my next actions would make the walls along the long side into curved ribbon holders. First I need to create the closure of the gift box. I took the short-side walls and folded them down, forcing a soft crease where the wall joined the box. Then both walls could be folded down, one on top of the other. I cut a 1/4″-wide slit into the bottom wall. I cut an insert-tongue into the upper wall, and fit it into the crease.

Now I was ready to convert the two longer walls into the ribbon-holding art. Eight vertical cuts created nine strips. I rolled them up and the jug’s plastic had enough memory to hold some the forced curling. Using small squares of double tape I applied eighteen pieces of ribbon to the plastic arc. I finished with a textured gold and black ribbon, and a name tag, which has two fold to attach it to the ribbon.

Packing Peanut Sheep

packing peanut wrap art sheep

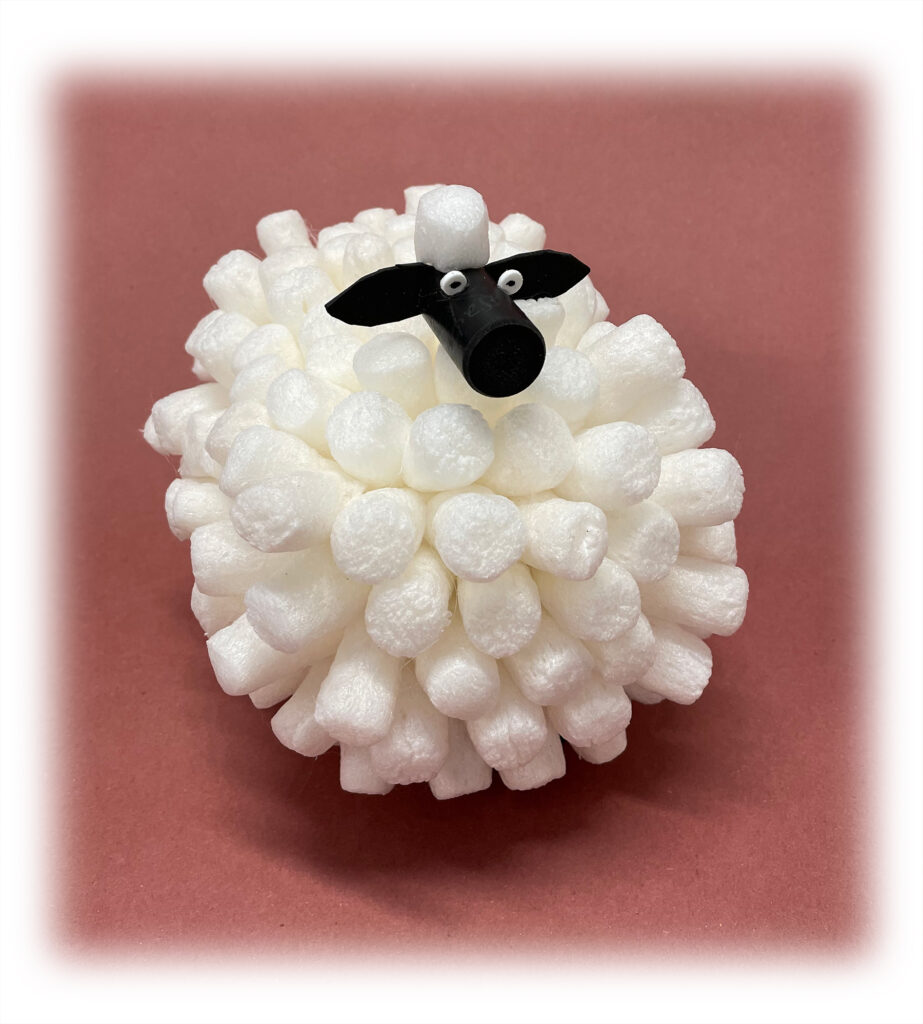
The season of wrapping arrives. Shipments arrive. Their boxes sit on the kitchen floor. I see a lot of white packing peanuts. I think: glue a furry pelt of packing peanuts. I start with a base wrap of white paper to cover the gift. I added some wine cork legs so that the peanuts could tilt downwards along the lower edge without breaking off. Then comes a long stretch of gluing and fitting fat fur. I have made headless animal wraps before. I proceeded on that assumption, until the sheep slowly overcame my fondness for abstraction. I had black plastic wine corks. I put a patch of white foam fur onto the sheep head. Black craft foam ears came next. A hole punch applied to white craft foam made two eyes. A black fineline marker made little dots to complete the eyes. I glued the assembled head onto one peanut, with a bit of support via one ear and a neighbor peanut. The result is this charming pneumatic sheep.

Tray Beau

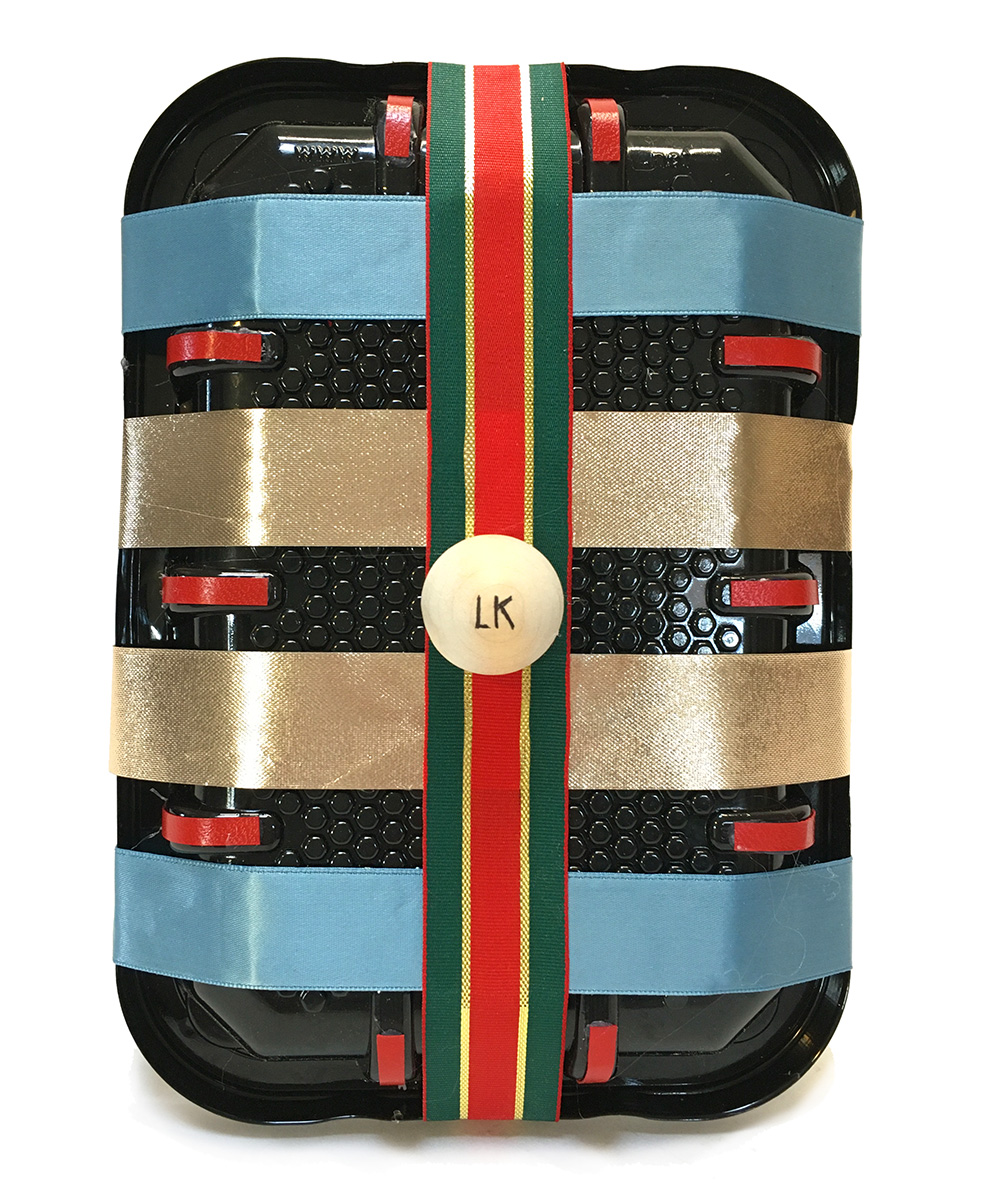
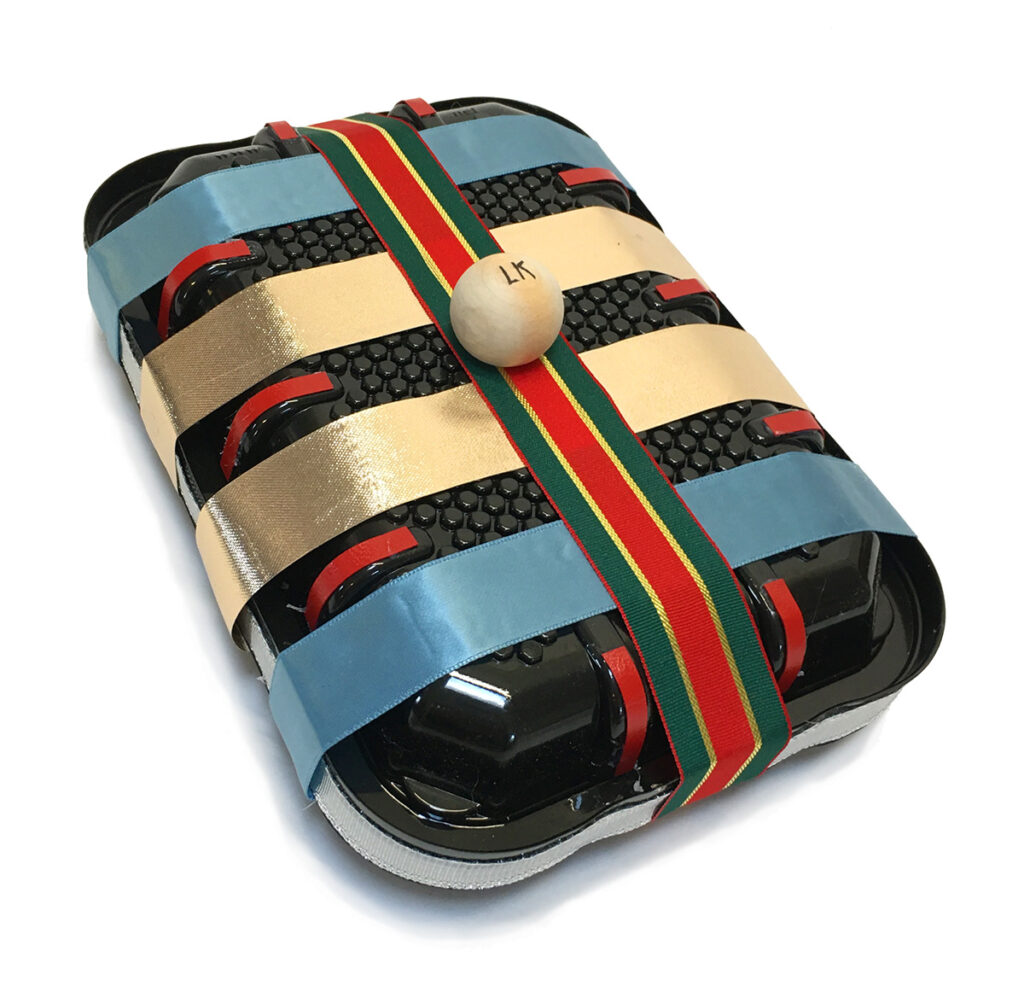
While cleaning some recycle-ables during kitchen clean up, I became fascinated with the lego-like textures of a black poultry tray. I saved two. The first step was to create a foam and tissue cradle for the gift. I then sealed up the two trays with four spots of glue. I moved on to the contemplative phase of the piece. I place various pieces of ribbon adjacent to see what felt good. I considered other material additions too, natural or man-made objects.

I decided to use mostly ribbon and ran a silver ribbon around the seam that joins the two trays. Next came the two gold ribbons, followed by the blue ribbons. I tested out various colors and textures before committing. I knew that I would be using the green and red ribbon as the transverse element. On it went.

Part of the beauty of these trays are the complexities of their topology. There are protrusions that define where the ribbons cross; they define the number and position of the ribbons. So my next step was to glue small pieces of red paper to emphasize these curved shiny shoulders.

The last step was the label. I had wanted some extra sculptural element, as noted above. I chose a wooden sphere, and sanded a flat spot on it to make attaching it easier. I wrote the recipients initials, and double-taped it on.

Fireplace Wrap

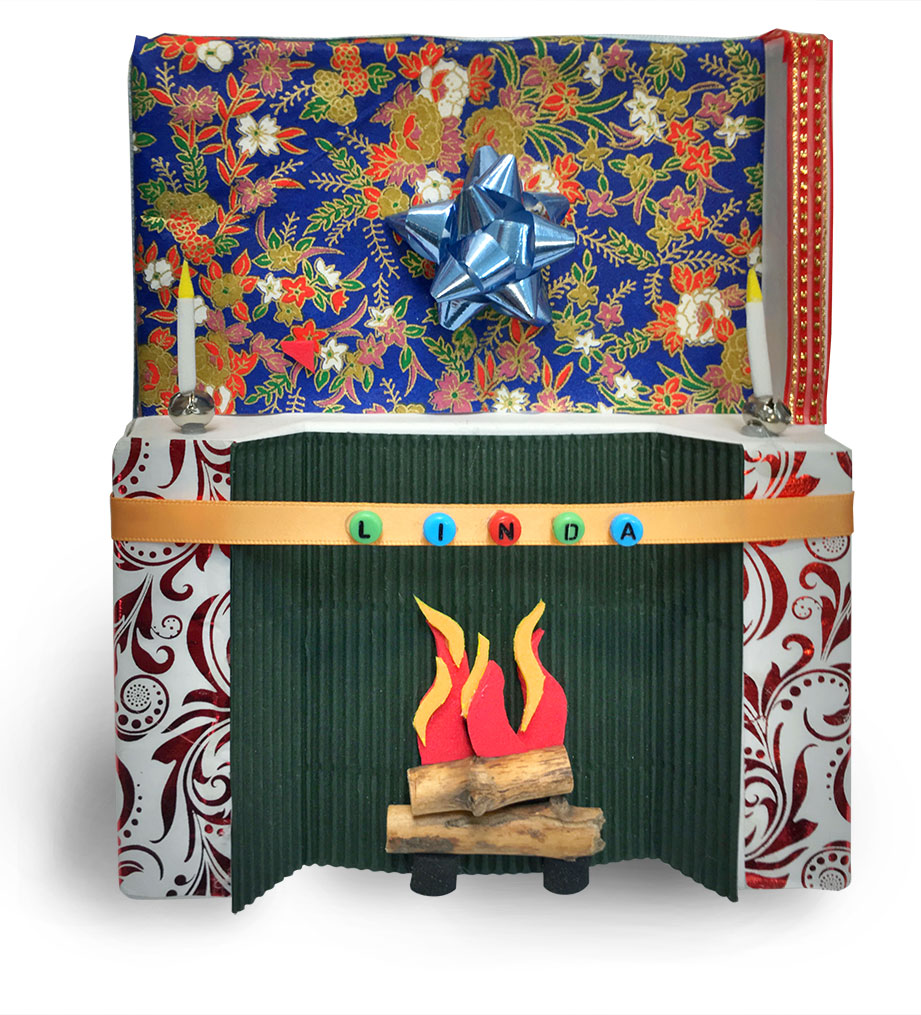
The wrap began with a curious piece of cast-paper packaging from a shipment of Moo business cards. The white tray had two regions, one to hold a box of cards and the other held three groups of unboxed cards.  I placed the gift, small and made of cloth, into the first region, where you now see the green corrugated paper.

I then proceeded to make a completely abstract wrap, using small scraps of paper: red foil-stamp tissue, blue-background japanese paper, and the green corrugated piece covering the gift. I then made the orange ribbon with alphabet beads to label the gift. I also put some ribbon the right-hand rib projecting up from the back of the white tray. Done.

It was when I went back and added the small blue bow to the japanese “wall paper” that the literal began to seep into my abstraction. The white “mantel” also called out for something, so I added two little jingle bells. I thought I was done. But the “fireplace” began to speak up. I built a foam and twig fire, put in on andirons. It remains an abstract fireplace, to be sure, because the “chimney” is strictly conceptual. I added two candles to the ingle bells. Done.

Exo-Skeleton Scrap Wrap

exo-skeleton scrap wrap

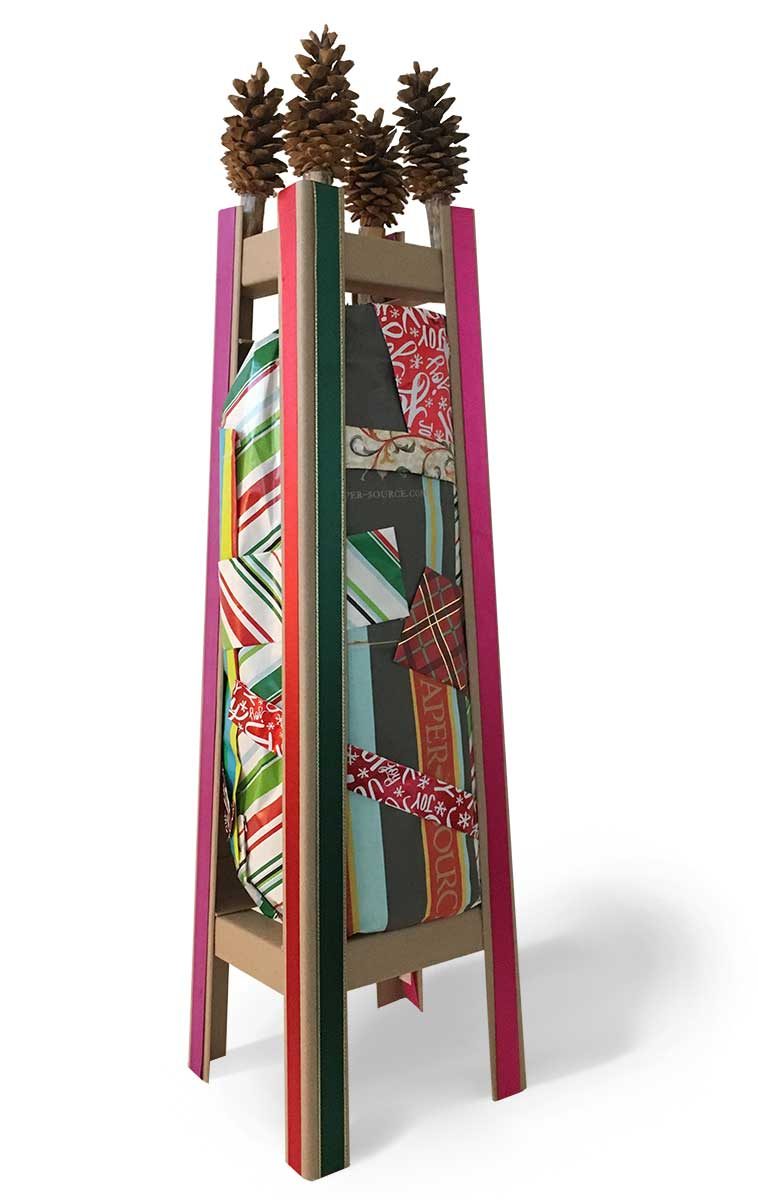
I needed to wrap some awkward high-country gear, snowshoes. I knew I would have to neutralize their various edges and somewhat-sharp parts. So I wrapped them first in bubble wrap. Then I began apply layers of wrapping-paper scraps. Each piece of paper, long or square was given folded edges, as in creating band wraps. The folding ads dimension and and hint of finish to the scrap. Hot glue was my binding medium. I applied the large, and longer pieces first, adding rectangles and skinny bands later. When enough pieces are applied the wrap has stability you do not expect when you apply the first, ungainly pieces.

The skeleton is made of cast paper pieces that are used to protect the corners or edges of furniture being shipped. I discovered them in the alley a fews days before I made this wrap. As soon as I saw them I imagined what they could do: easy to cut, easy to glue. Long, light, rigid and versatile.

I rested the somewhat squishy scrap wrap on my work bench.  I studied it with a measuring tape, choosing a length for the long parts. I cut the verticals and lay them upon the wrap. I measured and cut short horizontals, one longer, one shorter, to make the vertical angle inward as the tower rises. Hot glue rapidly joined the four pieces. Once I had a similar second side, I cut four more horizontals and assembled the whole tower around the wrapped gift.

Ribbons on the verticals brought the gift-wrap feeling to the cast-board verticals. But the top seemed incomplete. So I glued pine cones to pine twigs, to make four finials to complete the tower’s architecture. Since the gift had to be carried over the river and through the woods, I attached the pine-cone assemblies using using velcro patches.

I was impressed by the sturdiness of the final piece. And the contrast between the exoskeleton’s linear form and the brecciated patches of the scrap wrap was satisfying.

Robo Wrap

robo wrap art

I designed this wrap for a non-destructive un-wrap. The base is a piece of form and mylar protective wrapping from a new 5k monitor, closed using double-sided tape. I then made feet and short legs using black shipping foam, cut with a matte knife and a jigsaw, glued with hot glue. Next I prepared the opening top access, cutting the silver material to make four flaps, the last (closing door) flap has a strip of red craft foam to signify where to open the wrap. On top, the bot’s “hair” is a strange piece made of two kinds of foam; its provenance and function is lost in the sands of time. I attached it with bent large paperclip to the top, opening flap.

The arms are packing foam from an external usb cd/dvd burner. It has inset craft foam insets, and white craft foam “hands.” I glued red foam coverings for the top and front of the feet.

Last of all I worked on the face. The three eyes are fried marbles. The chest lights/ recipient label are alphabet beads. The mouth is made from craft foam. The total is a spirited wrap.

Gold Pyramids

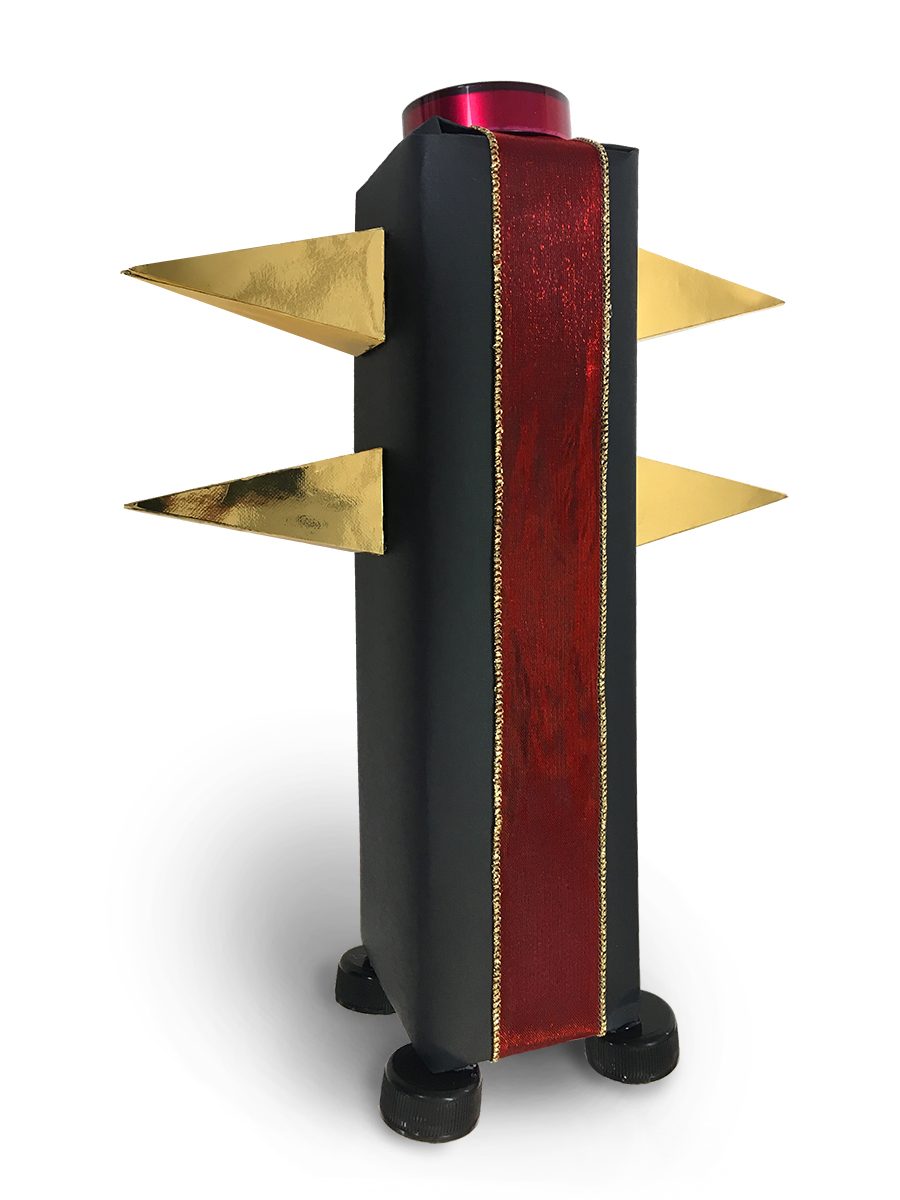
It all began with a box and the black paper. The gold pyramids had arrived a few months earlier. The contain pyramidal tea bags. The gold foil was on the inside of these beautiful little boxes. They had no glue, just folds and inserts, so I could unfold and refold them, revealing the foil. I know that ribbon would bring this wrap nearly to completion. I picked a fat one with gold edges. Next I added a thick plastic cap from some cosmetic product, an item that I had saved for a long time.

The wrap looked better standing rather than lying down. But it would not stand up on its own. So added feet. Its label was a stick-on file label.

Corner Construct

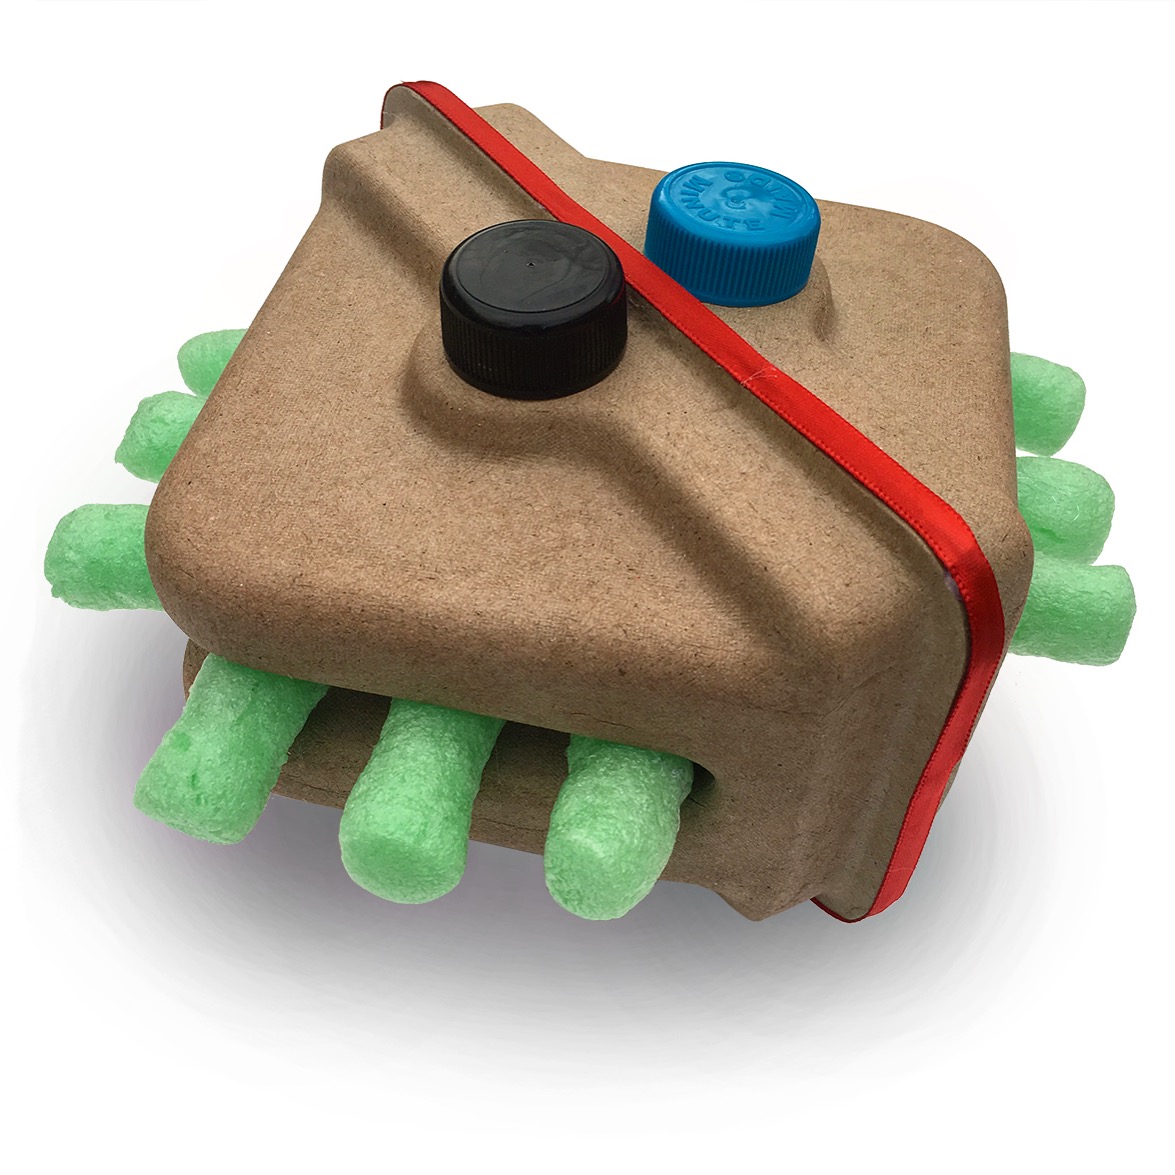
I found some industrial molded-paper devices, which were made to protect furniture in shipping, in my alley dumpster a number of years ago. I have saved them faithfully, knowing that their time would come.

I placed the gift into the cavity inside and lightly glued the two halves together. I did this before giving any thought to what would happen next. Using occasional dots of hot glue I attached a bit of red ribbon to cover up the join of the two corners. Then I eyed the half circles along the joint and tried out a number of round things, choosing finally some water bottle caps. They are on both sides. This wrap is the same on both sides.

I already had a box of green packing peanuts lying our for the holiday shipping effort. These green beauties, though fragile, had just the right color. In went 12 peanuts, with a dab of glue. Wrap accomplished. And a wrap with a very different look and feel.

Foam Folly

yellow meat tray foam wrap

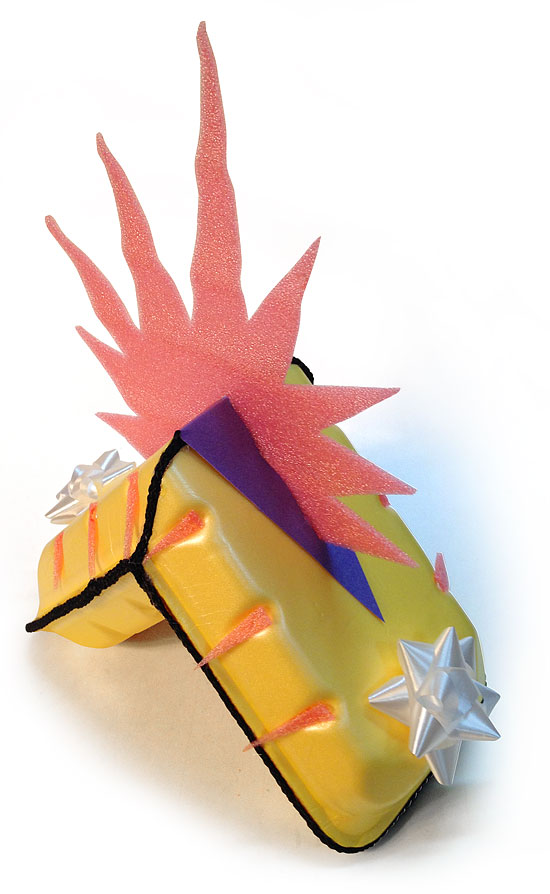
Continuing my fascination with packaging trash, and the malleable materials of the meat market, I offer your here yet another yellow-foam wrap. This time I decided follow another fancy of mine: disrupting the form with a 45 degree angle.

I drew lines on the two foam trays, then joined pairs from the four fragments with hot glue, to make two containers with 45 degree open faces. A bit of trimming was required to make them fit. Then I inserted the gift in one side, protecting it with some paper packing, and glued the two halves together.

The trays have words embossed in the middle of their now very-visible undersides. I thought a triangular form would make a useful addition to the design and would cover the words. I cut the long diamond shape from purple paper, folded it on the short axis, and glued it onto the foam box.

Next I glued black woven bag-handle cords along all the glue seams of the yellow box. And I added the two white bows, making risible reference to the traditions of quotidien wrapping.

But I could see it was not done yet. I thought it needed a crest or crown. I grabbed a piece or coral-colored packing foam and a scrap of white paper. I drew, cut and fit the sun-burst form in scrap paper, then traced it and cut it out of the foam. I glued it in place.

The little indentations that occur along the edge of the foam trays now called out for adornment. I cut little triangles of the coral foam scrap, and glued them in place. At last I had it, an exhuberantly odd wrap, ready for the parliament of packages under the tree.