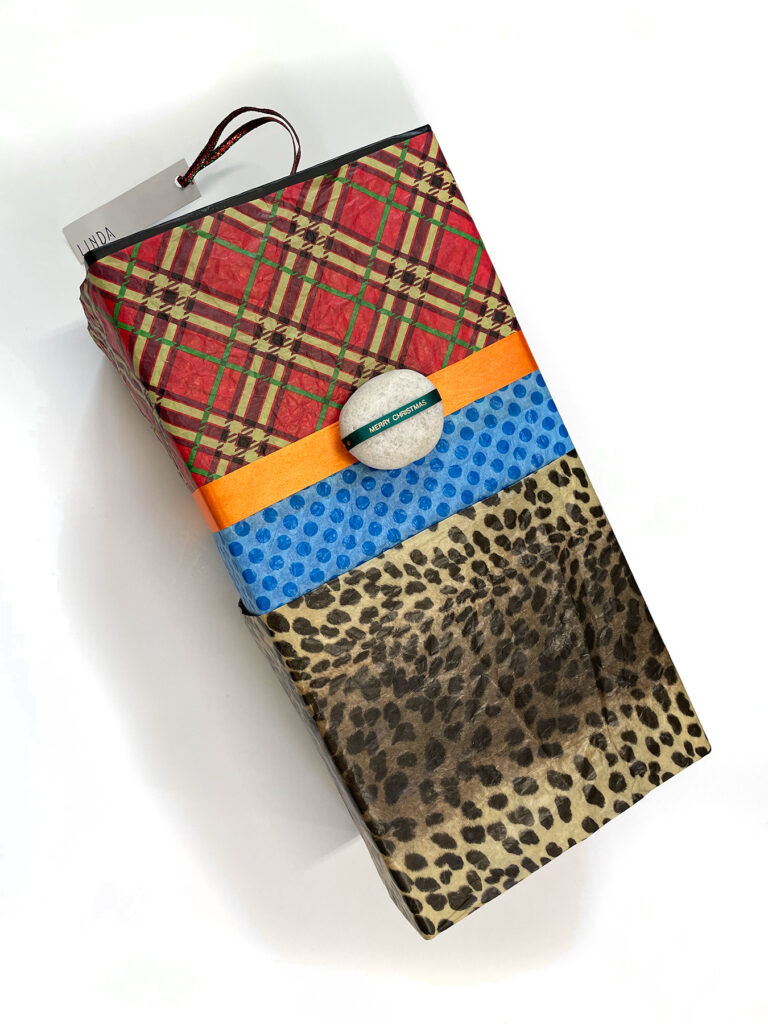
Time was running short on Christmas Eve, so I resorted to the most efficient of wrap art tactics: band wraps. You do not need paper big enough to cover the whole gift box. You just keep adding bands till you’ve got the look you like. Another element of speed in this particular instance, was that I had a beautiful black box with a fold-over lid with magnetic closure. So I did not have to wrap the ends; Three bands of folded tissue paper, with contrasting patterns and colors, are simply taped to the back of the box. I included numbers on the tape (masking tape with folded-over ends for easy pulling) to guide the recipient to an easy open. I then added a yellow ribbon to complete the wrap and give a better platform for the pale beach rock I had just decided to add to the mix. I wrapped a small piece of green Christmas ribbon around the rock and hot-glued the rock and ribbon to the yellow ribbon. If placed vertically, the rock-and-ribbon leaned a bit out and down, so I added tiny triangles of white foam underneath the rock, top and bottom, to reduce any motion.
Restoration Band Wrap
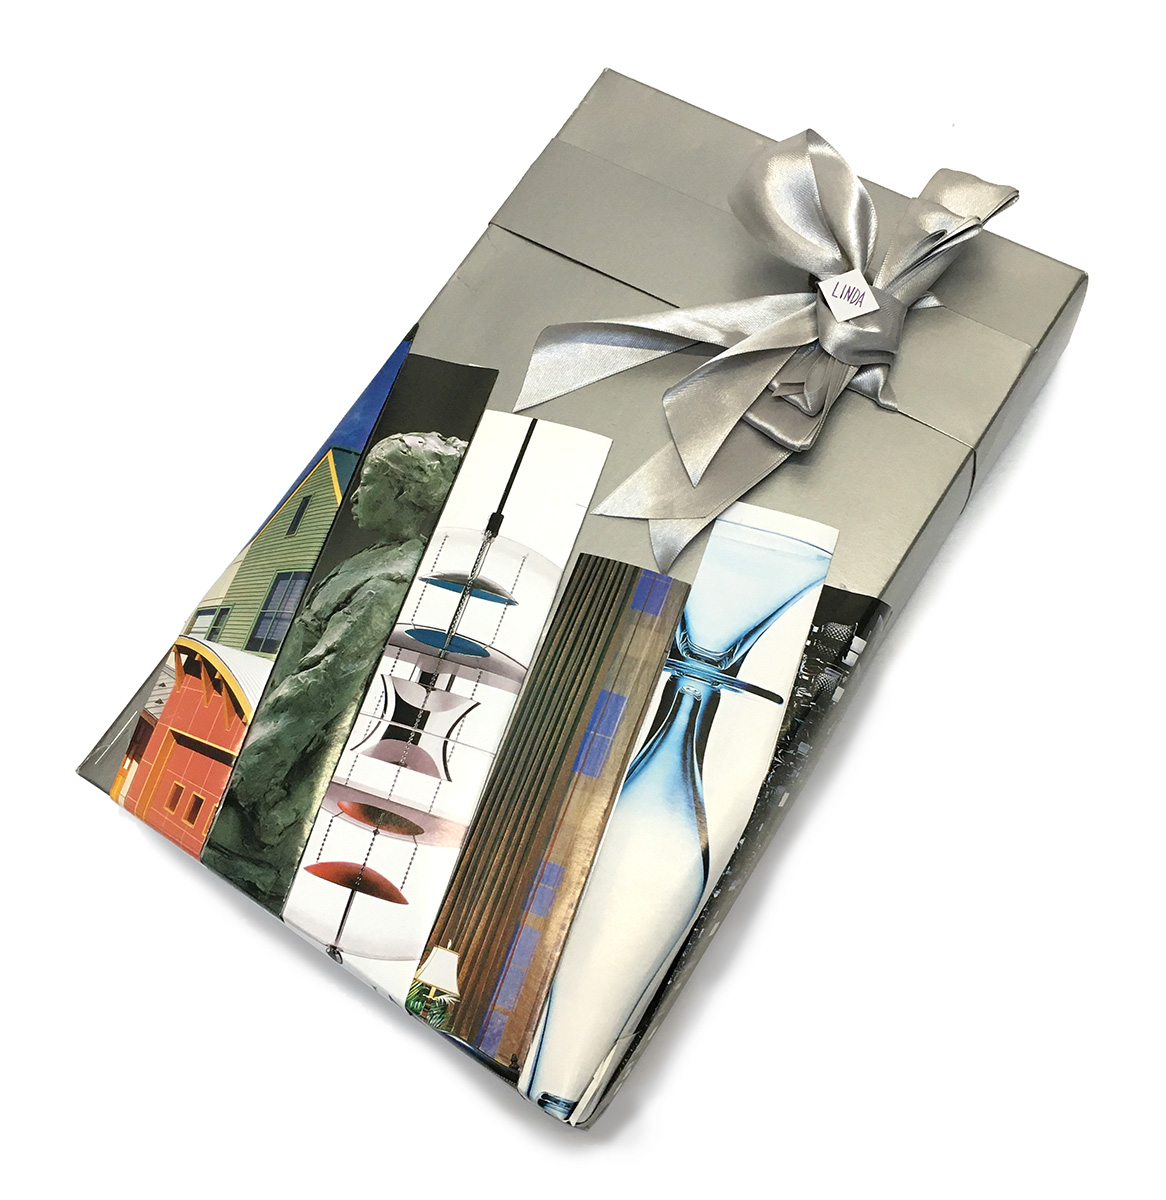
I had a silver box with a silver bow. It fit the gift. But it had been stepped on while in storage. I decided the make a partial band-wrap to cover up the creases and wrinkles that were visible on one end of the box. First I did some rehab, gluing two panels of corrugated board onto the inside of the box, flattening the crushed panels of the box.
For bands wraps, I like to use the pages of fancy magazines. I cut the pages into strips, and fold over both long edges. I do a little compositional testing with the strips to see what works. This is the first time I have left a major portion of the box exposed, the bands extending on partially across the box. Once I felt confident in my design, I glued on the bands, making sure I had enough on each band to wrap right on down the short sides of the box.
The box remained ready to open. I added the gift. The bow is attached to a cardboard band that came with the box. I slipped it back on and added a tiny square recipient label.
Magazine Wrap
This wrap did not even have a box. I put a gift of notecards between two pieces of corrugated board. Two pieces of tape made them a unit. Then I picked up a magazine that had lots of ads with large photos with tasty textures. I placed the first piece at an angle and proceeded to wrap it, folding the ends and gluing the foldovers onto the back. I then selected another page from the magazine. I positioned it in various ways until I knew what I wanted. I folded the two edges that would be visible on the front of the wrap, and then began gluing the piece into place. Next I took a strip with imagery of marble and folded its edges, making a traditional wrapping band. I positioned it and glued one end. Snugged the other end tight and glued it. I then took, from a jar of alphabet beads, the initials “N” and “S” of the recipient’s name. I glued them on, using a nail to hold the hot glue, and place it on the wrap. I then added the two beads. It is a moody wrap, with a rich materiality conveyed by the continuous tones of the photographs.
Han News
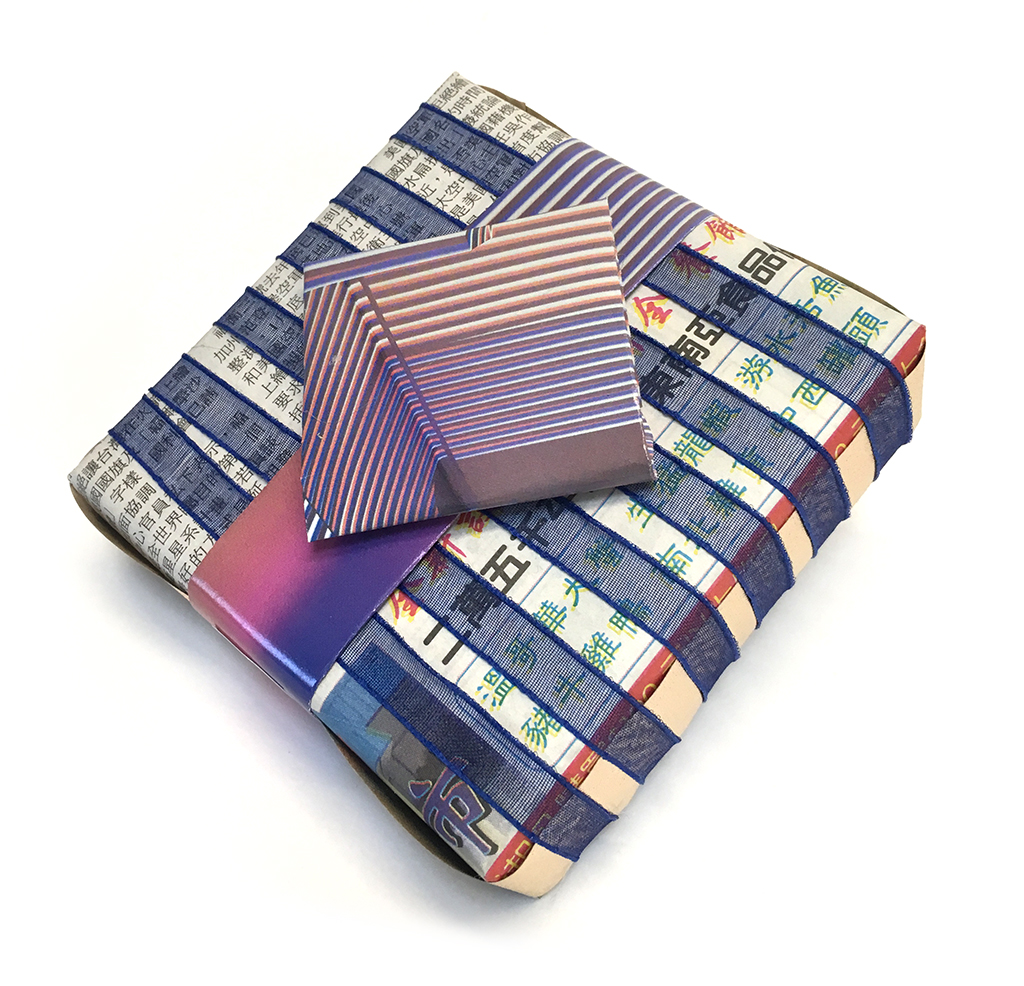
Wrapping with newsprint is a frequent first thought for someone who suddenly decides to wrap without wrapping paper. I chose to give this old method a try using a scrap from a local chinese-language newspaper. The solution to newsprint innovation was actually quite easy to execute. I took one piece of used ribbon and wound it in a spiral around the box. The hardest part was looking through a magazine for just the right page, which would deliver a photographic abstraction up to the task of tri-partite contrast: Han characters, transparent ribbon, and photo complexities, all within my red-blue color world. I cut a wide strip from the ad and folded it along the edges to make a band-wrap ribbon, attached it to the package. Then a took the remaining scrap, folding it to create the same puffy edges; I glued this “bow” onto the wrap.
Cube-Box Band Wrap
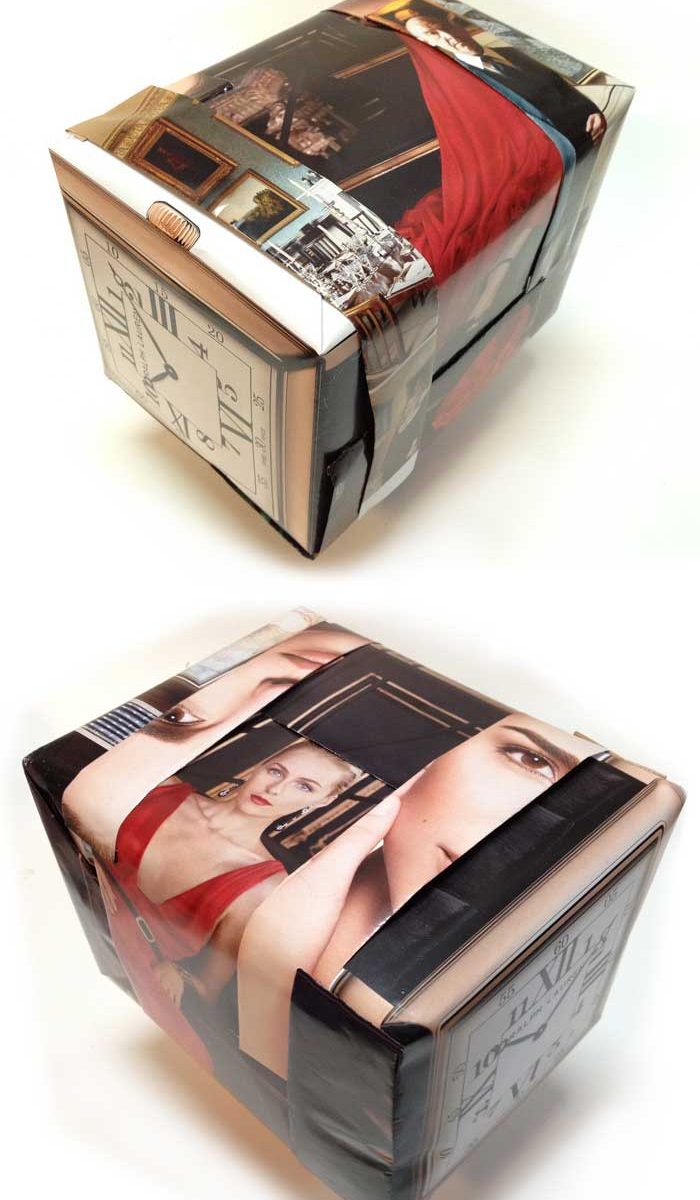
Many of my band wraps have been on flat boxes or envelopes. I decided to try a variation on a small cube-shaped box.
I used pages from a magazine. And instead of working with thin bands exclusively, I began wrapping with two whole pages.
I laid the box on top of one page, folding one end and then the other just as you would fold the ends of a normal, one-piece wrap. Of course, there are only three flaps in this kind of end fold, not the usual four.
When you are done, the box will now have an empty, wrapless area all around the middle of the box. To cover that naked area, I cut one magazine page in half and made two wide bands. I folded their edges, creating the typical slightly-puffy edge of the wrapper’s band. I glued them in place.
Now the wrap was completely covered. The base was ready. I could begin the fun part of making the collage of layered imagery. I made a series of thin bands and layered them along the edges of the first, wide band. In no time I had an intriguing and engaging wrap.