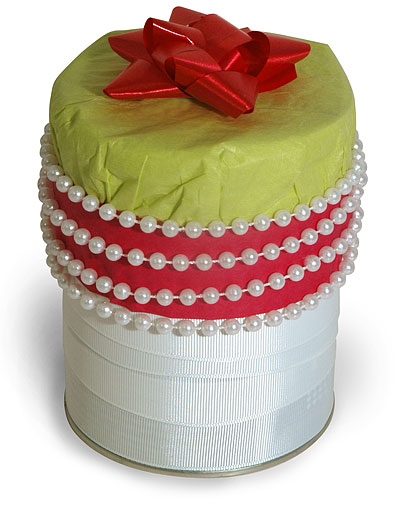
Ribbon Wrap with Pearls

cylinder-214When I’m running out of wrap time, I reach for ribbon and tissue. In this case I wrapped a tin of coffee with a large white ribbon, which covered the entire tin. I capped it with a piece lime-green tissue. The third layer is a piece of red paper folded into a “ribbon.” The folding gives this quasi-ribbon a satisfying dimension and a softened edge.

Then I added the string of molded plastic pearls, using occasional very-tiny dabs of hot glue to keep it in position. I finished it with a red pre-fab bow.

This simple banded design has a  variety of textures. The result is very pleasing, especially considering that it took very little time and no planning. I just started and kept adding until the wrap declared its completion.
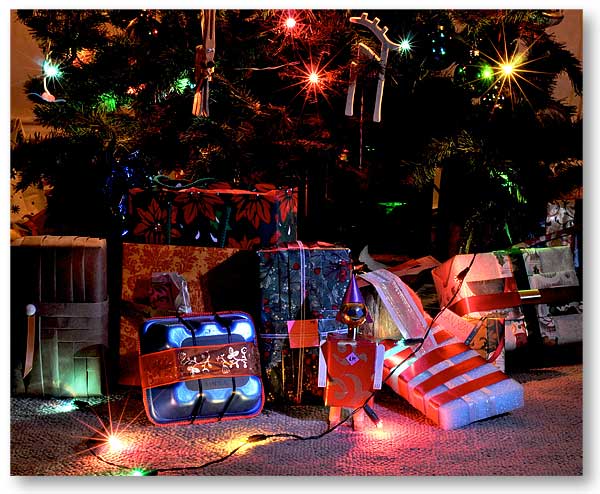
Wrap Art Under the Tree

under-the-tree-09

This photo was taken by Canyon Boak in 2008. It shows a variety of wrap art, including, from the left, a brown-paper folded-band weave, a foam blueberry-box wrap, a robot wrap, a coconut-half on foam with ribbon wrap, and a somewhat traditional looking cross-ribbon wrap using folded recycled-paper for the big “ribbons” under the real ribbons.

You can see some of these wraps by clicking this link.

Wrap Synergy

robotLegs-197

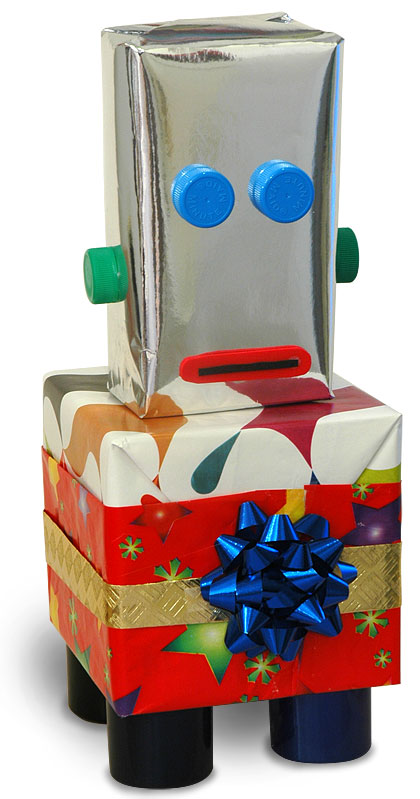
I have already posted the two separate wraps you see in this image (December 25 and 30, 2009). When these two wraps went under the tree, I suddenly saw that they were meant for each other. So, without the need for any additional fastening technologies, they rested one atop the other until Christmas morning, when they went their separate ways.

It is perhaps not so surprising that they would go together, a head and some legs. But I was pleasantly surprised at this amusing synergy arising from this year’s theme of animal wraps.

Simulating a Common Christmas Toy

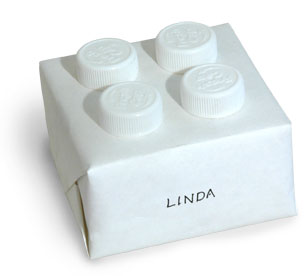
lego-212This is a quick wrap if you have been saving your carton-caps from milk or juice cartons. Wrap the gift in plain white paper. Glue on four caps. Now you have a scaled-up imitation of one very common piece of a common building-block toy.
I have saved up some green, blue and orange caps; next I must find the matching paper colors so that I can simulate more kinds of bricks.

Take-out Box Gets a New Job

takeout-209

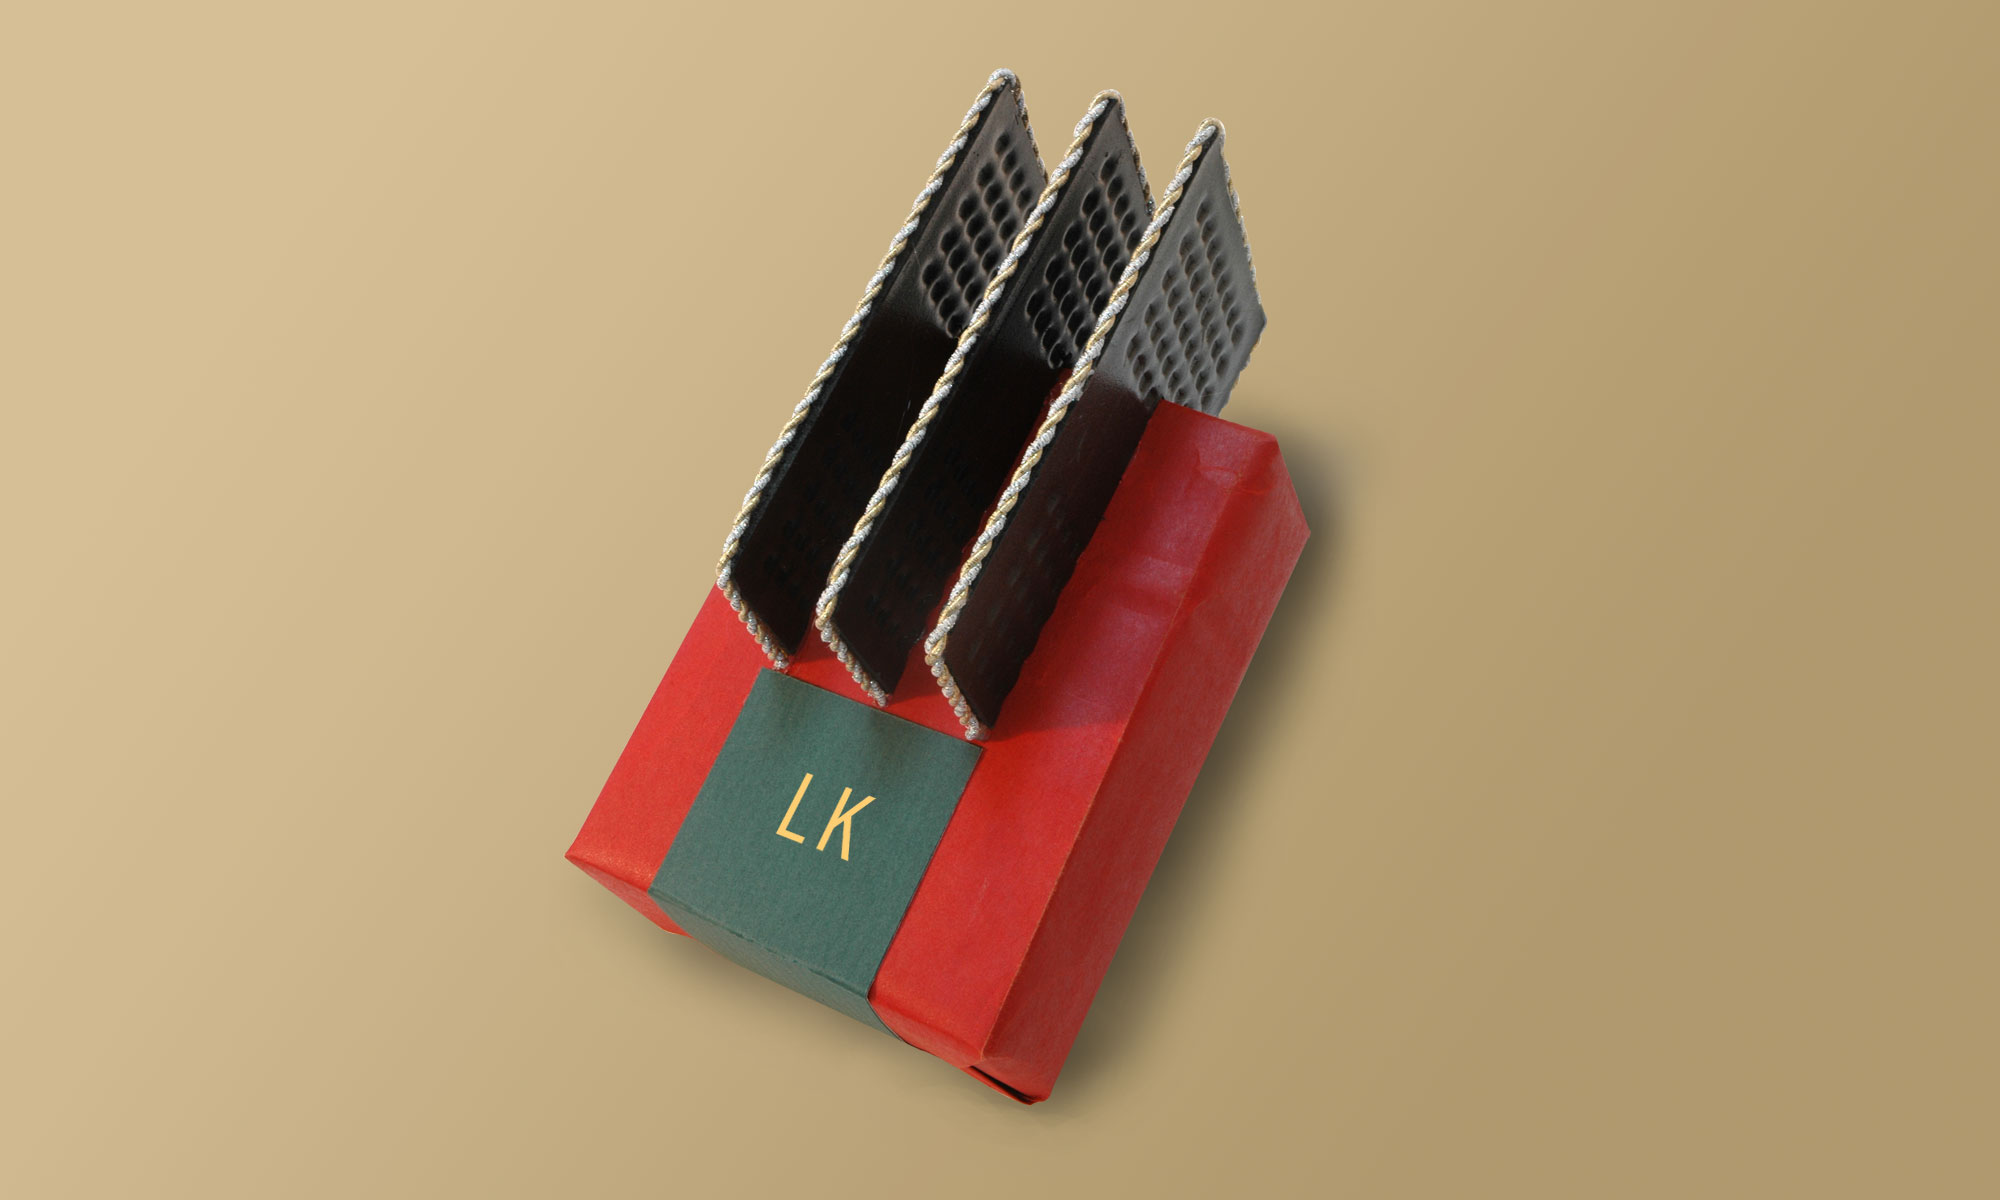
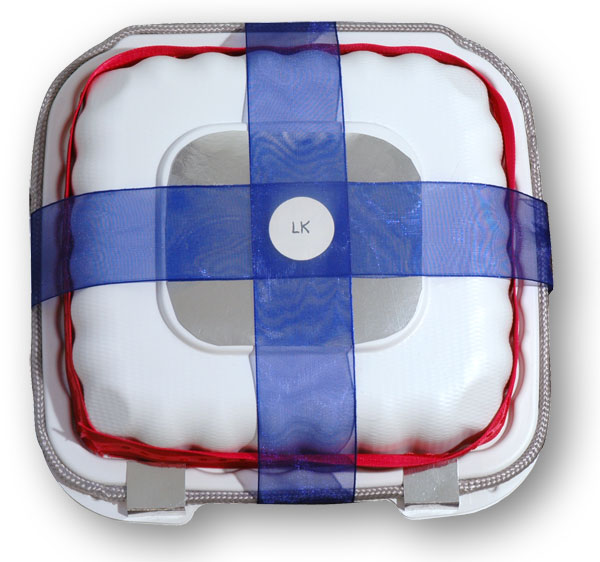
Over the holidays a white plastic take-out food box turned up in our kitchen. It’s one of a new style of take-out box. Not the white closed-cell foam variety. It had a textured surface with rounded crenillations. It had two simple closure snaps. It had a square, raised protrusion in the center of the lid. There was something 19th century about its shape and detail. It only lacked some fabric complexity and a bit of metal.

I added grey cords taken from shopping-bag handles, gluing them into a molded groove in the box lid’s outer edge. Next, I added the red ribbon which surrounds the crenillations. I added some silver shopping-bag paper trim: a square with rounded corners in the central embossed medallion, and two little folded pieces on top of the closure snaps, to simulate metal hardware.

With the gift inside resting on tissue paper, I snapped the box shut and wrapped a piece of blue gauze ribbon around it all. I added the label sticker. It is hard to capture the odd charm of this wrap in a single photo. Humor plays a part in this wrap as a utilitarian box shifts into a new context.

Robot Head

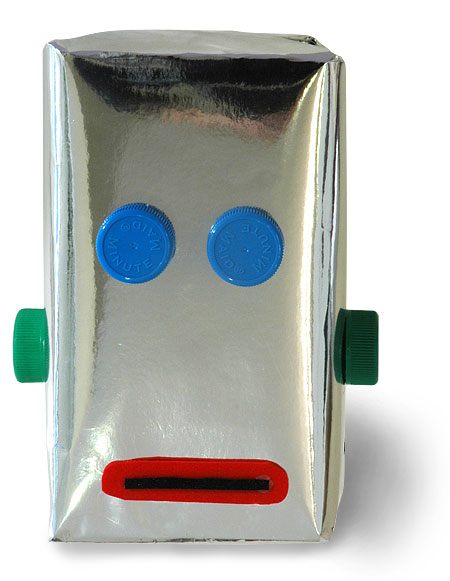
This began with my stash of orange-juice-carton caps. Two caps make eyes. Two make ears. I reached for a large piece of silver paper which I had recycled from a particularly fancy shopping bag and wrapped the present’s box. I already had a vision of the robot’s mouth; I rendered it in red craft foam and added a black piece to give it dimension.

robot-204

I spent some time positioning the eyes, from wall-eyed to narrow. Each position has an emotional impact. There are few more powerful templates in our brains than the face templates we build as infants. Adding the ears was easy.

My method for gluing on caps is based on the fact that hot glue will flow. I add two medium dabs of glue on the inner edge of the cap. I place it on the wrap surface. I wait. The glue inside the cap flows down and bonds with the surface. It stays pretty warm inside the cap; give the glue some time to solidify.

Making and gluing the mouth is simple. In fact this is a very simple, quick wrap overall, and one with the potential for many variations.

Stubby Leg Wrap

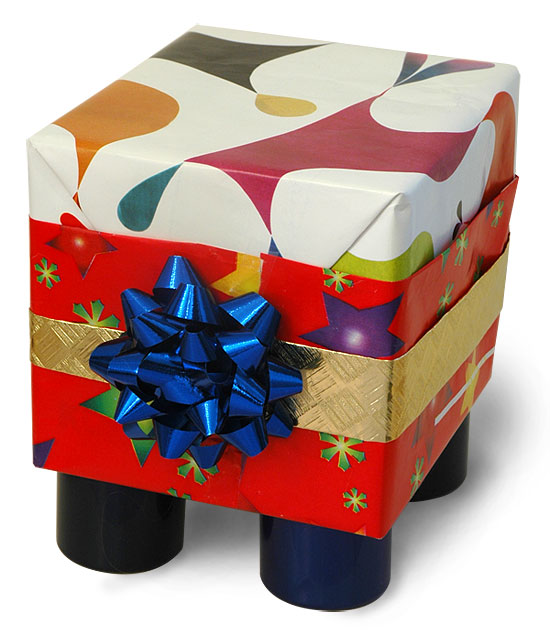
Things got a little busy on the afternoon of the 24th. I had to return to roots of wrap art: speedy work with just enough play to keep it lively. I wrapped this box with fragments from the recycle closet.

stubLegs-199

Then I remembered that in my box of juice and milk caps were some big, shiny caps from spray deodorants. I had saved them thinking they could make excellent legs for wrapped presents, short stubby legs like those one finds on couches, sideboards and other load-bearing furniture. I put two blobs on each cap, turn the cap upside down and place it on the wrap. The hot glue is still fluid. It slides down the sides of the cap and flows onto the wrap. You have to put the package aside and let the glue cool down; the cap insulates the glue so it takes a few minutes.

The leg/caps are made of a shiny, slightly mettalic plastic, and quickly loose any sense of their source as they join in this new context.

Why is the bow on the side? And a fold-end side too? At first I tested it on top of the package. It looked ok. But when I put it on the end, it had more the feel of a formal bowtie, on the shirt of the red paper. An alternate reading, in response to the shirt legs, is that the bow is either a head or tail of this strange creature.

Sea Urchin Wrap on Silver

urchin-193

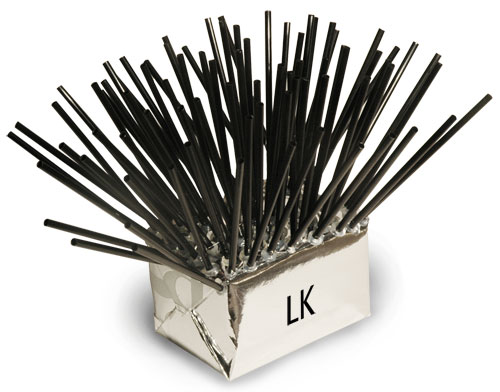
In keeping with my animal wraps this season, here is one that resembles that bane of coral-reef surfers: the sea urchin. The base wrap is silver paper from a fancy shopping bag. The black sticks are coffee-stirring  straws, which I saved from a recurrent meeting that I organize. I cut them in half.

There are a lot of straws here. The technique requires that one places six to eight dabs of hot glue onto the paper at a time, allowing the glue to cool. That way you can place the straws quickly and not have to hold them in position. This is not a quick wrap. But it has a distinctive feel, and one that is much friendlier than real sea urchins.

Candy Cane Reindeer

candycane-deer189

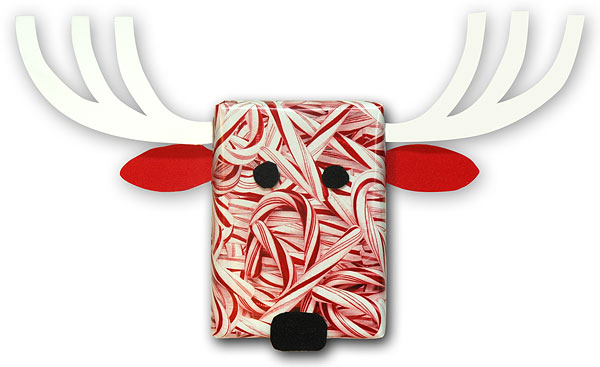
I started this wrap with a scrap of a favorite wrapping paper from seasons past. Recycled at least 3 times, this paper is now in short supply. But I wanted a bold texture to resist and contrast with the very simple symbolic elements that would make the reindeer head. I used thin craft foam to make the antlers, ears, eyes and nose. I drew simple patterns for the antlers and ears, cut them out and traced them onto the foam. I cut the foam with an exacto knife. The label is a simple office label, placed on the end of the wrap, just underneath the deers nose.

Being small and light, this wrap can even be hung on a tree as an ornament.

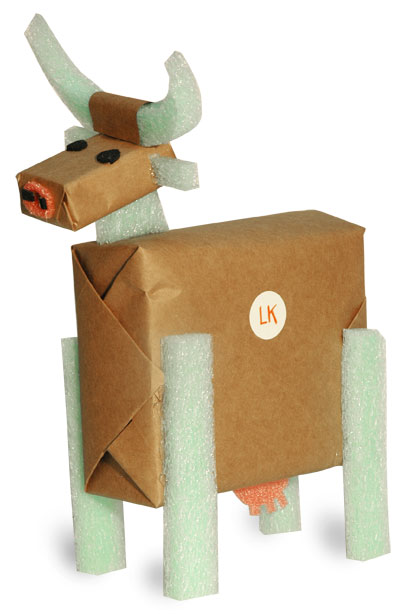
Brown Wrap Cow

cow-182

I’ve been thinking about animal wraps since last year, when I made a robot wrap with popsicle stick legs and arms. So this is my first of the season. The legs, neck, horns and tail are made with a very thick packing foam that I found in my dumpster last fall. It is .5″ thick, and thus is capable of bearing an impressive weight when made into legs. It is also very easy to cut.

I am using hot glue, which is almost essential for sculptural wraps. The head is a small wrapped box itself, which could contain a second gift.