I have put legs on my packages before. But I had not tried rockers. These red ones are saved from those cylindrical boxes that some raisins use. They are small and thus require a very small package. And the package itself requires that some weight be added inside to the bottom of the package, so that the wrap actually rocks instead of just falling over. The rectangular cut out area in the lids must extend below the center of the circles.
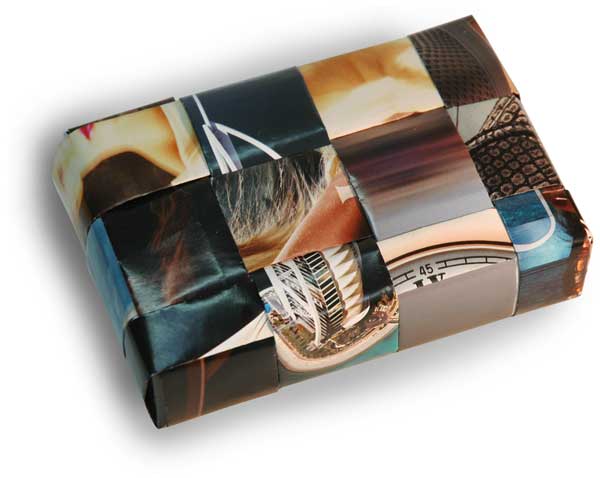
The wrap on the little box started out with some red-foil holiday paper. But there was not enough contrast with the lids. I folded two magazine-page bands and wrapped them around the original wrap, leaving some of the foil paper peeking out. I hot-glued the red lids onto the bottom and sides of the wrap.
When I was done with that, I felt that the spots where the circle reached the top of the wrap needed punctuation, so I then glued on small gold bows. Last of all I added gold bows to the ends of the wrap.
I plan to find two matching lids with a larger radius and carry on my experiments in rocker wrapping.