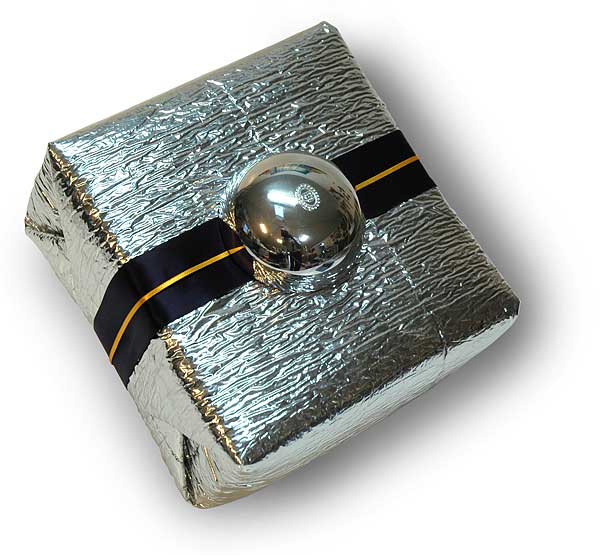
An amazing quantity of exotic materials flows through our households every day.
As a part of 1) my quest to divert some of the more charming of these objects away from the dumpster and 2) my need to reduce the volume of my in-studio recycling bins, I made this wrap.
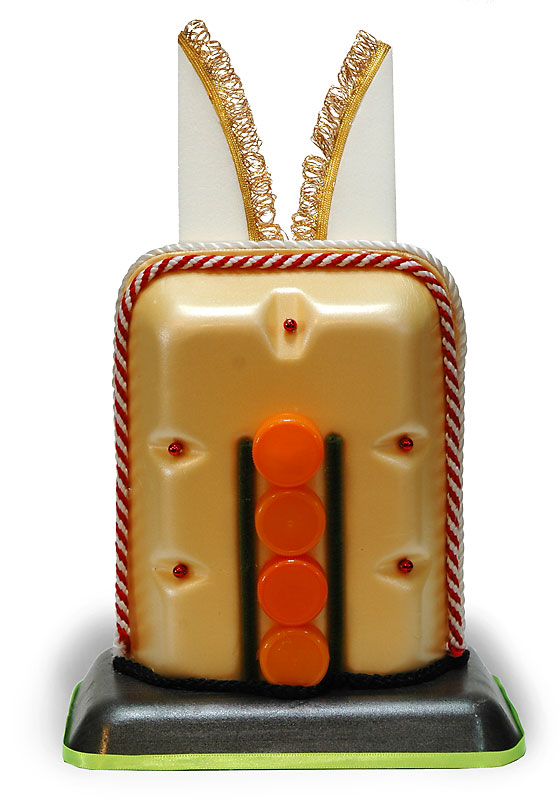
I started with a long yellow foam tray that once held chicken breasts. I cut it in half and glued the two halves together. That leaves an almost-closed box; only the bottom is open.
Resolving to solve that later, I began to trim out the yellow box. The edge where the halves join I covered with a white cord taken from a shopping bag. I then glued dark-green chenille stems into vertical depressions in the foam tray. I glued orange-juice caps in a column between the stems. I clipped small shiny red beads from a scrap of bead-cord and glued them into the eye-shaped molded depressions in the foam tray.
After a bit of testing, I chose another foam tray for the base. I trimmed off the lip that runs around its edge and glued on a scrap of lime-colored ribbon. Then I placed the gift inside the yellow shell. I made a door in the base foam, so the gift could be removed without destroying the wrap; I taped the door shut. I glued the two foam objects together.
I was not yet ready to stop. The wrap seemed to want more. I glued a piece of black bag-handle cord to the join between black and yellow foam. Adding these extra components have a powerful effect. The identity of the foam as food-packaging trash begins to recede, and the underlying power of the foam’s native form and its beautiful qualities asserts itself.
Thus inspired I took a single scrap of thick white foam from my tiny-foam-scraps bag. I cut it in half and had two Cycladic ears (c.f. church architecture of Santorini), which I glued to the top of the wrap. Picking up conceptual momentum, I added the red/white bag-handle cord. And I added the gold fringe ribbon to the ears.
I stood back and contemplated the wrap. It had a new and mysterious appeal, all its own, of numinous packaging.