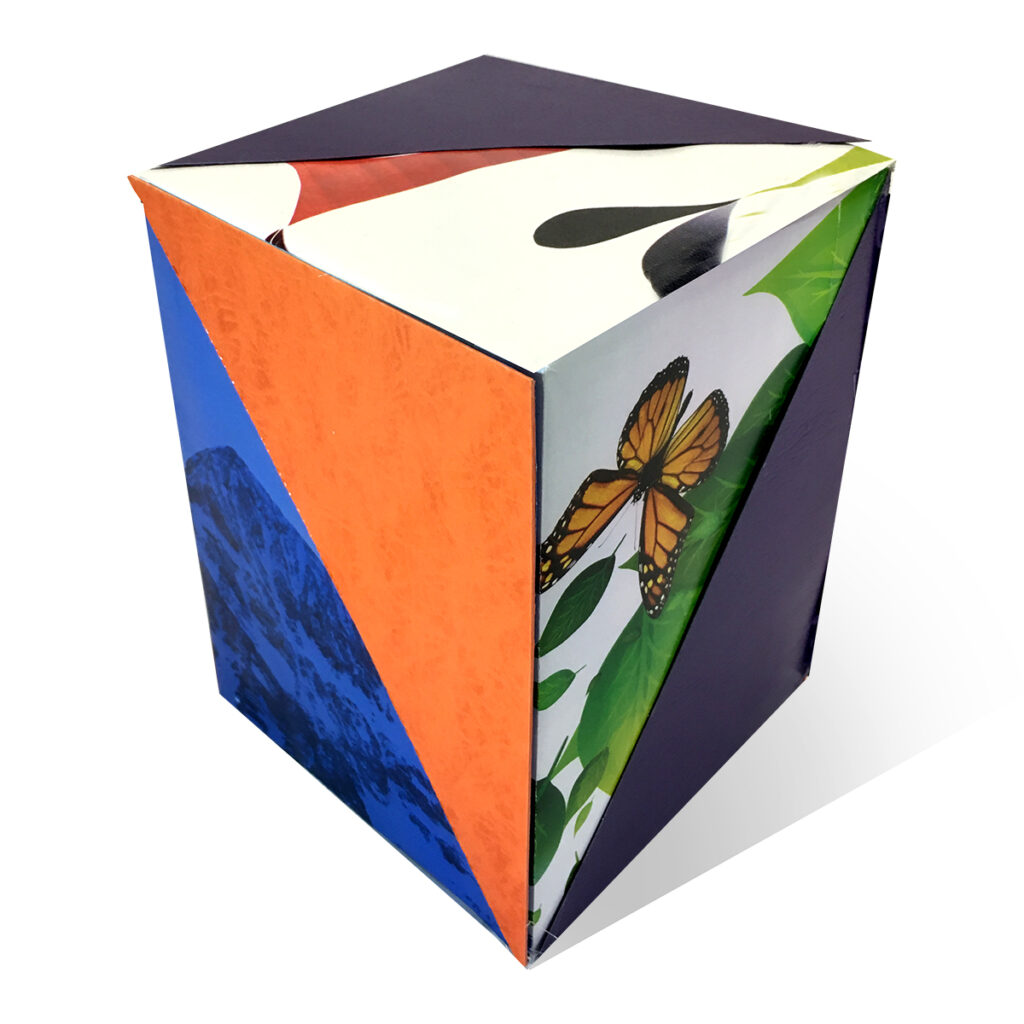
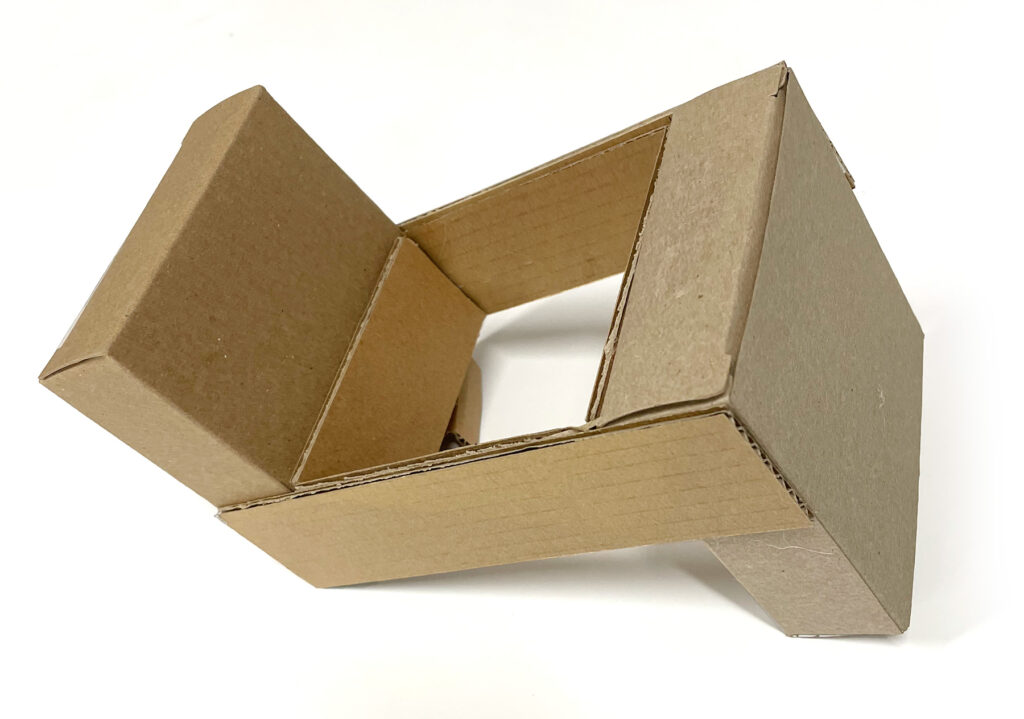
I had two small boxes, about the same size as the he gift I wanted to wrap. They suggested to me the idea of making an irregular shaped “giftbox.” I set about to make a special skeleton out of the two boxes, linking them with beams of corrugated board, The gift fits right inside the space between the two boxes and their beams.
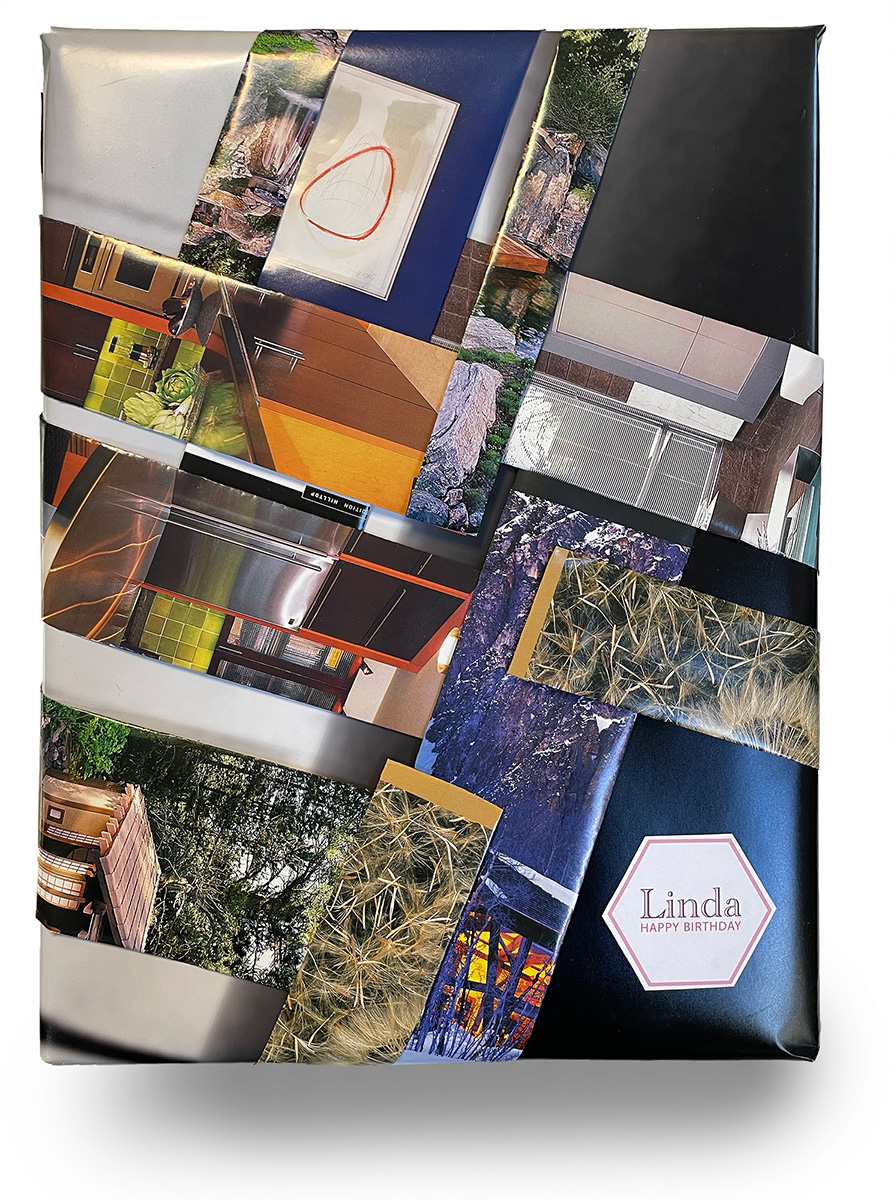
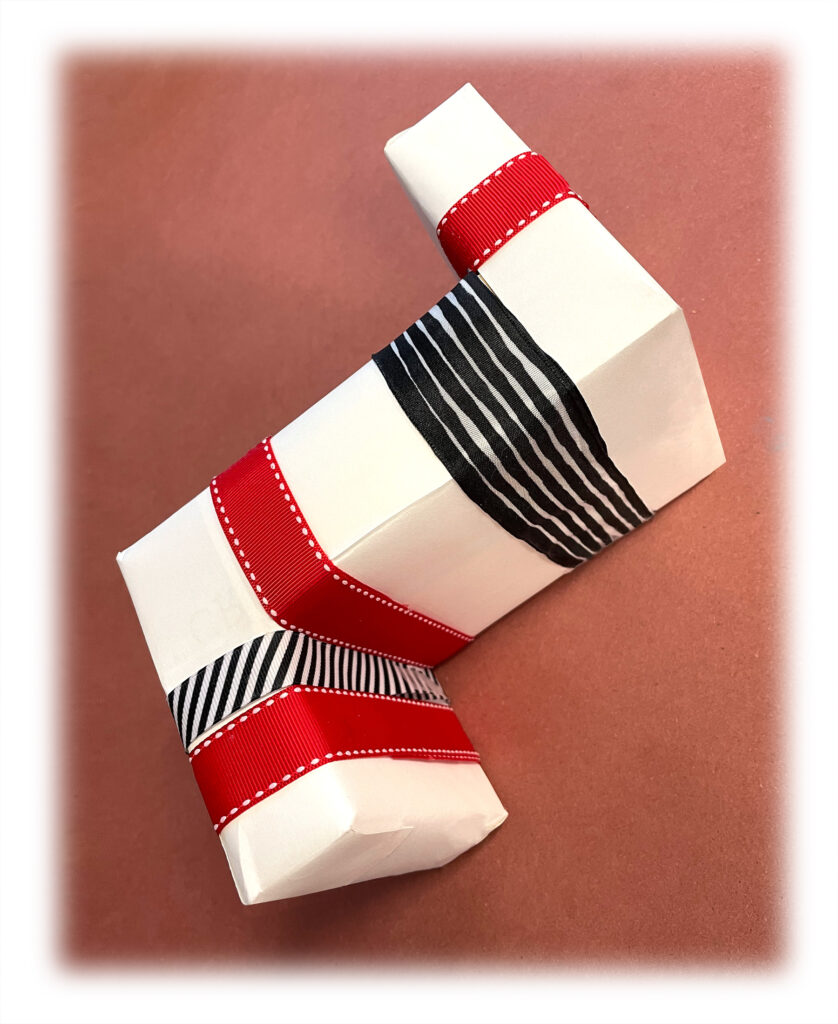
Extra pieces of board made the gift fit snug in order to make the task of wrapping this odd shape a bit easier.. Admittedly the task of wrapping this conglomeration in white paper was not that easy. I knew that there was no easy way to wrap this zig zag box with a single piece of paper. So I collaged it with numerous pieces of scrap 8.5″X11″ stationery. I used both thin tape and a bit of hot glue. Finally I had a solid white wrapped zigzag. I added three red ribbons one kind of red ribbon, and two pieces, of varying pattern black and white ribbon. I made the label out of small gray and very flat beach beach pebble. I inscribed the name with a marker.