Scrap Wrap

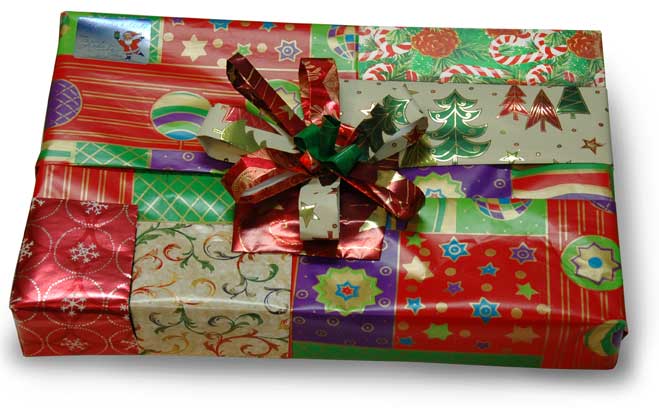
For my first wrap of the holiday season I thought I would cleave close to one of the core principles of wrap art: comfortable recycling. The gift went into a used Christmas gift box with a pattern of pine tree, pine cones, and candy canes. When I finished the wrap I noticed that I had inadvertently forgotten to cover up a small piece of it, visible here in the upper-right corner.

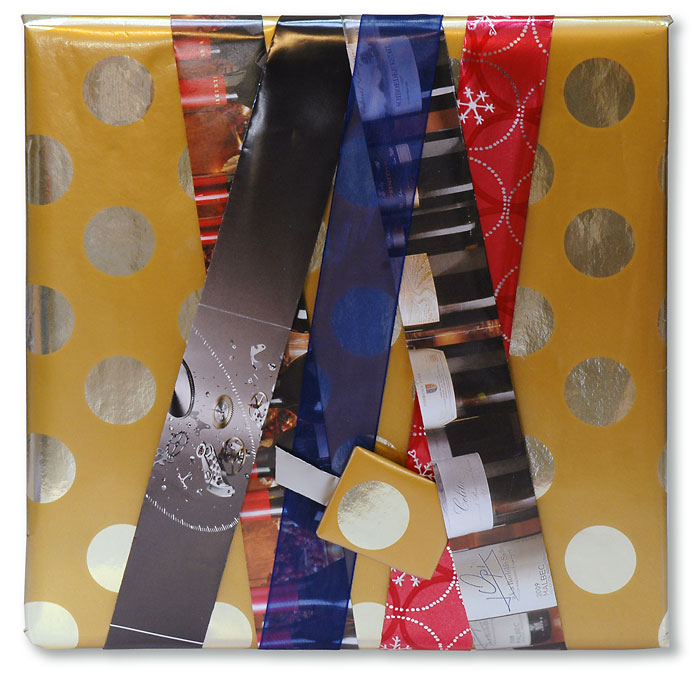
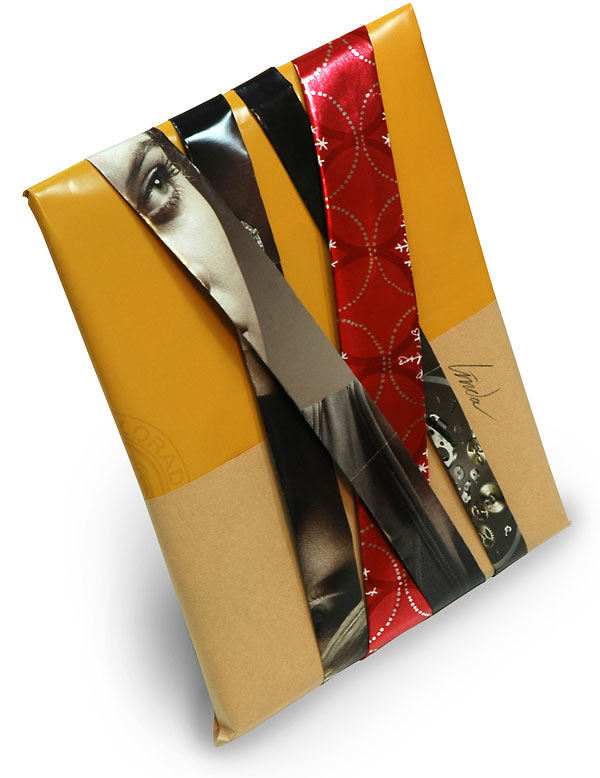
The wrap consists of rectangles of wrapping-paper scraps, accumulated over many seasons. I take the rectangles and make a small folded edge on all four sides. I then glue them onto the gift box.

Since none of the fragments were very large, I began the wrap by placing two thin rectangles along the center line of the gift box. I then built up the pattern of the other scraps. True to the wrap-artist principle call “messy back stage” the scraps curve around to the back, but do not cover the back side of the wrap.

I tried a couple of traditional pre-fab bows on the wrap, but their mechanical precision just did not agree with the casual, even goofy quality of the scrap wrap’s crazy quilt. So I began instead to build a scrap-wrap bow, using folded-edge strips. I started with a small circle of cardboard as a base. Then I glued a strip, folded it back on itself, and placed a second spot of glue, making one nice rounded loop. I repeated this procedure, adding progressively smaller loops until it seemed finished. As a last touch I made a small cylinder out of green paper to place, stamen-like, in the center of the bow. I took a folded-edge strip, rolled it up in a spiral-making offset rolling action. I then snipped off the bottom of the spiral with scissors, and hot-glued it into the center of the bow.

The result is wrap that takes its look from the very pile of presents that will soon be its natural environment. When used within a family tradition of giving it also has an archival quality, summarizing as it does many years of wrapping paper, and thus touching various tones of memory.

Giftbag Improv

The wrap artist is not immediately drawn to the gift bag. It can seem like cheating. But one has to admit the colossal practicality of the gift bag. It is just so quick.

I needed to use one recently because of two reasons: my studio was a mess and I had run out of time to carve out a wrapping space.

But using a giftbag does not necessarily mean abandoning the the wrap artist’s improvisational mission.

I removed the long rectangular boxed gift from it’s shopping bag. After a quick review of a large box containing odd materials that are candidates for induction into the wrap artist’s hall of innovation, I turned instead to two sheets of tissue paper that had been wrapped around the bouquet of flowers I was also giving.

Placing the tissue at an angle, with the box at the bottom, I rolled the gift quickly into a very loose and open column, which both revealed the two colors of the tissue and created gradations as the tissues made contact and then parted ways. I stuffed this assembly into the bag.

The angle wrap created a quasi-floral form which offered up canyons into which I immediately wanted to plant with something stick-like and colorful. Amid the clutter on my larger drawing table I saw a packet of recently-discovered and colorful chenille “pipe cleaners” left over from a thanksgiving turkey-craft session I conducted sometime in the previous century.

I began tucking them in the folds. It took a bit of arranging to get them looking good. And they did tend to rearrange themselves. But I was still ready in time for the breakfast presentation. Haste makes waste useful.

Staple Stars

Our friend Annette Humphrey made this wonderful thank-you note card. The dark paper is mettalic. The stars are made with staples. The note is written on an insert page of white paper. The card has great tactile impact and substantial charm.

Aspen Log Legs

I had the task of wrapping a wedding gift for a wedding on the mountain in Vail, Colorado. Having hiked more than once on the Berrypicker Trail, which climbs from the east end of town to the top of Lionshead wandering through numerous groves of very tall aspens, I was moved to start my wrap by digging through my collection of aspen blocks. I found four 1/4-round pieces and put them aside.

Next I wrapped the gift in layers of white paper. I did not have any paper with the qualities of luxurious wedding-dress fabrics, so I relied on the trim to bring that element into the wrap. I used various solid color ribbons: dark purple, dark green, white. I also had one large clean paper doily from a supermarket cake. I wrapped the ribbon around the box, trapping the doily between two sets of ribbon.

Next I cut the round shoulder into the aspen logs, and sanded down their milled surfaces. The curved surfaces I left with their natural, streaked exteriors intact as found. Then I airbrushed magenta and green directly into the wood. I glued them onto the white paper wrap. This worked well functionally. The four legs supported the gift. But it did not feel good when handling the wrap; the legs made the paper wiggle. So I cut some aspen twigs and glued them in as beams between the legs, under the wrap; they are not easily visible but they do look good if found by the curious.

The wrap was getting better, but the big blank sides, with only white ribbon cried out for more. I glued on the orange ribbons and that was all it took for things to look close to complete. I added a purple bow on top. I took a piece of abalone shell, signed the wedding couple’s names, and those of the donor (Linda and me), and glued this quasi-gem into the center of the bow.

The wrap was done, a spirited combination of references to wedding custom and to the setting of the actual event.

Silver Sun Screen Wrap

I was headed out to the dumpster to throw out the trash before beginning my early-morning work session. As I put a worn automobile-windshield sunscreen into the dumpster, I felt that twinge of wrapper’s inspiration that keeps so many things from entering the trash stream.

Back in the studio I knocked out this prototype wrap. A deep blue ribbon covered up a big crease in the silver mylar. A thin yellow ribbon provided the necessary graphic complexity. And last of all I took a silver plastic cosmetic-product cap that was sitting on my drawing table. I had saved it for months and had even tested it on numerous wraps. It had never made the cut until today.

The sunscreen is lined with foam beneath its silver mylar. That gives the finished package a very comfortable “hand.”

Round Wrap in Pie-bin Bottoms


Pies from our Whole Foods come in marvelous molded-plastic containers. Put the bottom halves from two of them together and you have a strange round device that resembles some kind of off-road tire, or perhaps the base form of a dark space ship.

Those two pieces of black plastic are glued together using 1-inch-long pieces of popsickle sticks. They are hot-glued into little slots conveniently located around the molded shape of the pie-bin bottoms

I next made the feet for this wrap using four lids from aerosol deodorants. Their plastic is metallic adding more machine aesthetic to this peculiar wrap.

I glued a sequence of bottle caps on ten of the twenty raised knobs that ring the pie bottoms’ flat central circle, adding to the visual theme of circles. Their detailed design and printing enriches the design by bringing a finer level of detail to the complex but larger forms of the black plastic.

It actually took a while to figure out what to put in that central, flat circular space. I cut out various magazine-ad photographs and also fragments of wrapping paper and art paper. Nothing seemed to be compelling. I finally decided to use my own photography. I made a circular crop of a photo I took last week while hiking in the Comb Ridge of southern Utah. I added a black “inner glow” in Photoshop. I printed it, cut it out and glued it into the circular recess.

In order to spare the recipient the potential anxiety of having to destroy such a curious sculpture, I cut out the circular recess on the back side and made it into an access door closed with simple tape fixtures.

Numinous Trashformation

An amazing quantity of exotic materials flows through our households every day.

As a part of 1) my quest to divert some of the more charming of these objects away from the dumpster and 2) my need to reduce the volume of my in-studio recycling bins, I made this wrap.

I started with a long yellow foam tray that once held chicken breasts. I cut it in half and glued the two halves together. That leaves an almost-closed box; only the bottom is open.

Resolving to solve that later, I began to trim out the yellow box. The edge where the halves join I covered with a white cord taken from a shopping bag. I then glued dark-green chenille stems into vertical depressions in the foam tray. I glued orange-juice caps in a column between the stems. I clipped small shiny red beads from a scrap of bead-cord and glued them into the eye-shaped molded depressions in the foam tray.

After a bit of testing, I chose another foam tray for the base. I trimmed off the lip that runs around its edge and glued on a scrap of lime-colored ribbon. Then I placed the gift inside the yellow shell. I made a door in the base foam, so the gift could be removed without destroying the wrap; I taped the door shut. I glued the two foam objects together.

I was not yet ready to stop. The wrap seemed to want more. I glued a piece of black bag-handle  cord to the join between black and yellow foam. Adding these extra components have a powerful effect. The identity of the foam as food-packaging trash begins to recede, and the underlying power of the foam’s native form and its beautiful qualities asserts itself.

Thus inspired I took a single scrap of thick white foam from my tiny-foam-scraps bag. I cut it in half and had two Cycladic ears (c.f. church architecture of Santorini), which I glued to the top of the wrap. Picking up conceptual momentum, I added the red/white bag-handle cord. And I added the gold fringe ribbon to the ears.

I stood back and contemplated the wrap. It had a new and mysterious appeal, all its own, of numinous packaging.

Band Wrap on Gold-Dot Paper

I’m still working on posts of this past christmas’ wraps. I did lots of band wraps because of their speed and verve. This polka-dot foil paper came from a calendar’s wrap.

The bands include three from magazines, one from red holiday wrap, and one that is blue gauze ribbon. A small label tag was made of the yellow foil paper.

Red-Rocker Wrap

I have put legs on my packages before. But I had not tried rockers. These red ones are saved from those cylindrical boxes that some raisins use. They are small and thus require a very small package. And the package itself requires that some weight be added inside to the bottom of the package, so that the wrap actually rocks instead of just falling over. The rectangular cut out area in the lids must extend below the center of the circles.

The wrap on the little box started out with some red-foil holiday paper. But there was not enough contrast with the lids. I folded two magazine-page bands and wrapped them around the original wrap, leaving some of the foil paper peeking out. I hot-glued the red lids onto the bottom and sides of the wrap.

When I was done with that, I felt that the spots where the circle reached the top of the wrap needed punctuation, so I then glued on small gold bows. Last of all I added gold bows to the ends of the wrap.

I plan to find two matching lids with a larger radius and carry on my experiments in rocker wrapping.

Band Wrap on Yellow

The base of this wrap is a piece of marketing literature, a glossy yellow flyer with minimal type. It did not cover the whole gift, so I grabbed another sheet of paper. It had low contrast in color (dull diminished yellow) but high contrast in surface (no glass, uncoated, some texture).

Three of the bands were made from pages of a glossy newspaper supplement which features expensive watches and glamorous fashion. The fourth band is red recycled christmas wrap.

The label is hand-written right on the base wrap.

This wrap is a good example of elegance achieved in a quick and easy wrap.

For a tutorial on band wrap, click here.